Filtering and exporting results
When your organization has hundreds or thousands of results, filtering helps you focus on exactly the subset you need — whether that's urgent results awaiting review, intake submissions from a specific evaluation, or all results for simulated patients during a training session. Once you've refined the view, you can export the filtered results to Excel for external reporting and analysis.
Quick filters
The three summary cards at the top of the Results page act as one-click filters that cover the most common triage scenarios:
Urgent filters to results with Critical or Urgent priority that are still in New or Pending status. Use this to quickly surface the results that need the most immediate clinical attention.
To-Do filters to all results in New or Pending status, regardless of priority. This is your full outstanding work queue — everything that hasn't been marked Complete or Invalid.
Unresolved filters to results that have been in New or Pending status for more than seven days. These are results that may have been overlooked during a busy period and deserve follow-up.
Click a card once to activate its filter. The results list narrows immediately, and filter chips appear below the search bar showing which filters are active. Click the card again or close the filter chips to return to the full list.
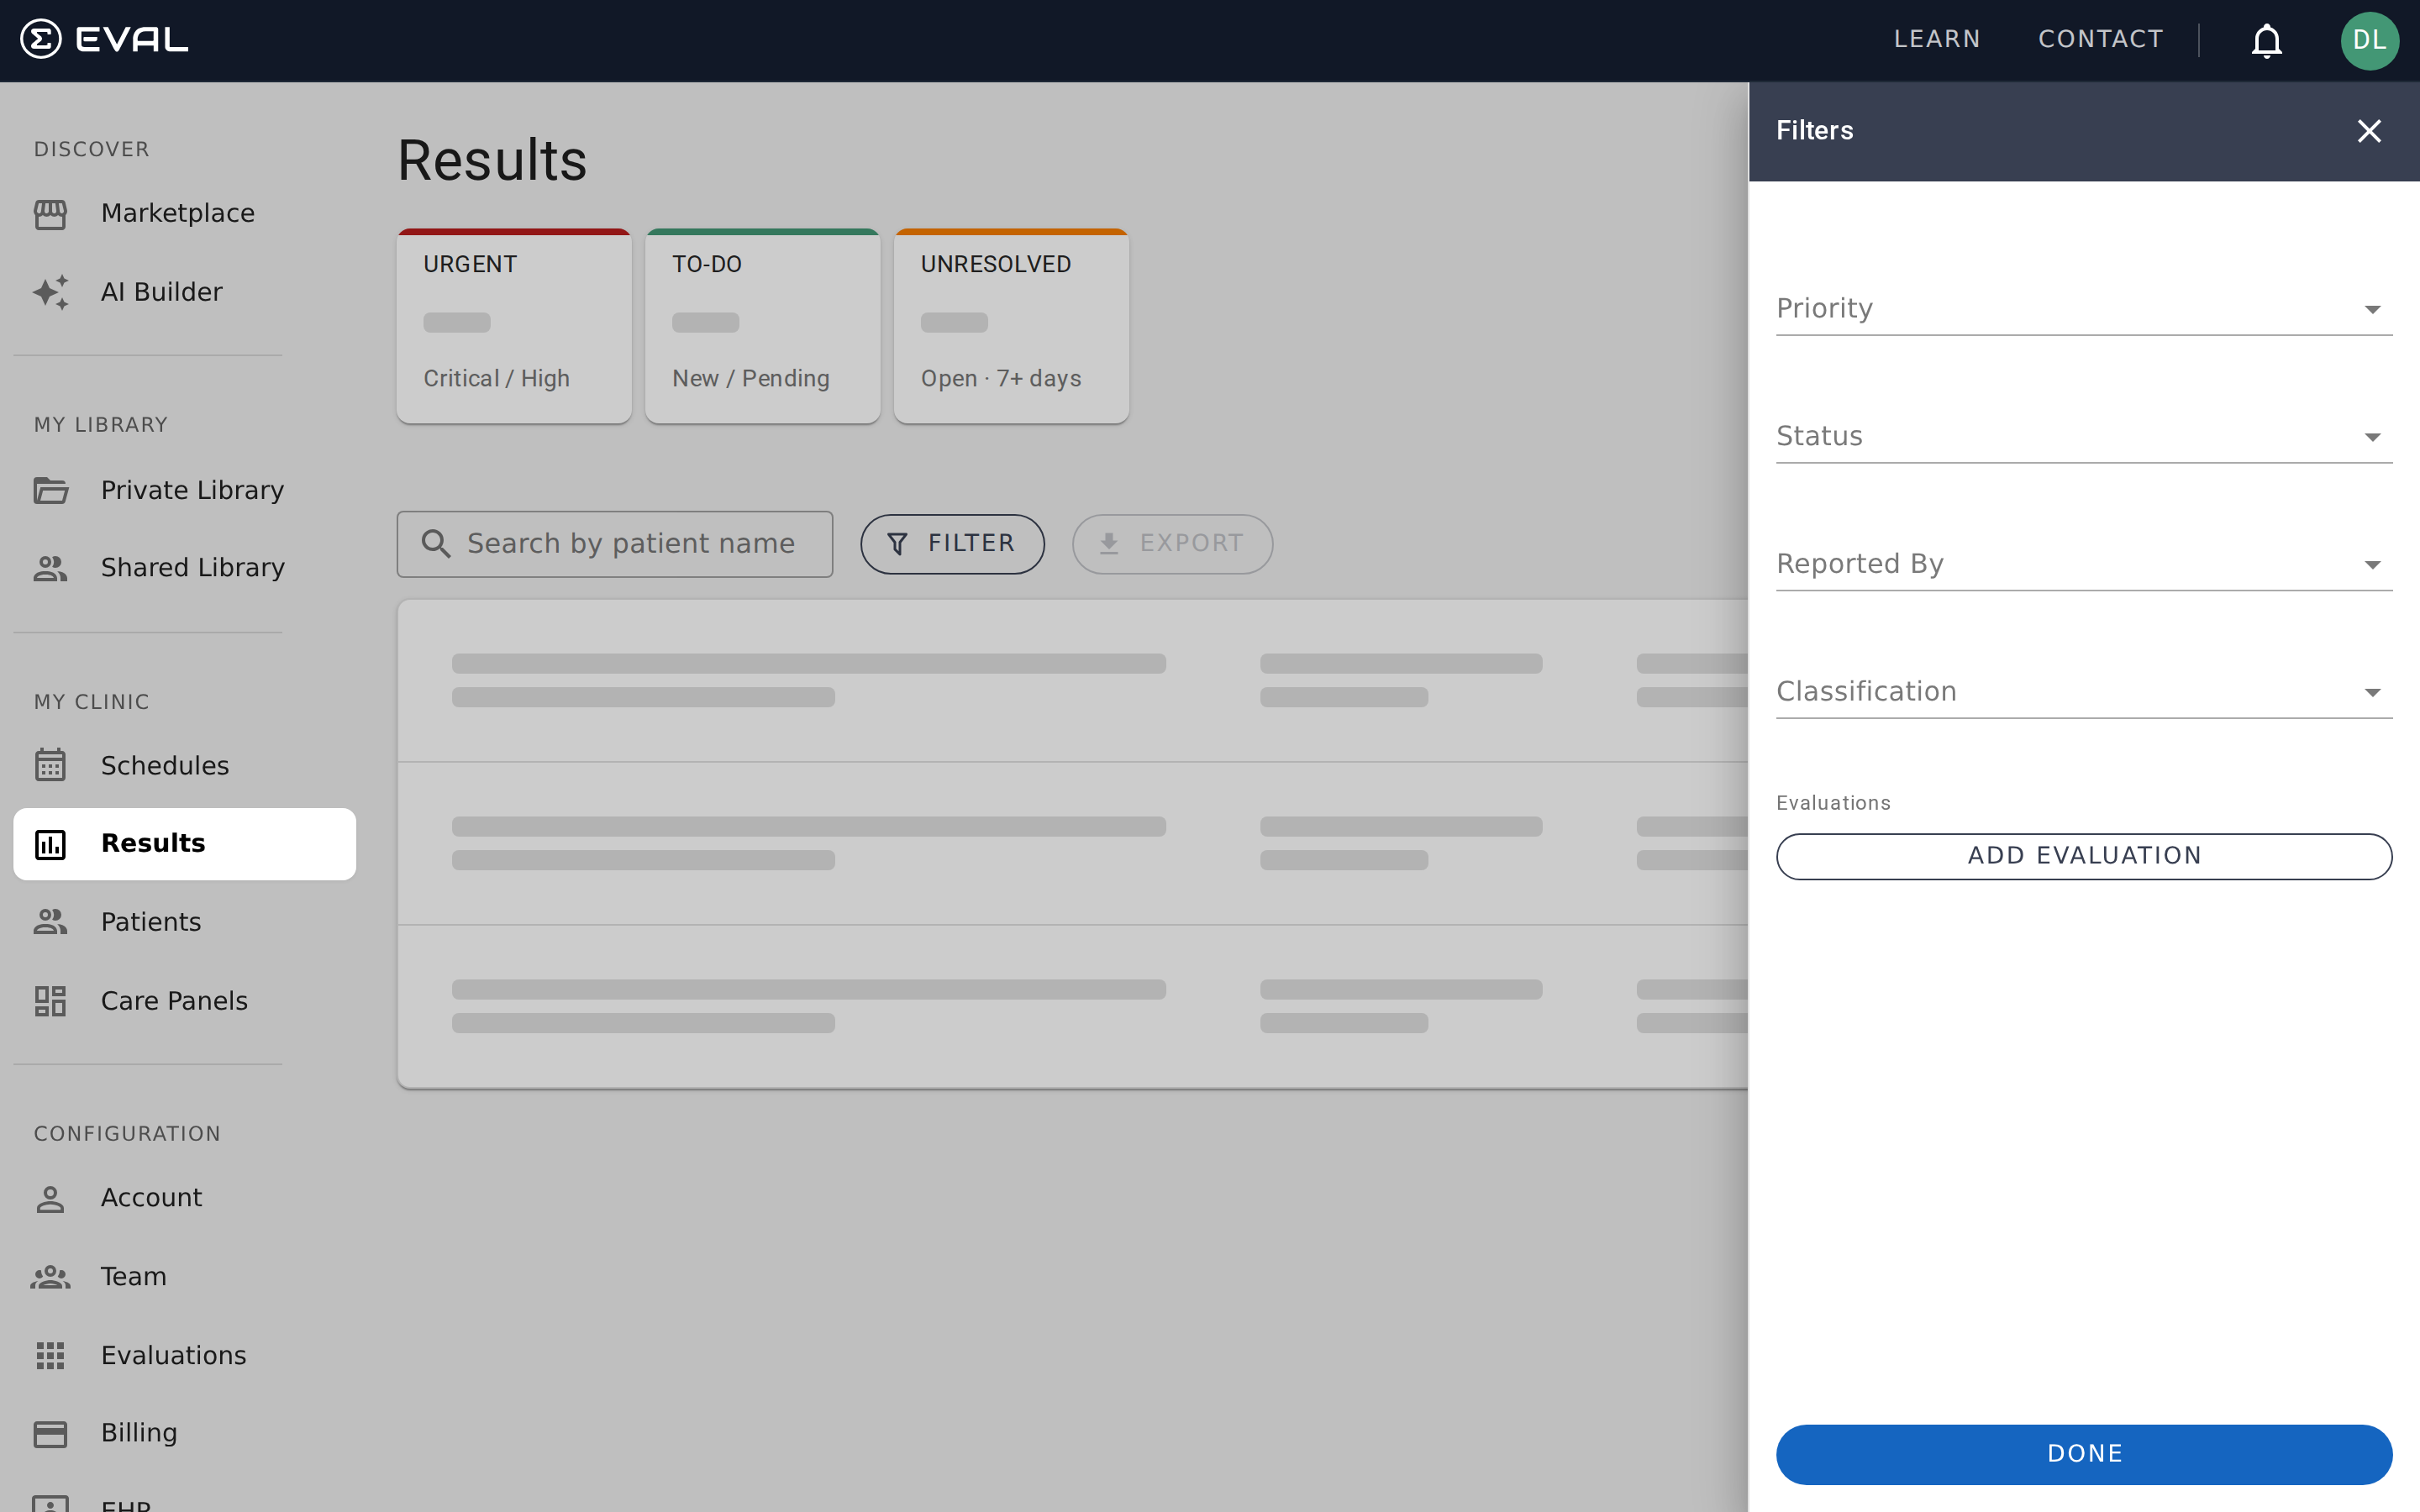
The filter drawer
For more targeted views, click Filter to open the filter drawer on the right side of the page. The drawer provides five filter categories that you can combine to create precisely the view you need.
Priority
Select one or more clinical priority levels to filter by: Critical, Urgent, Moderate, or Low. Multi-select is supported — for example, you can select both Critical and Urgent to see all high-priority results. Results with no priority assigned are excluded when any priority filter is active.
Status
Select one or more result statuses: New, Pending, Complete, or Invalid. Like priority, this supports multi-select. Filtering by status is useful when you want to review only completed results for quality assurance, or find results that were marked invalid to understand why.
Reported By
Filter by who submitted the result. Choose Practitioner to see only results entered by clinicians, or Patient to see only self-reported results from the patient portal or public intakes. This is a single-select filter — you can choose one or the other, but not both simultaneously.
Classification
Filter by patient type. Choose Real to see only results from actual patients, or Simulated to see only results from test patients. This is particularly useful during training or quality assurance, when you want to verify that simulated data isn't mixed into your clinical review queue.
Evaluations
Filter results to one or more specific evaluations. Click Add Evaluation to open a picker that lets you search your evaluation library. You can add multiple evaluations, and the filter will show results from any of them. Each selected evaluation appears as a removable item in the filter drawer.
This filter is valuable when you want to focus on a particular assessment — for example, reviewing all PHQ-9 depression screening results across your organization, regardless of which Care Panel they belong to.
How filters combine
All active filters use AND logic between categories. If you select Priority: Critical and Status: New, you'll see only results that are both Critical priority and New status. Within a multi-select category (like Priority), values use OR logic — selecting Critical and Urgent shows results that are either Critical or Urgent.
Active filter chips
When any filters are active, chips appear below the search bar showing each applied filter. Each chip includes the filter category and value — for example, "Priority: Critical" or "By: Practitioner." You can:
- Close individual chips by clicking the X on any chip to remove just that filter
- Clear all filters by clicking the Clear All button that appears alongside the chips
This makes it easy to iteratively refine your view without reopening the filter drawer.
Combining search and filters
Patient name search and drawer filters work together. You can search for a specific patient's name and then apply priority or status filters to narrow further. For example, searching for "Grimes" and filtering to New status shows only unreviewed results for patients whose name matches "Grimes."
Exporting results
Click Export to download the current filtered view as an Excel file. The export respects all active filters and search terms — if you've narrowed the list to Critical-priority results from a specific evaluation, the export contains only those results.
What the export includes
The Excel file organizes results into separate worksheets, one per evaluation. Each worksheet contains:
Standard columns that appear on every worksheet:
- Submitted date and time
- Submitted by (the person who ran the evaluation)
- Result type (patient evaluation or intake)
- Result status and priority
- Evaluation name and revision number
- Patient demographics: ID, first name, middle name, last name, birth date, email, and phone
Response columns that vary by evaluation:
- One column for each question in the evaluation, labeled with the question title
- One column for each computed result or score, labeled with the result name
File naming
Exported files follow the naming pattern Results-{timestamp}.xlsx, where the timestamp reflects the moment of export. This makes it easy to distinguish between multiple exports.
Worksheet organization
When your export includes results from multiple evaluations, each evaluation gets its own worksheet named after the evaluation. This keeps data organized and ensures that question columns align correctly — since different evaluations have different questions, separating them into worksheets prevents misaligned columns.
How the export is built
Understanding the export mechanics helps you work with the resulting Excel files more effectively.
Dynamic column schema
Each worksheet starts with 14 fixed metadata columns (submitted date, submitted by, result type, status, priority, evaluation name, revision number, patient ID, first name, middle name, last name, birth date, email, and phone). After these, the export adds one column for each unique question found across all results in that evaluation, followed by one column for each computed result — prefixed with "RESULT:" to distinguish scores from answers. Column order preserves the first-seen sequence from the result data.
Column deduplication
If an evaluation contains questions or results with identical titles, the export appends a numeric suffix to avoid ambiguity — so two questions both titled "Pain Level" become "Pain Level" and "Pain Level (2)" in the header row.
Worksheet generation
The export groups results by evaluation and creates one worksheet per evaluation. Worksheet names are derived from the evaluation name (sanitized to 31 characters to comply with Excel's sheet name limit). If multiple evaluations share a name, worksheets get numeric suffixes to stay unique. The file is generated entirely in your browser — no data is sent to an external server during export.
Results
Review and triage every completed evaluation across your organization with real-time updates, priority indicators, and one-click filtering.
Patient Portal
A separate application where patients complete evaluations, view results, track schedules, and manage their healthcare provider connections.