Overview
The Results page brings together every completed evaluation from across your entire organization into a single, triageable list. Instead of opening each Care Panel or patient chart to check on results, you can see what's new, what's urgent, and what's been sitting unresolved — all from one place with real-time updates as patients submit responses.
You'll find Results in the sidebar under My Clinic.
At-a-glance triage
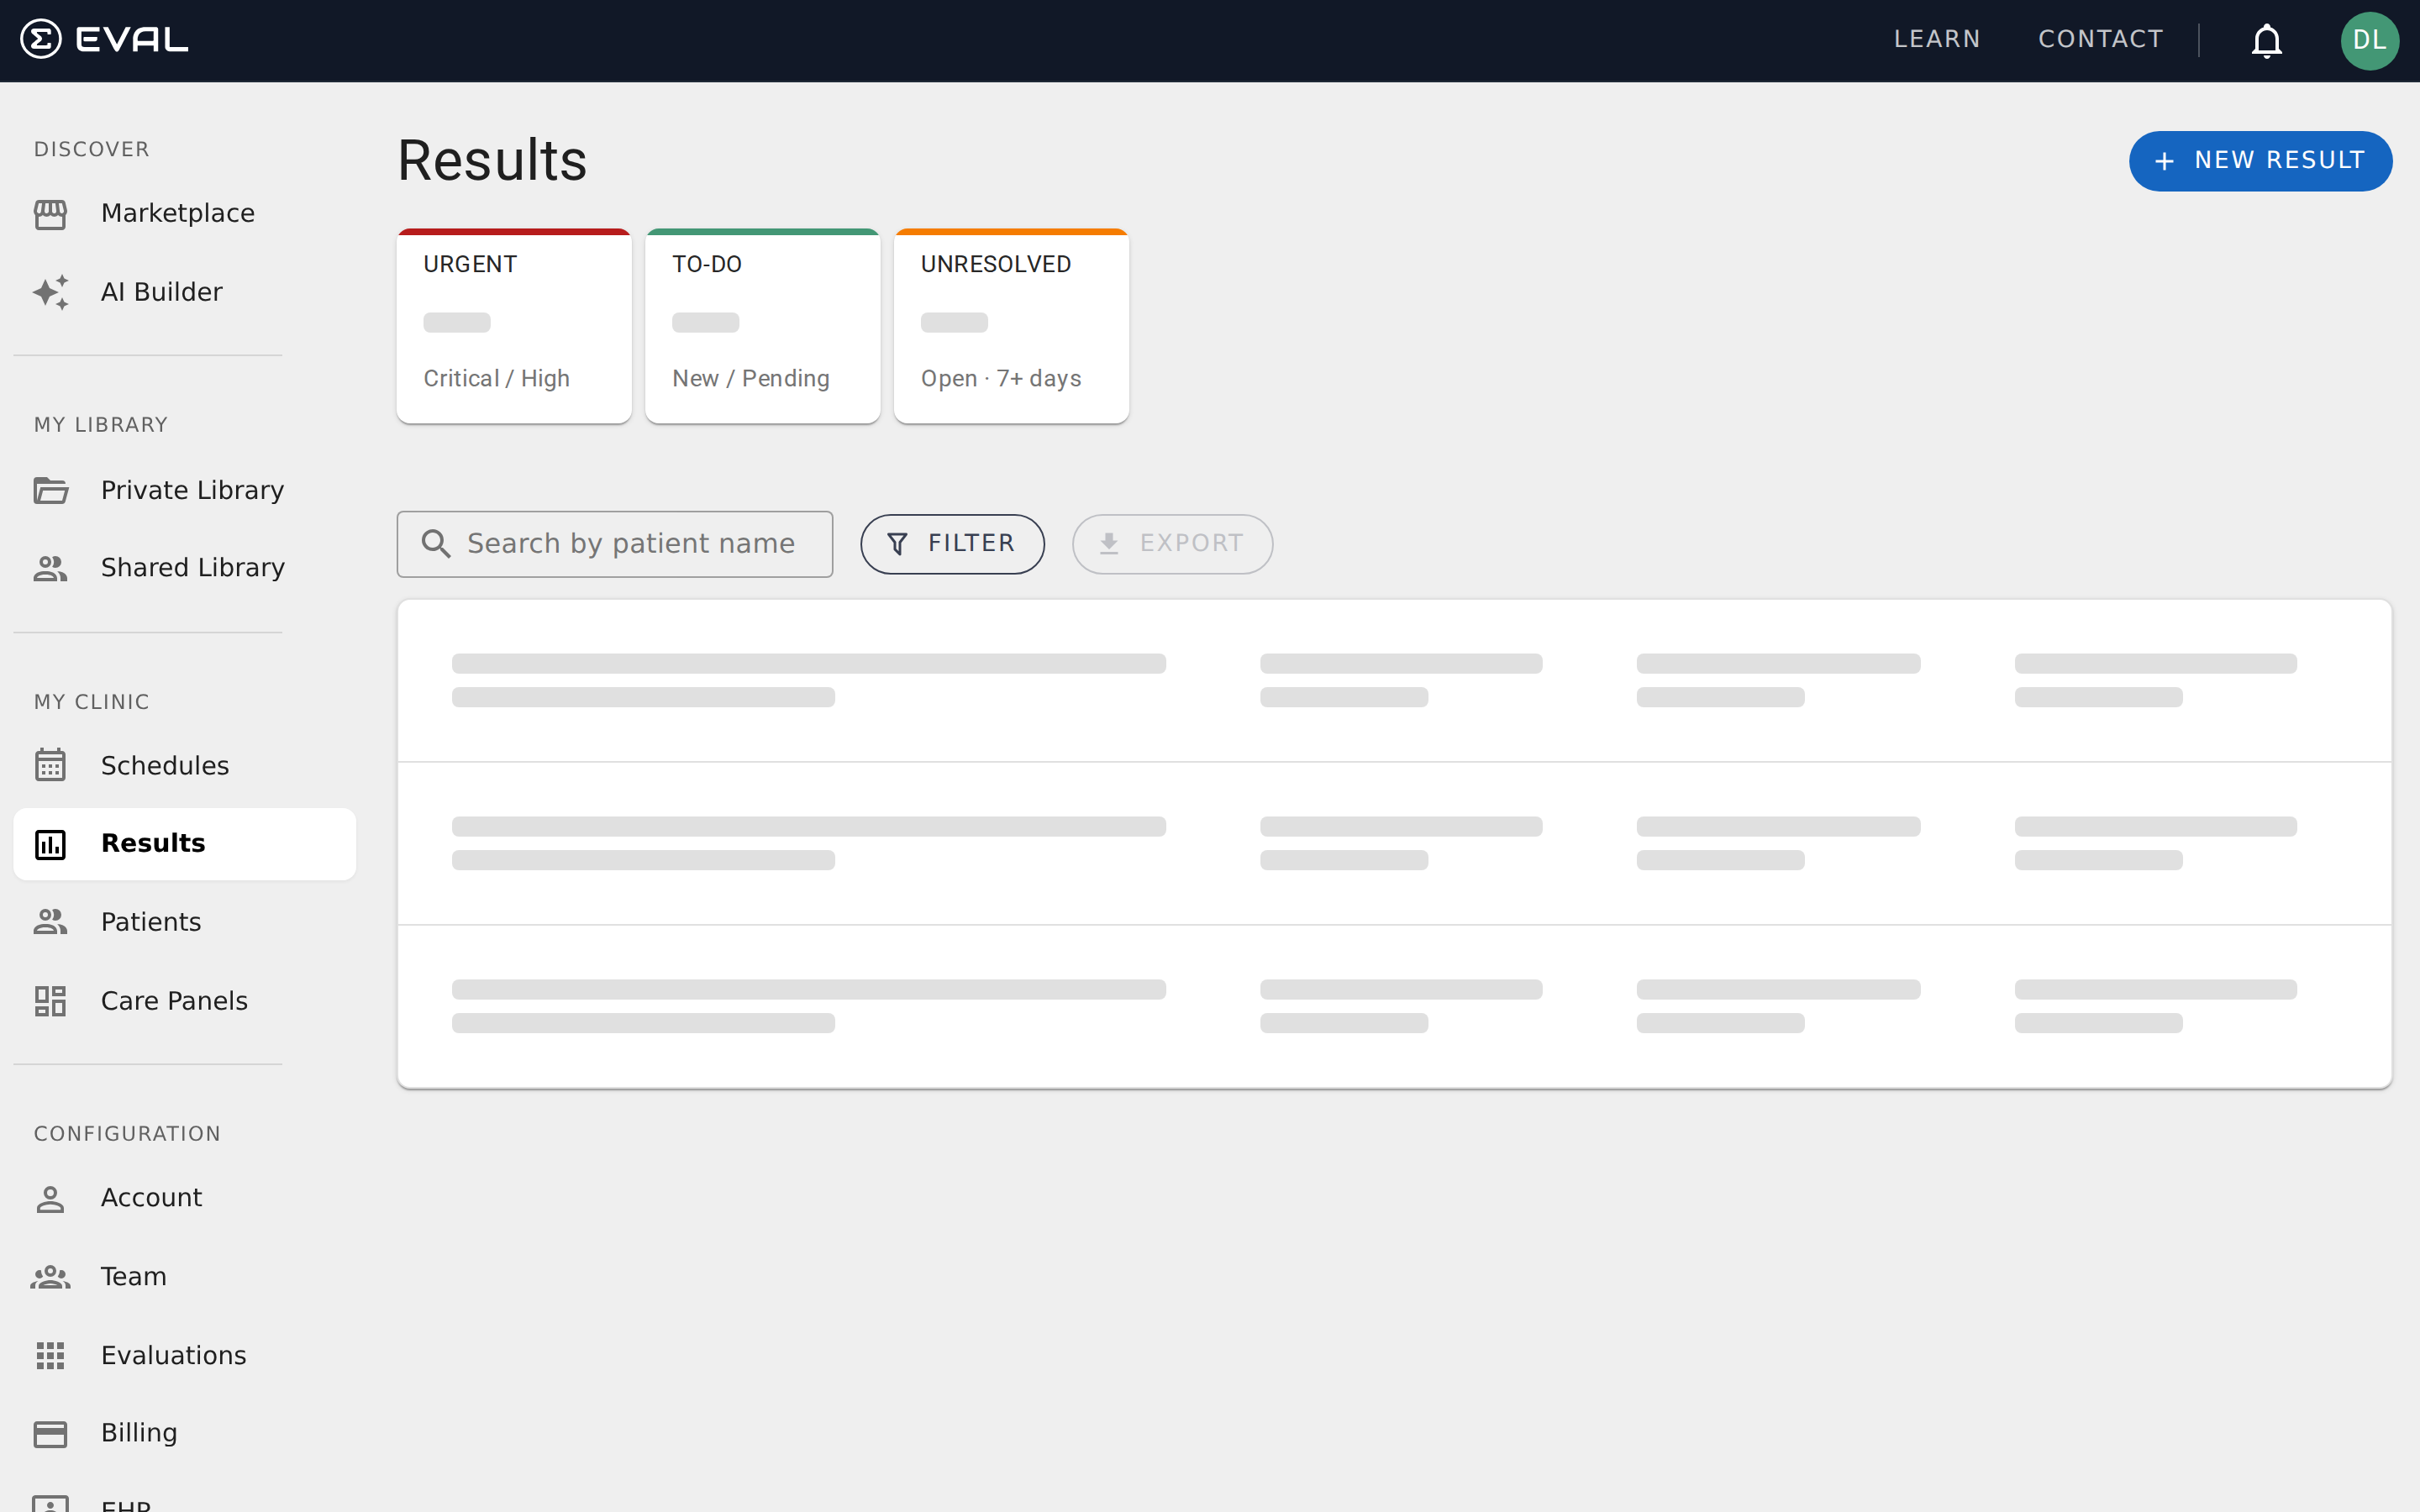
Three summary cards at the top of the page help you prioritize your workload at a glance:
Urgent counts results that are both high-priority (Critical or Urgent) and still unreviewed (New or Pending status). These are the results that need your attention first — a patient may have scored in a concerning range.
To-Do counts all results with New or Pending status, regardless of their priority. This is your complete outstanding work queue.
Unresolved counts results that have been sitting in New or Pending status for more than seven days. These are results that may have been overlooked and need follow-up.
Understanding the results list
Each result appears as a row showing the key details you need to triage effectively:
- Date and time — when the result was submitted, shown as a short date (e.g., "Mar 3") with the time below
- Patient — the patient's full name and date of birth. Simulated patients display an orange Simulated badge so they're never confused with real patient data
- Evaluation number — a sequential identifier (e.g., #195) that uniquely references this result
- Evaluation name — which assessment was completed, shown below the evaluation number
- Reported By — whether the result was submitted by a Practitioner (a clinician ran the evaluation) or a Patient (self-reported through the patient portal or a public intake)
- Priority — the clinical priority assigned by the evaluation's scoring rules: Critical, Urgent, Moderate, Low, or None. Critical and Urgent results display a prominent red indicator when they're still unreviewed
- Status — the current review state of the result: New, Pending, Complete, or Invalid
Results from public intake forms display an Intake badge next to the evaluation number, making it easy to distinguish intake submissions from standard evaluations.
Searching for results
The search bar at the top of the page filters results by patient name as you type. Enter any part of a patient's first or last name and the list narrows automatically — no need to press Enter. The summary cards update to reflect the filtered set, so you can quickly check how many urgent items a particular patient has.
Opening a result
Click any result row to open the full result view. For standard evaluations, this opens the patient's result in a detailed play-through showing the evaluation responses, computed scores, and any clinical recommendations. For intake results, it opens the intake response detail within the originating Care Panel.
After reviewing, use the back navigation to return to the Results page — your search and filters are preserved so you can continue triaging where you left off.
Real-time updates
The Results page uses live server-sent events to keep your view current. When a patient submits a new evaluation or an existing result changes, the list and summary cards update automatically — no need to refresh. This is especially valuable in busy clinics where multiple patients may be completing assessments simultaneously.
Getting started
Creating and managing schedules
Configure assessment frequency, repetition patterns, end conditions, and patient communication for scheduled evaluations in EVAL.
Filtering and exporting results
Narrow results by priority, status, evaluation, and patient type, then export filtered data to Excel for reporting and analysis.