Folders
As your Library grows, folders help you keep evaluations organized by program, department, condition, or any grouping that makes sense for your work. Folders support nesting, so you can create hierarchies — like a top-level "Cardiology" folder with subfolders for "Risk Calculators" and "Screening Tools."
Creating a folder
Click New Folder in the top-right corner of the Library. A dialog opens with a single field for the folder name (up to 90 characters). Click Save to create the folder.
The folder appears in your current location — if you're at the root of your Library, the folder is created at the top level. If you're inside another folder, the new folder is created as a subfolder. This makes it easy to build nested hierarchies: navigate to where you want the folder, then create it.
Navigating folders
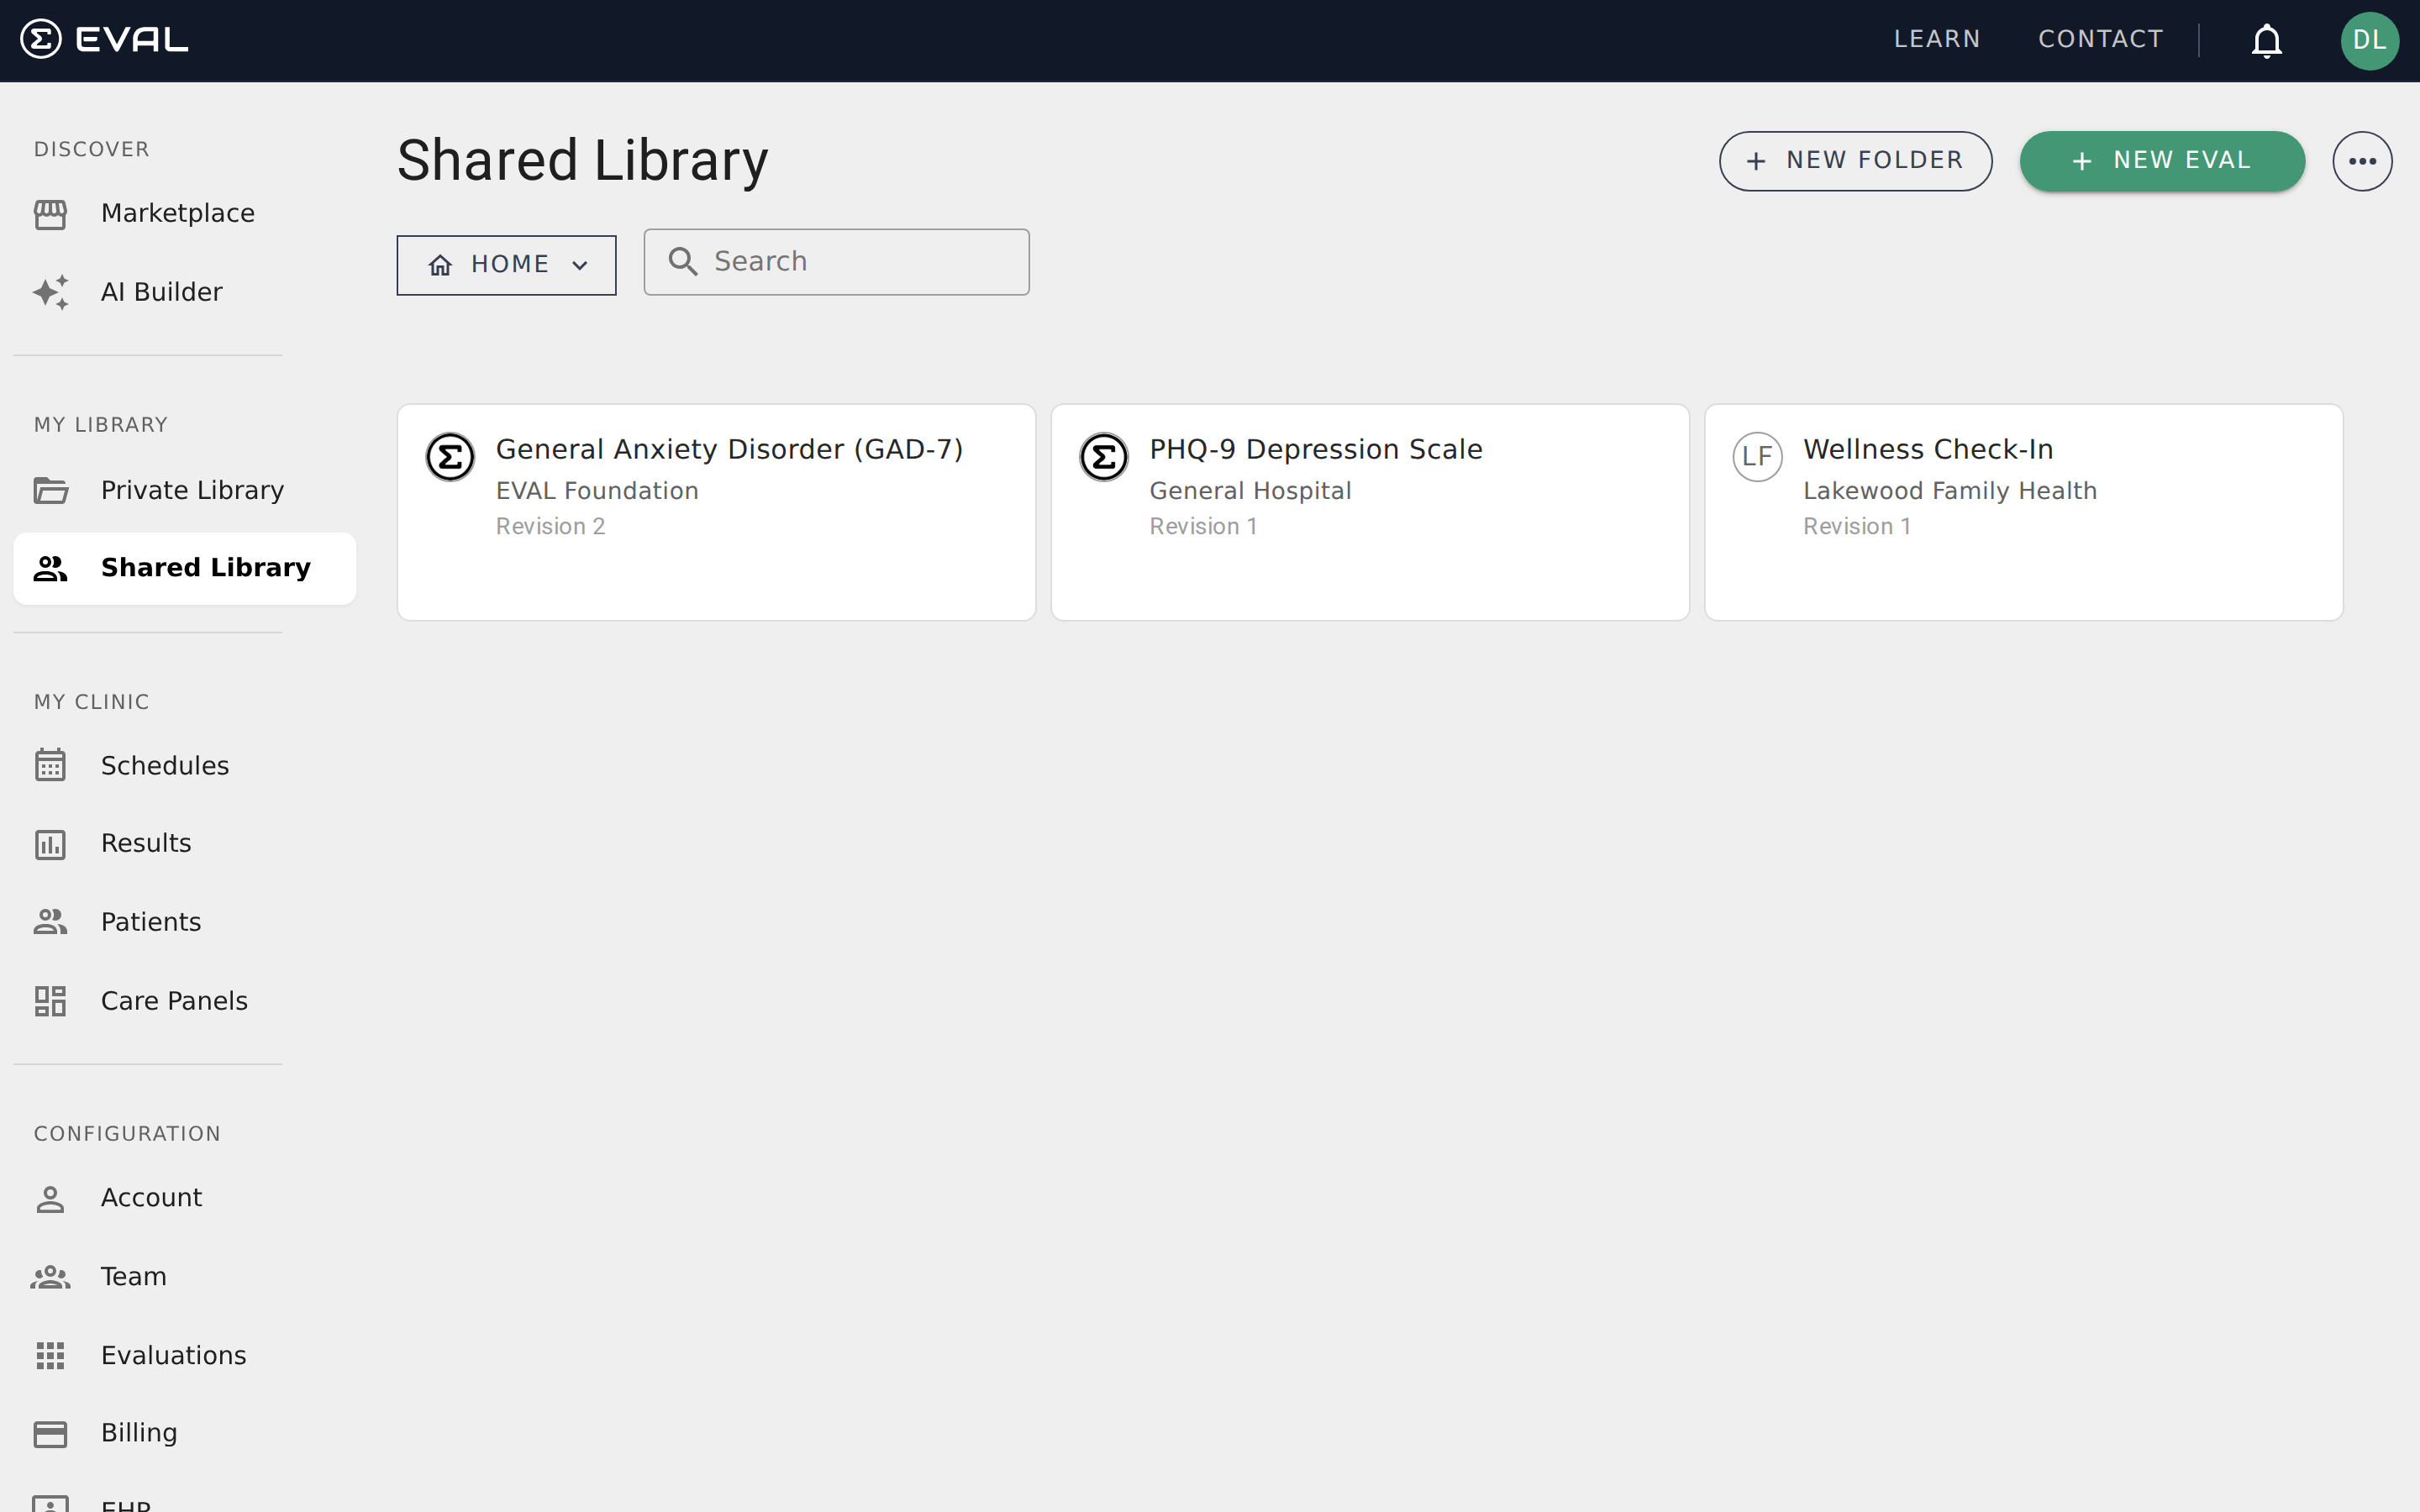
Click any folder card in the Library to open it. The breadcrumb dropdown at the top of the page shows your current location in the folder hierarchy. Click the dropdown to see the full path from Home to your current folder, and click any level to jump back up.
When you're inside a folder, the layout stays the same — subfolders appear as cards above the evaluations grid, and the search field filters content within the current folder. The New Folder and New Eval buttons remain available, creating items within the current folder context.
Editing a folder
To rename a folder, navigate into it and click the ⋯ menu in the top-right corner, then select Edit Folder. The same dialog used for creation opens with the current name pre-filled. Update the name and click Save.
Deleting a folder
From the ⋯ menu inside a folder, select Delete Folder. A confirmation dialog appears showing the folder name and explaining what will happen: evaluations and subfolders inside the deleted folder are moved to the Home (root) level of your Library. Nothing is permanently deleted — your evaluations remain safe, just relocated.
After deletion, you're navigated to the parent folder (or Home if the folder was at the root level).
Moving evaluations between folders
The Move to Folder action lets you reorganize evaluations after they've been created. Access it from the ⋯ menu at any level of your Library.
The move process works in two steps:
- Select evaluations — A dialog shows all evaluations in the current folder (or at Home if you're at root). Use the checkboxes to select which evaluations you want to move, and the search field to filter by name if your list is long. You can also navigate into subfolders to select evaluations from deeper levels. Click Next when your selection is ready.
- Choose a destination — Navigate the folder tree to find where you want to move the selected evaluations. Click into folders to drill down, use the breadcrumb dropdown to go back up. Folders you don't have permission to edit appear disabled. Click Move Here to complete the move.
The evaluations move immediately and appear in their new folder location. They're removed from their previous folder but keep all their content, revisions, and permissions intact.
Folders in Shared Library
Folders work the same way in both Private and Shared Library, with one important addition: Shared Library folders support folder-level permissions that control who in your organization can view and edit the folder's contents.
When you create a folder in the Shared Library, it inherits the visibility of its parent folder. Subfolders of a private parent folder are automatically private as well. You can adjust visibility and add individual user permissions through the Folder Permissions dialog.