Creating and managing schedules
A schedule ties an evaluation to a patient with a frequency, a communication method, and optional end conditions. Once created, the system automatically sends the patient a link to complete the evaluation at the intervals you've configured — no manual follow-up needed.
This page covers every option available when creating or editing a schedule, whether from the standalone Schedules page or from within a Care Panel.
Creating a new schedule
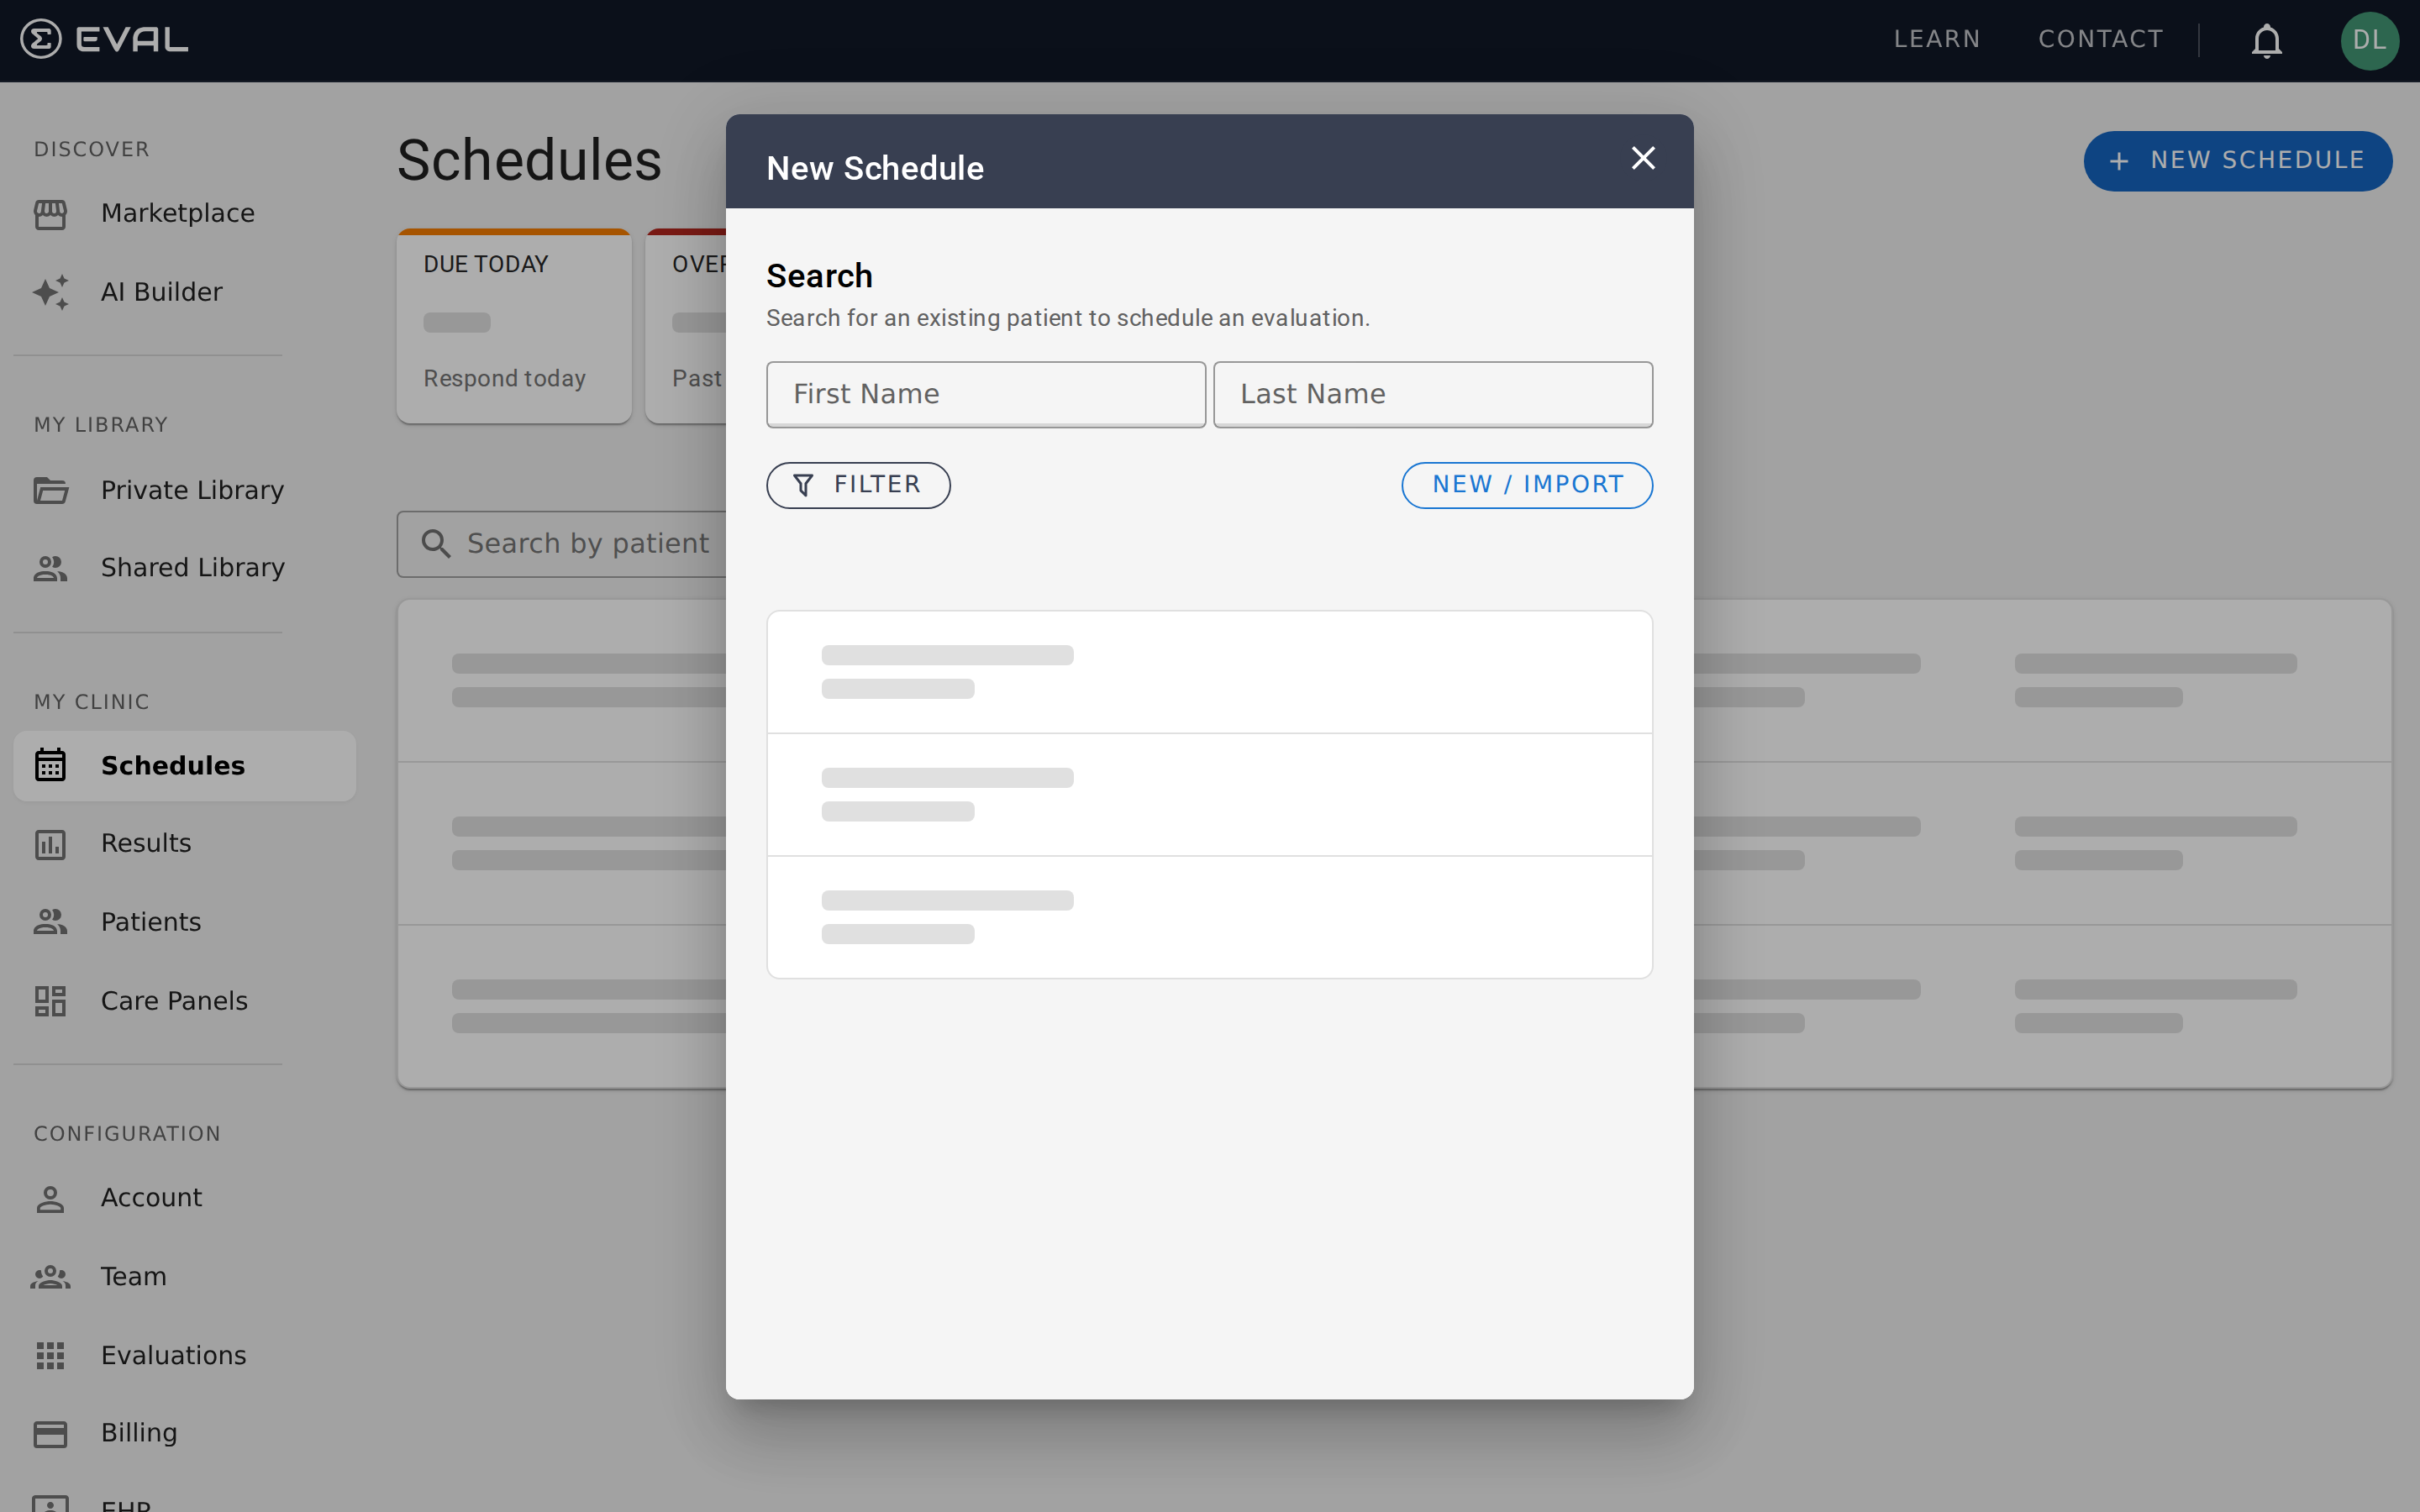
Click + New Schedule from the Schedules page (or set up a schedule from a patient's chart). After selecting a patient and evaluation, you'll configure four sections: frequency, end conditions, patient instructions, and communication.
Daily frequency
The daily frequency determines how many times per day the patient is expected to complete the evaluation:
- Once daily — standard for most monitoring programs
- Twice daily — for assessments that track changes throughout the day (e.g., morning and evening pain levels)
- Three times daily or Four times daily — for intensive monitoring
- As needed — the patient can complete the evaluation whenever they choose, without a fixed daily count
Start date
Set when the first assessment should be sent. For new schedules, this must be today or a future date. The schedule becomes active immediately on the start date.
Repetition pattern
By default, a schedule sends the evaluation once on the start date and doesn't repeat. To set up an ongoing schedule, enable the Repeats option and configure:
Repeat interval — how often the schedule recurs. Choose from:
- Days — every N days (e.g., every 1 day for daily, every 3 days for every third day)
- Weeks — every N weeks, with specific days of the week selected
- Months — every N months
- Years — every N years
Repeat count — how frequently within the chosen interval (1 to 99). "Every 2 weeks" means the evaluation is sent every other week.
Weekly days — when you select a weekly interval, pick the specific days the assessment should be sent. For example, a three-times-weekly schedule might send on Monday, Wednesday, and Friday.
End conditions
For repeating schedules, choose when the schedule should stop:
Never keeps the schedule running indefinitely. The patient continues receiving assessments until you manually archive or delete the schedule. This is common for ongoing chronic condition monitoring.
On a specific date ends the schedule automatically on the date you choose. Useful for time-limited research studies or post-surgery recovery monitoring.
After a number of results ends the schedule after a set number of completed assessments. Use this when the protocol requires a fixed number of data points regardless of timing — for example, "collect 12 weekly assessments."
Patient instructions
An optional text field (up to 500 characters) lets you add instructions that appear alongside the evaluation when the patient receives it. Use this to provide context the patient needs: "Please complete before your appointment on Friday" or "Rate your pain level before taking your evening medication."
Communication method
Every schedule requires a communication method — how the patient will receive their assessment link. Choose from:
- An existing contact method listed on the patient's record (email, phone, or WhatsApp)
- A new email address you enter directly
- A new mobile phone number you enter directly
The system uses this method to send the patient a link each time an assessment is due. If you need to change the communication method later, edit the schedule and select a different option.
Editing a schedule
Click any schedule row to open its details. All configuration options are editable on an active schedule:
- Frequency and repetition — change the daily frequency, interval, or days of the week
- Start date — adjust when the next assessment is due
- End conditions — switch between never, a date, or a result count
- Patient instructions — update the instructions the patient sees
- Communication method — change how the patient receives notifications
Changes take effect immediately. The next scheduled assessment will use the updated settings.
The schedule detail view also shows usage information you can't edit: when the next assessment is due, how many results have been received today versus the daily frequency, and the total number of results collected.
Schedule statuses
Every schedule has one of four statuses that reflects its current state:
Active means the schedule is running normally. The patient is receiving assessments according to the configured frequency.
Overdue means the due date for the current assessment has passed without a response. The schedule is still active, but the patient hasn't submitted the expected result.
Completed means the schedule has finished — either because it reached its end date, collected the target number of results, or was manually archived. No more assessments will be sent.
Canceled means someone on your team stopped the schedule before it completed naturally. The system records who canceled it and when.
Archiving a schedule
To stop an active schedule, open its details and click Archive. This marks the schedule as completed — no further assessments will be sent. Archiving is permanent and cannot be undone, so make sure the patient no longer needs the scheduled assessments before proceeding.
Deleting a schedule
Deleting a schedule permanently removes it from the system. Unlike archiving (which keeps the record for historical reference), deletion removes the schedule entirely. Use deletion only for schedules that were created in error.
Open the schedule details and click Delete. A confirmation dialog ensures you don't accidentally remove a schedule. Any results already collected from the schedule remain in the patient's chart — only the schedule configuration is removed.
Common scheduling patterns
Weekly symptom tracking — Set up a once-daily schedule that repeats every 1 week. Choose the day of the week when patients are most likely to respond, like Monday morning. Set the end condition to "Never" for ongoing monitoring, or "On date" for time-limited programs.
Pre-appointment assessments — Create a non-repeating schedule with the start date set to a few days before the patient's next appointment. Add patient instructions like "Please complete before your visit on Thursday." The schedule completes automatically after one submission.
Research study protocols — For a 12-week study requiring weekly assessments, set up a once-daily schedule that repeats every 1 week, ending after 12 results. This ensures exactly 12 data points regardless of when the patient starts.
Post-surgery recovery — Create a schedule that starts on the surgery date and repeats daily for the first week, then weekly for the next month. Since EVAL doesn't support changing frequency mid-schedule, set up two separate schedules: one daily schedule ending after 7 results, and one weekly schedule starting one week after surgery.
How reminders and overdue detection work
A background process periodically scans for schedules whose next assessment start date has arrived. For each due schedule, the system sends the patient a notification through the configured communication method — email or SMS — containing a secure, time-limited link to complete their evaluation. Reminders are only sent after 6 AM in the schedule's configured timezone to avoid disturbing patients overnight.
To prevent duplicate messages, the system tracks the last reminder sent for each patient and skips any schedule that has already been notified within the current assessment period. If the patient has opted out of notifications for a specific communication channel, that channel is silently skipped.
When a due date passes without a submission, the schedule transitions to Overdue status automatically. The schedule remains active — future assessments continue as configured — but the overdue indicator signals that follow-up may be needed.