Connect Epic to EVAL
Connecting your Epic instance to EVAL eliminates manual patient data entry and lets clinicians launch evaluations directly from their Epic workflows. In this tutorial, you'll create an Epic connection using FHIR R4, configure patient synchronization, run your first patient import, and verify that the integration is working.
This tutorial focuses on Epic, but the general workflow applies to other supported EHR systems (Cerner, Athena, eClinicalWorks). The connection wizard adapts to each system's specific requirements.
Prerequisites: Account Administrator access on a Clinical Team plan (with EHR add-on) or Enterprise plan. You'll need your Epic instance's FHIR endpoint URL and client credentials from your IT team or Epic administrator.
Time: 30–45 minutes (depending on your organization's Epic configuration).
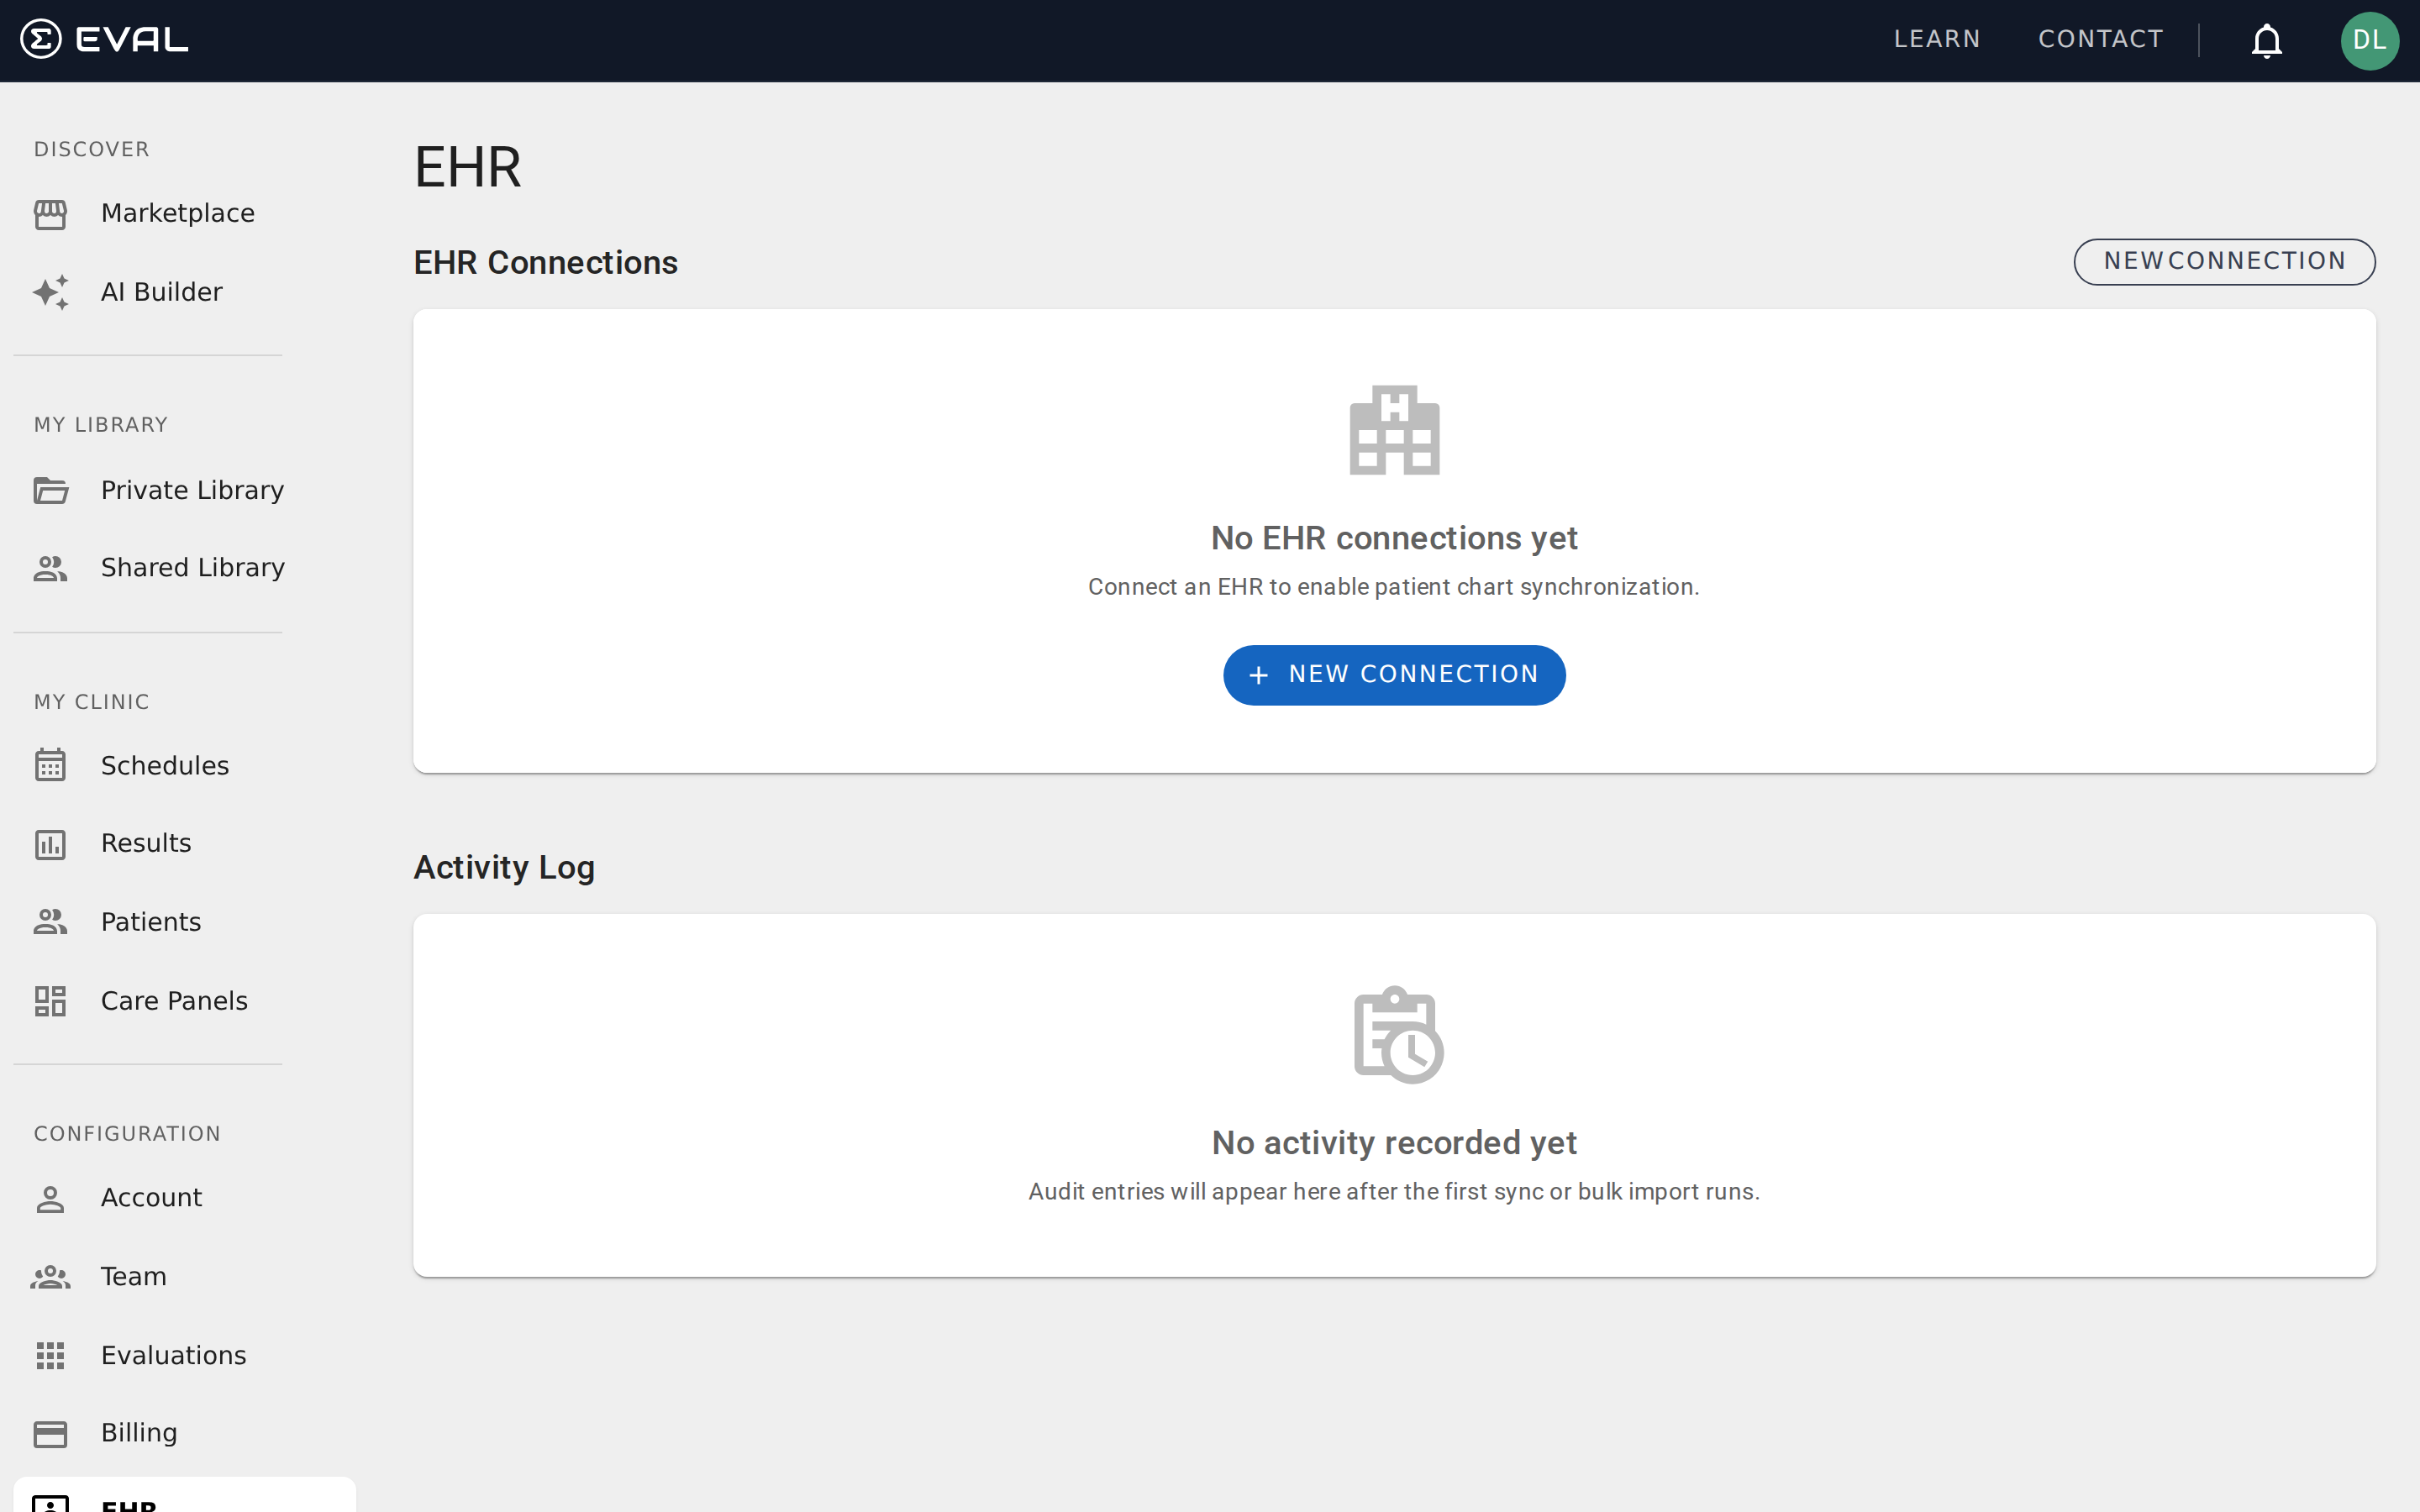
Navigate to the EHR page
Click EHR in the Configuration section of the sidebar. You'll see the EHR Connections list (which may be empty if this is your first connection) and an Activity Log below it. Click New Connection in the upper right to start the connection wizard.
See Integrations overview for background on how EVAL's EHR integrations work and which systems are supported.
Select Epic and configure the connection
The connection wizard asks you to choose your EHR system. Select Epic from the available options. Then configure the connection with the following information:
- Connection name: Give it a descriptive name like "Epic Production" or "Epic Sandbox" so you can identify it later
- FHIR version: Select FHIR R4 (the standard for modern Epic instances)
- Connection type: Choose based on your use case:
- Patient Sync — Imports patient demographics from Epic into EVAL
- EHR Launch — Enables launching EVAL from within Epic using SMART on FHIR
- SSO — Allows single sign-on from Epic to EVAL
For this tutorial, select Patient Sync to import patients. You can add additional connection types later.
Enter your FHIR endpoint
Enter the FHIR endpoint URL provided by your Epic administrator. This is typically in the format https://your-epic-instance.org/interconnect-fhir-r4/api/FHIR/R4. EVAL uses service discovery to validate the endpoint and retrieve the server's capability statement.
If your organization uses Epic's sandbox environment for testing, use the sandbox FHIR URL first. You can create a production connection later once you've verified the integration works.
Enter credentials and authorize
Enter the client credentials (client ID and, if required, client secret) that your Epic administrator has provisioned for EVAL. These credentials control what data EVAL can access through the FHIR API.
The authorization flow depends on your Epic configuration. For most Patient Sync connections, EVAL uses backend service authorization (no interactive login required). For EHR Launch connections, the authorization happens when a clinician launches EVAL from within Epic.
Run a test sync
After the connection is created, return to the EHR page. Your new connection appears in the EHR Connections list with its system type (Epic), FHIR version (FHIR R4 :: SMART v1), and connection type (Patient Sync) displayed.
Click on the connection to open its detail view. Look for a Sync or Test action that triggers a patient synchronization. For your first sync, EVAL pulls patient demographics from your Epic instance and creates corresponding patient records in EVAL. Depending on the size of your patient population, this may take a few seconds to several minutes.
Watch the Activity Log at the bottom of the EHR page — it shows real-time sync activity including the operation type, connection name, timestamp, the number of records fetched, and the elapsed time. A successful sync shows a green "SUCCESS" badge. For example, you might see "Patient Sync — 84 fetched · 1s" for a small batch or "Bulk Import — 2,738 fetched · 4s" for a larger population.
Verify imported patients
Navigate to Patients in the sidebar to see your patient list. Patients imported from Epic appear alongside any manually created patients. You can use the search bar to find specific patients by name.
Synced patients have their demographics (name, date of birth, sex, address, phone number, email) populated directly from Epic data, eliminating the need for manual data entry. Open a patient's chart to verify the imported information is correct. The Identity tab shows the patient's demographic details, and the Medical tab shows any clinical data pulled from the EHR connection.
Monitor ongoing synchronization
Return to the EHR page periodically to check the Activity Log. Each sync operation is logged with its status (Success or Error), the connection used, a timestamp, the number of records fetched, and the elapsed time.
If a sync encounters errors — such as an expired credential, an unreachable FHIR endpoint, or a network timeout — the Activity Log shows the error details along with diagnostic information to help you resolve the issue. Common first-time problems include incorrect FHIR endpoint URLs and expired client credentials. See Integrations for troubleshooting common connection issues.
What's next
With your Epic connection active, you can:
- Add an EHR Launch connection — Let clinicians launch EVAL directly from the Epic patient chart. Create a new connection with the EHR Launch type using the same process above. See FHIR and SMART on FHIR.
- Add an SSO connection — Enable single sign-on so that Epic users don't need separate EVAL credentials. See Creating connections.
- Connect additional EHR systems — If your organization uses multiple EHR systems across different departments or locations, add connections for Cerner, Athena, or other supported systems.
- Configure sync schedules — Set up automatic, recurring patient synchronization so new patients added in Epic appear in EVAL without manual imports.
Set up a care panel
Create a care panel for a patient population, add patients, schedule assessments, configure notifications, and review incoming results.
Create a scheduled assessment
Set up a recurring evaluation schedule for a patient, configure delivery preferences, and track completions through the Results page.