Create a scheduled assessment
Scheduled assessments automate the process of sending evaluations to patients at regular intervals. Instead of manually assigning a PHQ-9 every two weeks, you create a schedule once and EVAL handles the delivery — notifying patients by email or SMS when it's time to complete their assessment.
In this tutorial, you'll create a biweekly PHQ-9 schedule for a single patient, configure the communication method, and track the first completion through the Results page.
Prerequisites: A Clinical Team or Enterprise account, at least one patient record with a valid email address or phone number, and at least one published evaluation in your library.
Time: 10–15 minutes.
Open the patient's chart
Navigate to Patients in the sidebar, then search for or select the patient you want to schedule. Click on their name to open their chart. You'll see the patient's tabs — Identity, Medical, Results, and Portal.
See Patient charts for a tour of the patient chart.
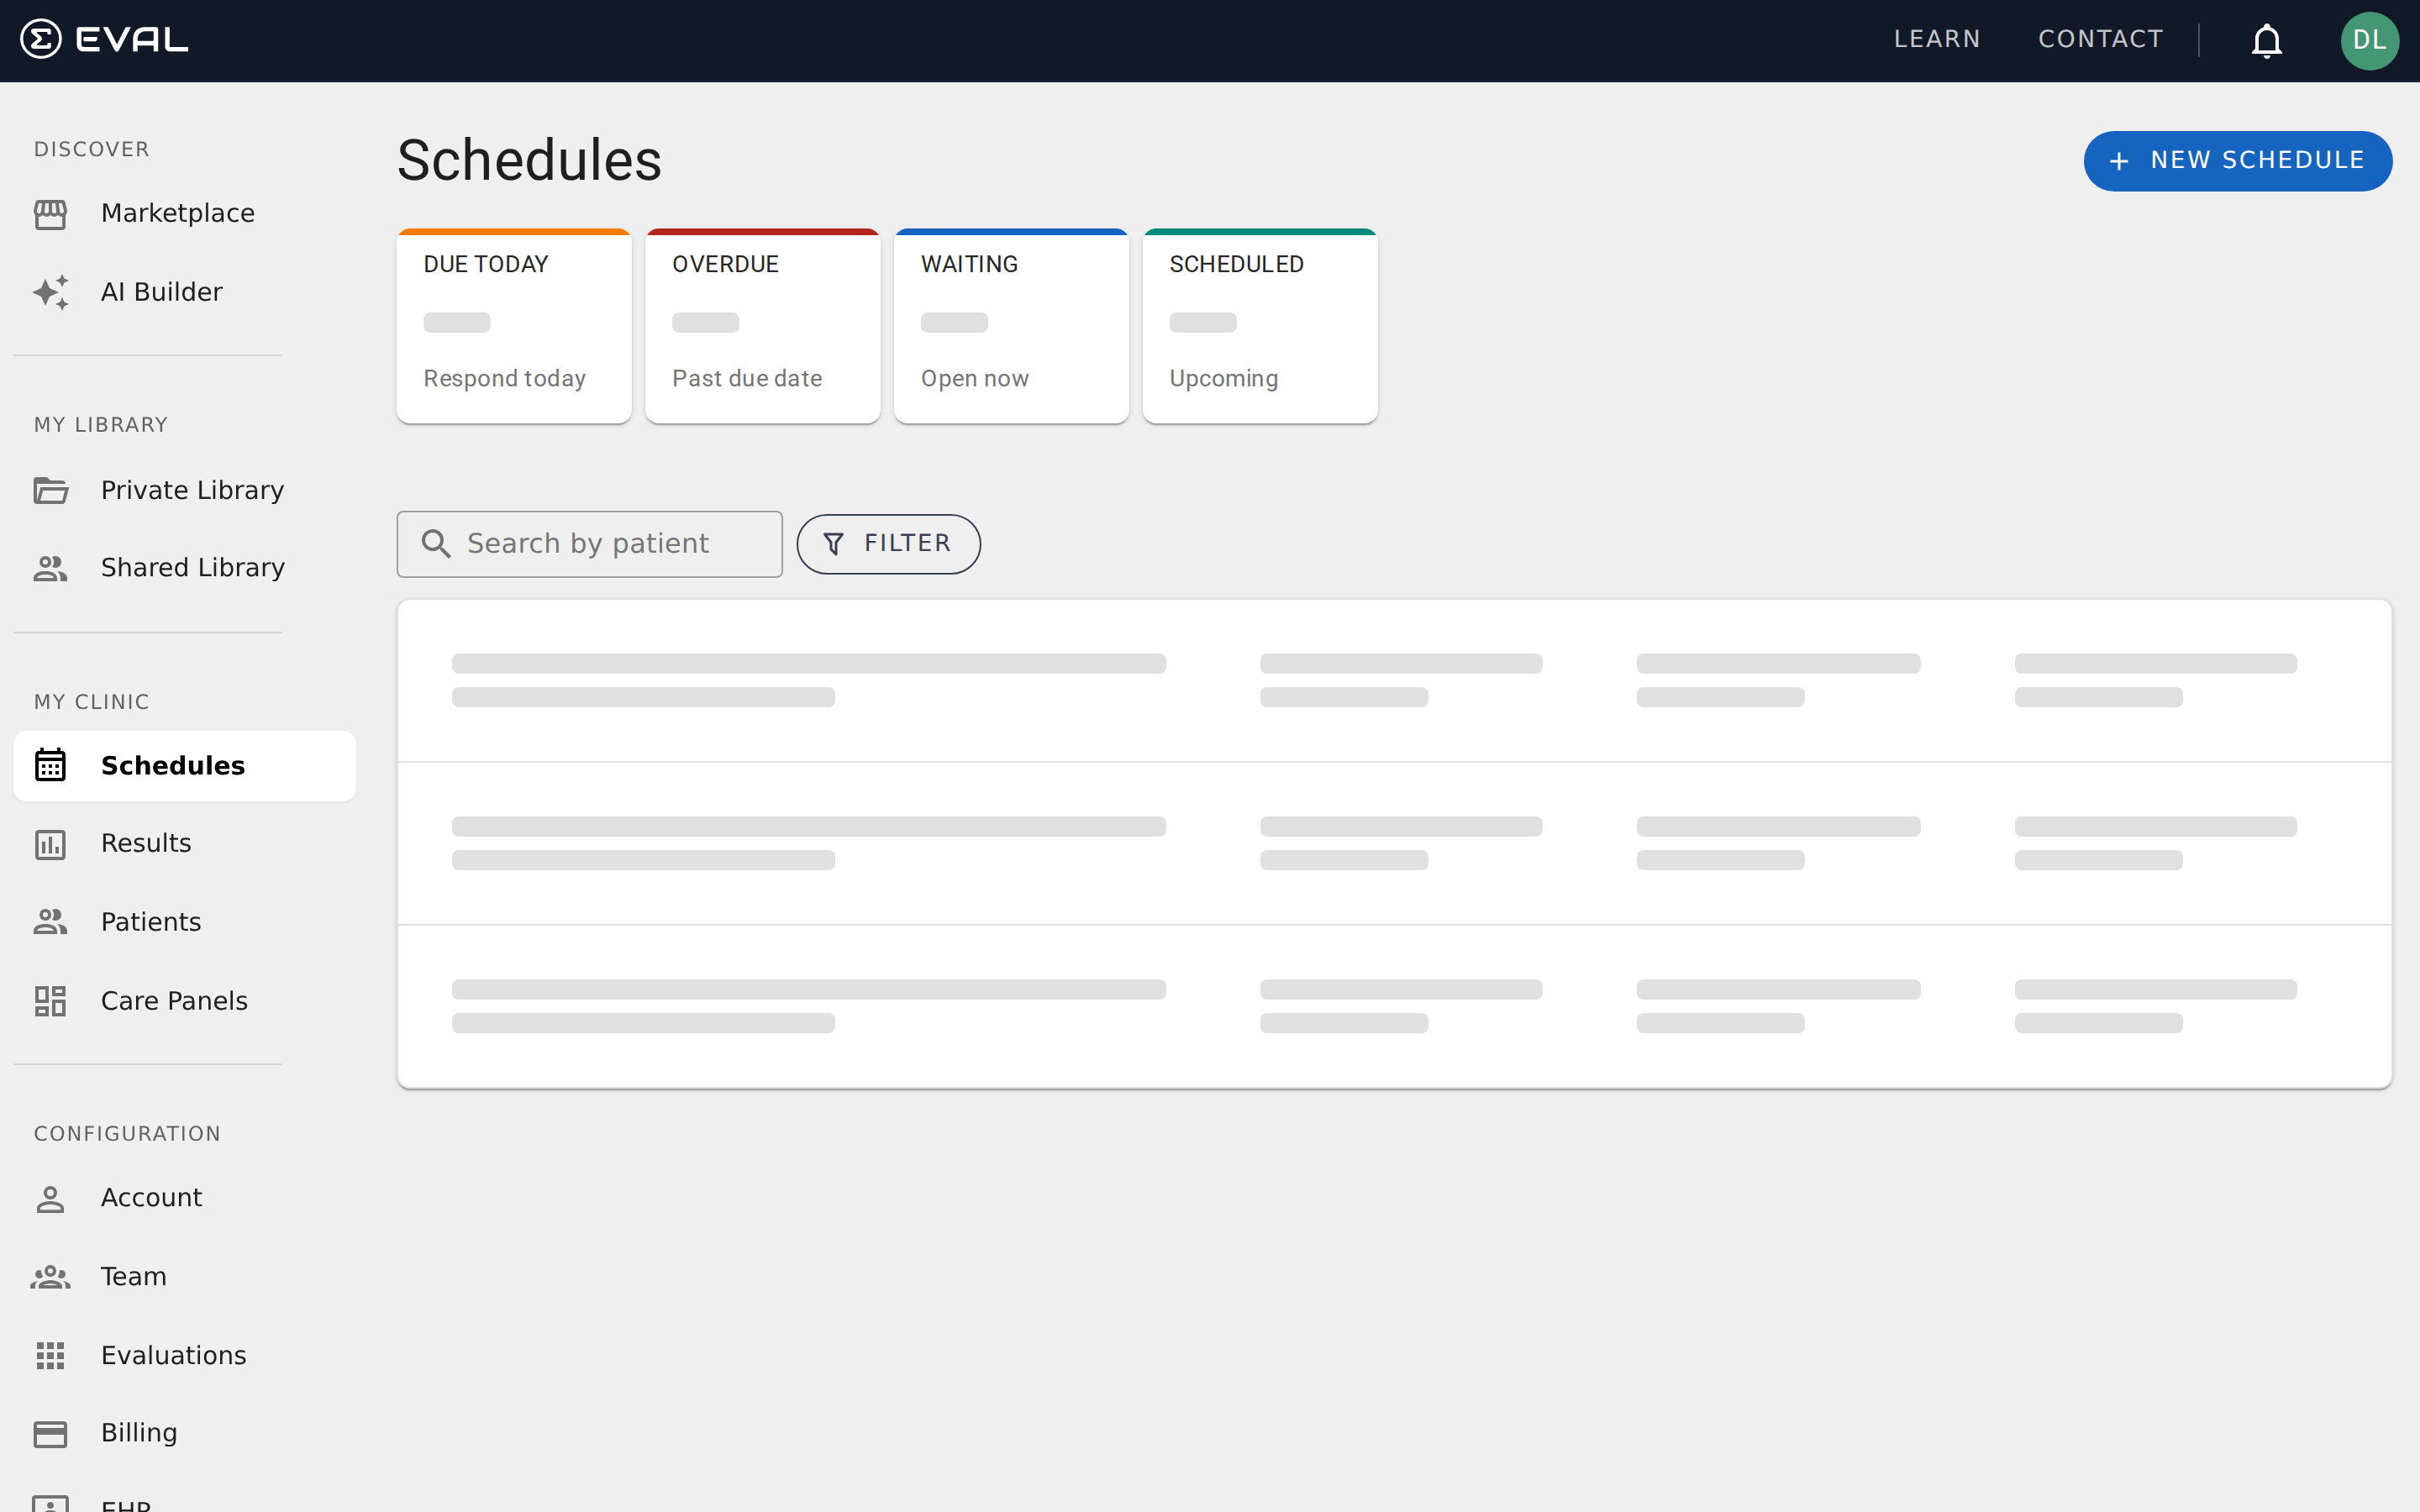
Navigate to the Schedules section
Click the Results tab in the patient's chart. Within the Results tab, look for the Schedules sub-tab or section. This is where you manage all recurring assessment schedules for this patient.
If the patient doesn't have any existing schedules, you'll see an empty state with an option to create one.
Create a new schedule
Click Add Schedule to open the schedule creation dialog. Configure the following:
- Evaluation: Select the evaluation you want to schedule (e.g., PHQ-9 Depression Screen). You can search by name if you have many evaluations.
- Frequency: Choose how often the patient should complete the assessment. For depression monitoring, biweekly (every 14 days) is a common clinical interval. Options include daily, weekly, biweekly, monthly, or custom intervals.
- Start date: Set when the first assessment should be sent. For this tutorial, choose today's date.
- End date: Leave this blank for ongoing monitoring, or set a specific end date if you're running a time-limited program (e.g., a 12-week treatment protocol).
Configure the communication method
Choose how the patient will be notified when an assessment is due:
- Email — The patient receives an email with a link to complete the evaluation. Requires a valid email address on the patient's record.
- SMS — The patient receives a text message with a link. Requires a valid phone number.
- Both — Sends both email and SMS notifications.
- None — The assessment appears in the patient's portal but no notification is sent. Use this if the patient completes assessments during in-office visits.
For this tutorial, select the communication method that matches the contact information available on your patient's record. If the patient has both email and phone, choosing both gives them the best chance of seeing and completing the assessment promptly.
Save and verify the schedule
Click Save to create the schedule. It appears in the patient's schedule list with the evaluation name, frequency, communication method, next scheduled date, and current status. Take a moment to verify everything looks correct before moving on.
The schedule status tells you where things stand:
- Active — The schedule is running and will send the next assessment on the scheduled date
- Paused — The schedule exists but is not currently sending assessments
- Completed — The schedule has reached its end date and is no longer sending
Verify the next scheduled date is correct based on your start date and frequency settings. If you chose biweekly starting today, the first assessment should be sent today and the next one in 14 days.
Track completions in Results
When the patient completes the assessment (either through an email/SMS link or in the patient portal), the result appears in multiple places:
- The patient's Results tab — Shows all results for this patient, including those from schedules
- The Schedules page — Click Schedules in the sidebar under My Clinic to see all scheduled assessments across all patients, with their completion status
- The Results page — Click Results in the sidebar to see all results across your organization, filterable by evaluation, date, priority, and status
Open the result to review the patient's responses and score. If the evaluation produces a severity category (like the PHQ-9's severity levels), it appears alongside the total score.
See Reviewing results for the full result review workflow.
Manage the schedule going forward
You can modify a schedule at any time:
- Change frequency — Adjust the interval if the patient's clinical needs change (e.g., switch from biweekly to monthly once symptoms stabilize)
- Pause — Temporarily stop sending assessments without deleting the schedule
- Resume — Restart a paused schedule
- Delete — Remove the schedule entirely (past results are preserved)
Return to the patient's chart and the Schedules section to make these changes.
What's next
Now that you have a schedule running, consider these next steps:
- Schedule across a population — Instead of creating individual schedules, use a Care Panel to schedule assessments for an entire patient group at once. See the Care Panel tutorial.
- Monitor adherence — Use the Schedules page in the sidebar to see which patients have upcoming, overdue, or completed assessments.
- Configure notifications — Set up alerts so you're notified when scheduled assessment results arrive, especially for concerning scores. See Notifications and alerts.
- Add multiple schedules — A patient can have multiple active schedules for different evaluations. For example, a biweekly PHQ-9 alongside a monthly GAD-7 anxiety screen.
Connect Epic to EVAL
Walk through the complete Epic EHR integration — from creating a FHIR connection to importing patients and launching EVAL from clinical workflows.
Onboard patients via the patient portal
Walk through patient onboarding — from creating a portal connection in the clinician platform to the patient completing their first evaluation.