Creating and configuring panels
Creating a panel
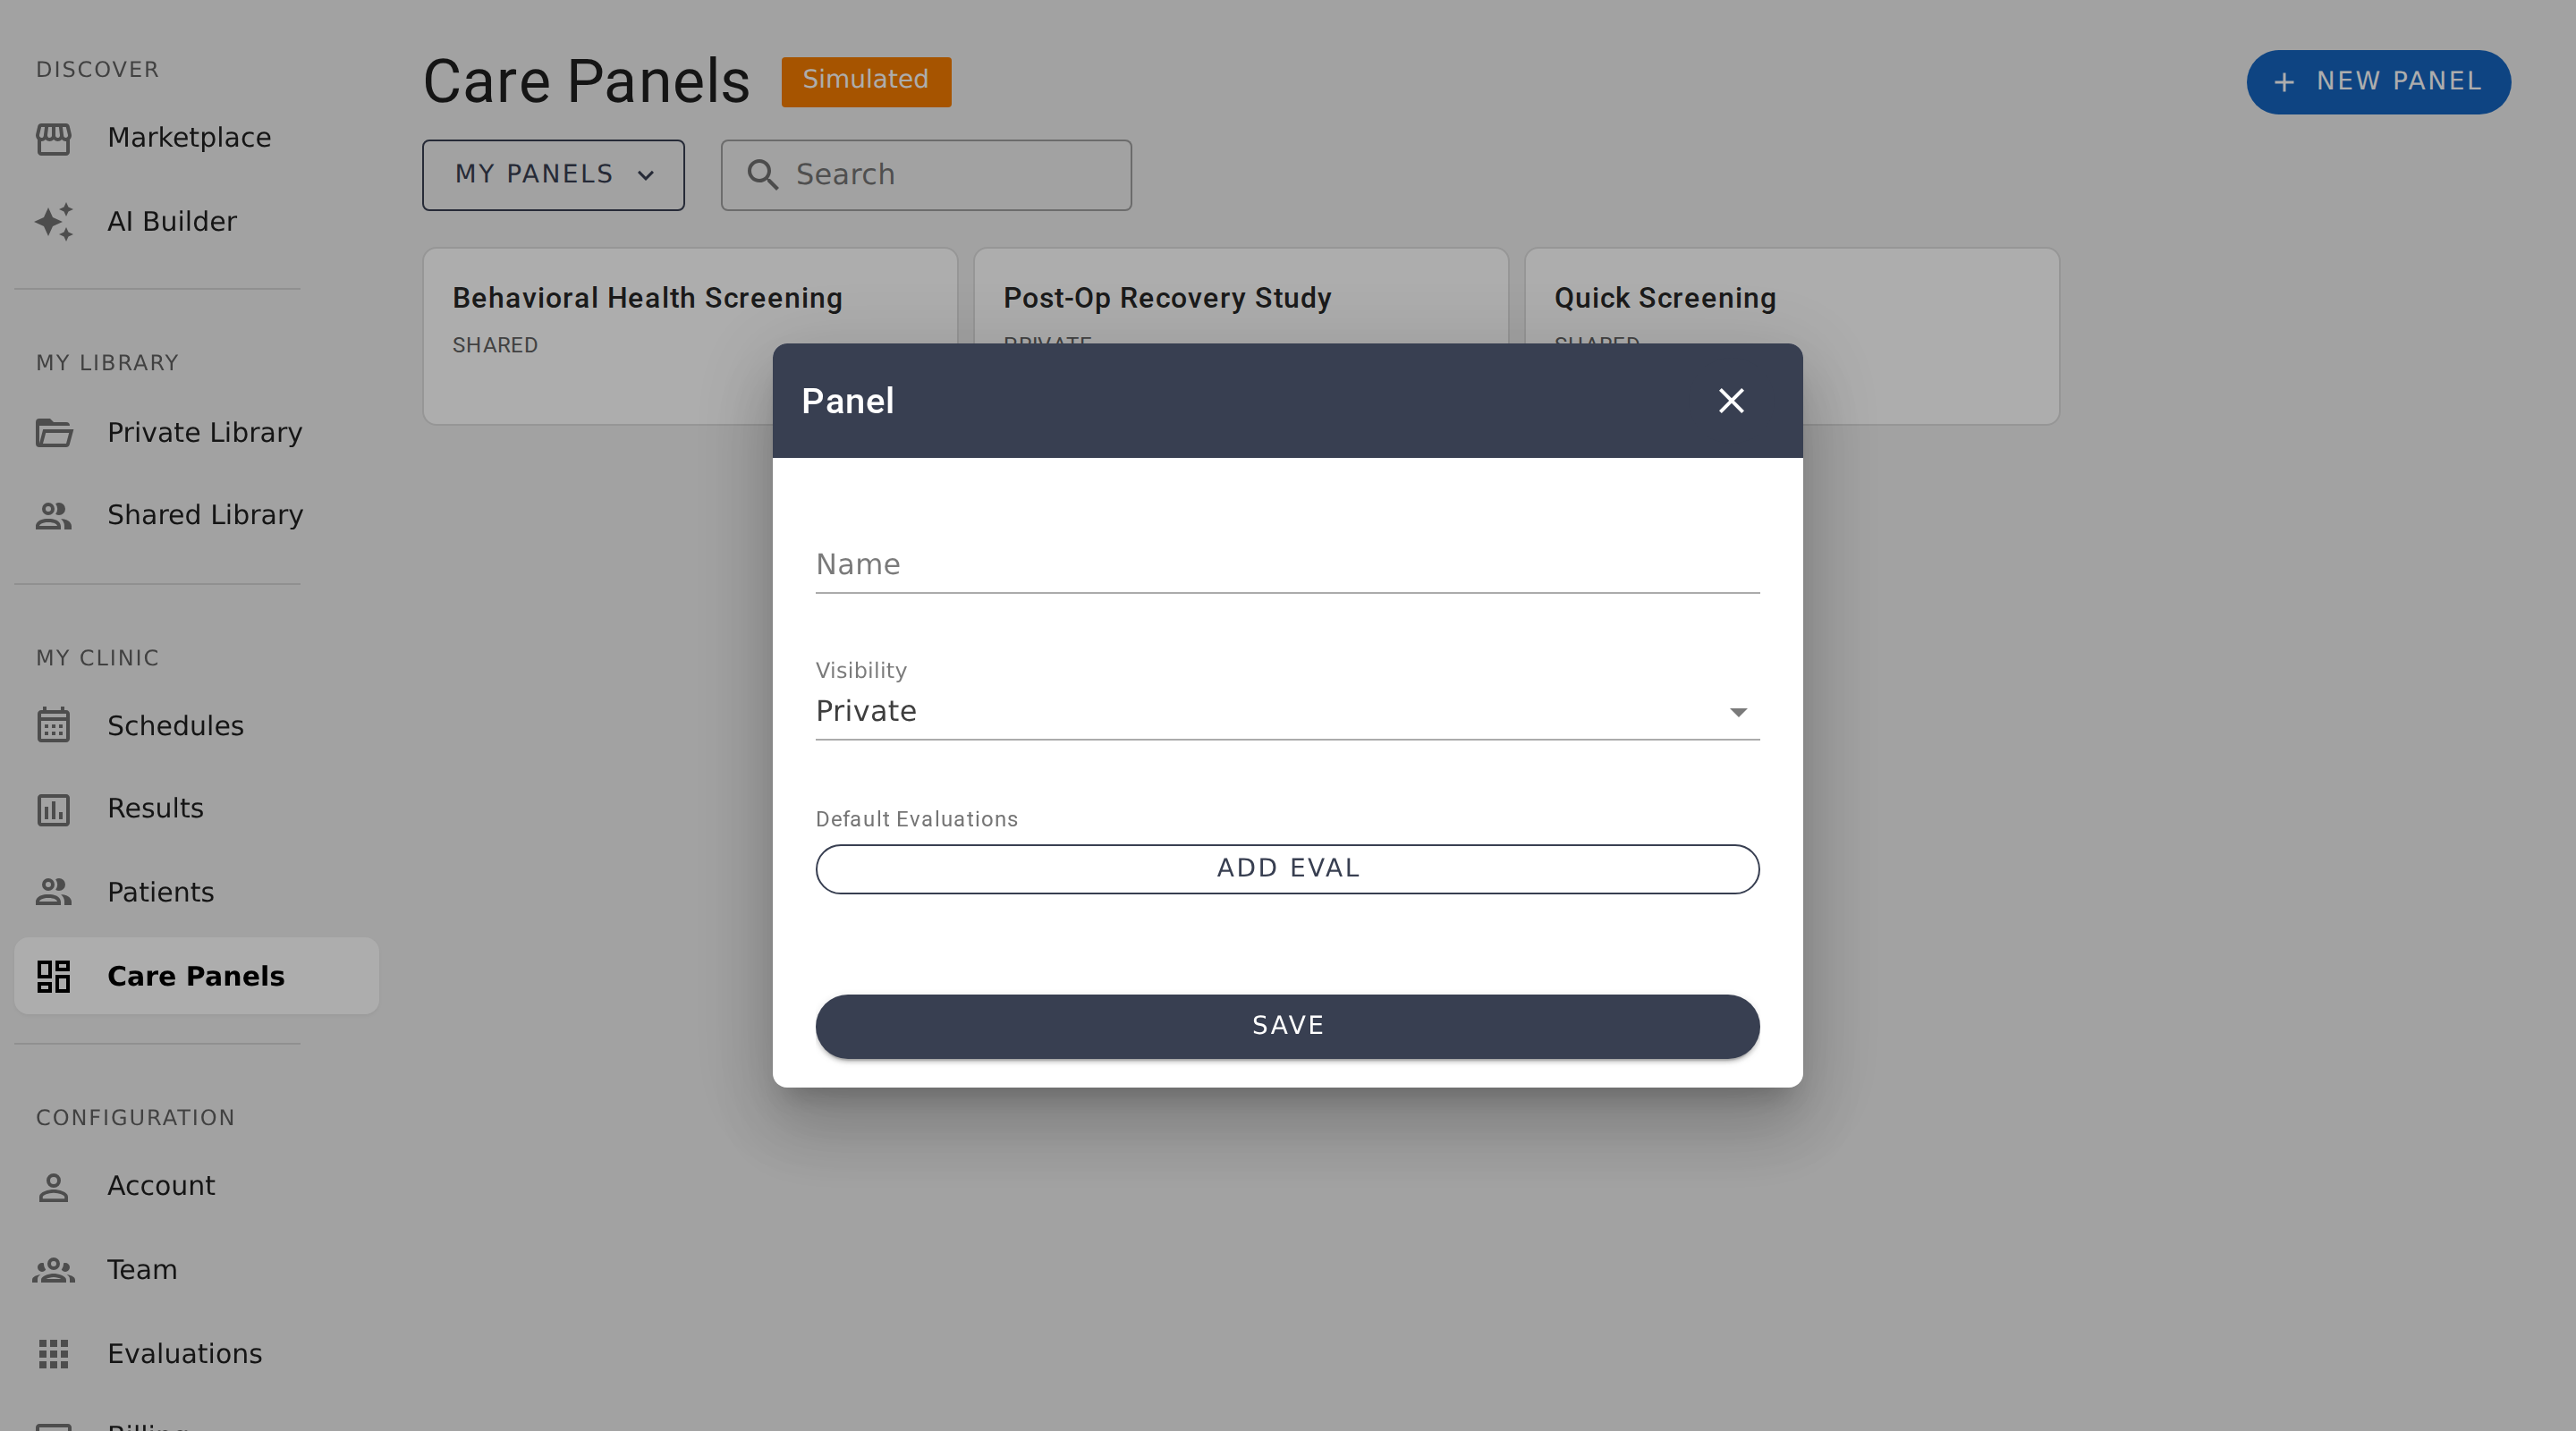
To create a new care panel, click New Panel from the Care Panels list. You'll be asked for three things: a name, a visibility setting, and optional default evaluations.
Naming your panel
Give your panel a descriptive name that your team will recognize at a glance. Most teams name panels after their program, service line, or study — "Diabetes Management," "Pre-Op Screening," or "PHQ-9 Research Cohort." You can always rename it later.
Choosing visibility
Visibility controls who can see and access your panel. You have two options:
- Shared — Everyone in your organization can see this panel in the panel list and view its data. Use Shared for organization-wide programs, department rosters, or any panel where broad visibility helps your team.
- Private — Only users you specifically invite can see this panel. Use Private for sensitive research cohorts, specialty programs with restricted access, or any situation where you need to control exactly who sees the data.
Setting default evaluations
Default evaluations permanently filter the Results tab to only show results from the evaluations you select. This is useful when your panel should focus on specific assessments — for example, a "Depression Screening" panel might set the PHQ-9 as its default evaluation, so only PHQ-9 results appear.
If you leave this empty, the Results tab shows all evaluation results for patients in the panel. You can always change default evaluations later from the panel settings.
Editing a panel
To edit a panel's name, visibility, or default evaluations, open the panel and click the overflow menu (three dots), then select Edit Panel. Make your changes and save.
You can also access panel settings directly from the panel list by clicking the options icon on any panel card.
Assignments
Assignments are labels that represent stages in your clinical workflow — a way to route results through your process. When a new result comes in, your team can assign it to a stage — like "Nurse Review" or "Physician Sign-Off" — so everyone knows where it stands and who should act on it next.
What assignments do
Each assignment is a named stage that you define. Results can be tagged with an assignment, and you can filter or search by assignment to see only the results at a specific stage. Assignments also work with notifications, so you can get an email when a result reaches a particular stage.
Managing assignments
Open the overflow menu and select Assignments. Click New Assignment to add a stage. You can create up to 100 assignments per panel. To edit or delete an existing assignment, use the options on each assignment row.
Assigning results
Once you've created your assignment stages, you can assign individual results from the patient chart. Open a result, select an assignment from the dropdown, and save. The assignment appears on the result row in the Results tab, and you can filter by assignment to see only results at a particular stage.
Assignments are optional — results don't need to have one. Many teams only assign results that require multi-step review. Simpler workflows might skip assignments entirely and rely on status alone (New → Complete).
Triage workflow example
A behavioral health clinic sets up four assignments to route incoming PHQ-9 results:
- Nurse Triage — Every new result starts here. A nurse reviews the score and decides next steps.
- PA/MD Review — Results flagged for clinical review move to this stage for a physician or PA to evaluate.
- Specialty Referral — Patients who need specialized care are routed here for referral coordination.
- Pharmacy Consult — Results indicating medication adjustments go to the pharmacy team.
The team uses saved filters to create a view for each stage, so each team member sees only the results waiting for them. A notification rule sends an email to the physicians whenever a result moves to PA/MD Review.
Deleting a panel
To delete a panel, open the overflow menu and select Edit Panel, then click Delete. Deleting a panel is permanent.
When you delete a panel:
- The panel and all its configuration (filters, assignments, notifications, intakes) are removed
- All saved filters and notification rules are deleted
- Public intake links stop working
When you delete a panel, the following are not affected:
- Patient records remain in your account
- Evaluation results already recorded are preserved in patient charts
- Scheduled assessments continue unless you cancel them separately
Panel limits
Each panel supports up to 100 saved filters, 100 assignments, and 50 notification rules. These limits are per-panel, so your organization can have as many panels as needed.
Care Panels
Care Panels group a patient population, evaluation results, and assessment schedules into one workspace for clinical programs and research studies.
Tracking results
Triage evaluation results in the Results tab using summary cards, priority levels, status values, and the per-result audit trail.