Collecting responses with public intakes
What public intakes do
A public intake creates a way for patients — or anyone — to complete an evaluation without logging into EVAL. You generate a shareable link, QR code, or embeddable form, and anyone who accesses it can submit responses. Results flow directly into your care panel, and the respondent is automatically added as a patient if they provide identifying information.
This is particularly useful for scenarios where you can't (or don't want to) set up accounts for every respondent: waiting room screenings, community health surveys, research enrollment, and anonymous feedback collection.
Creating an intake
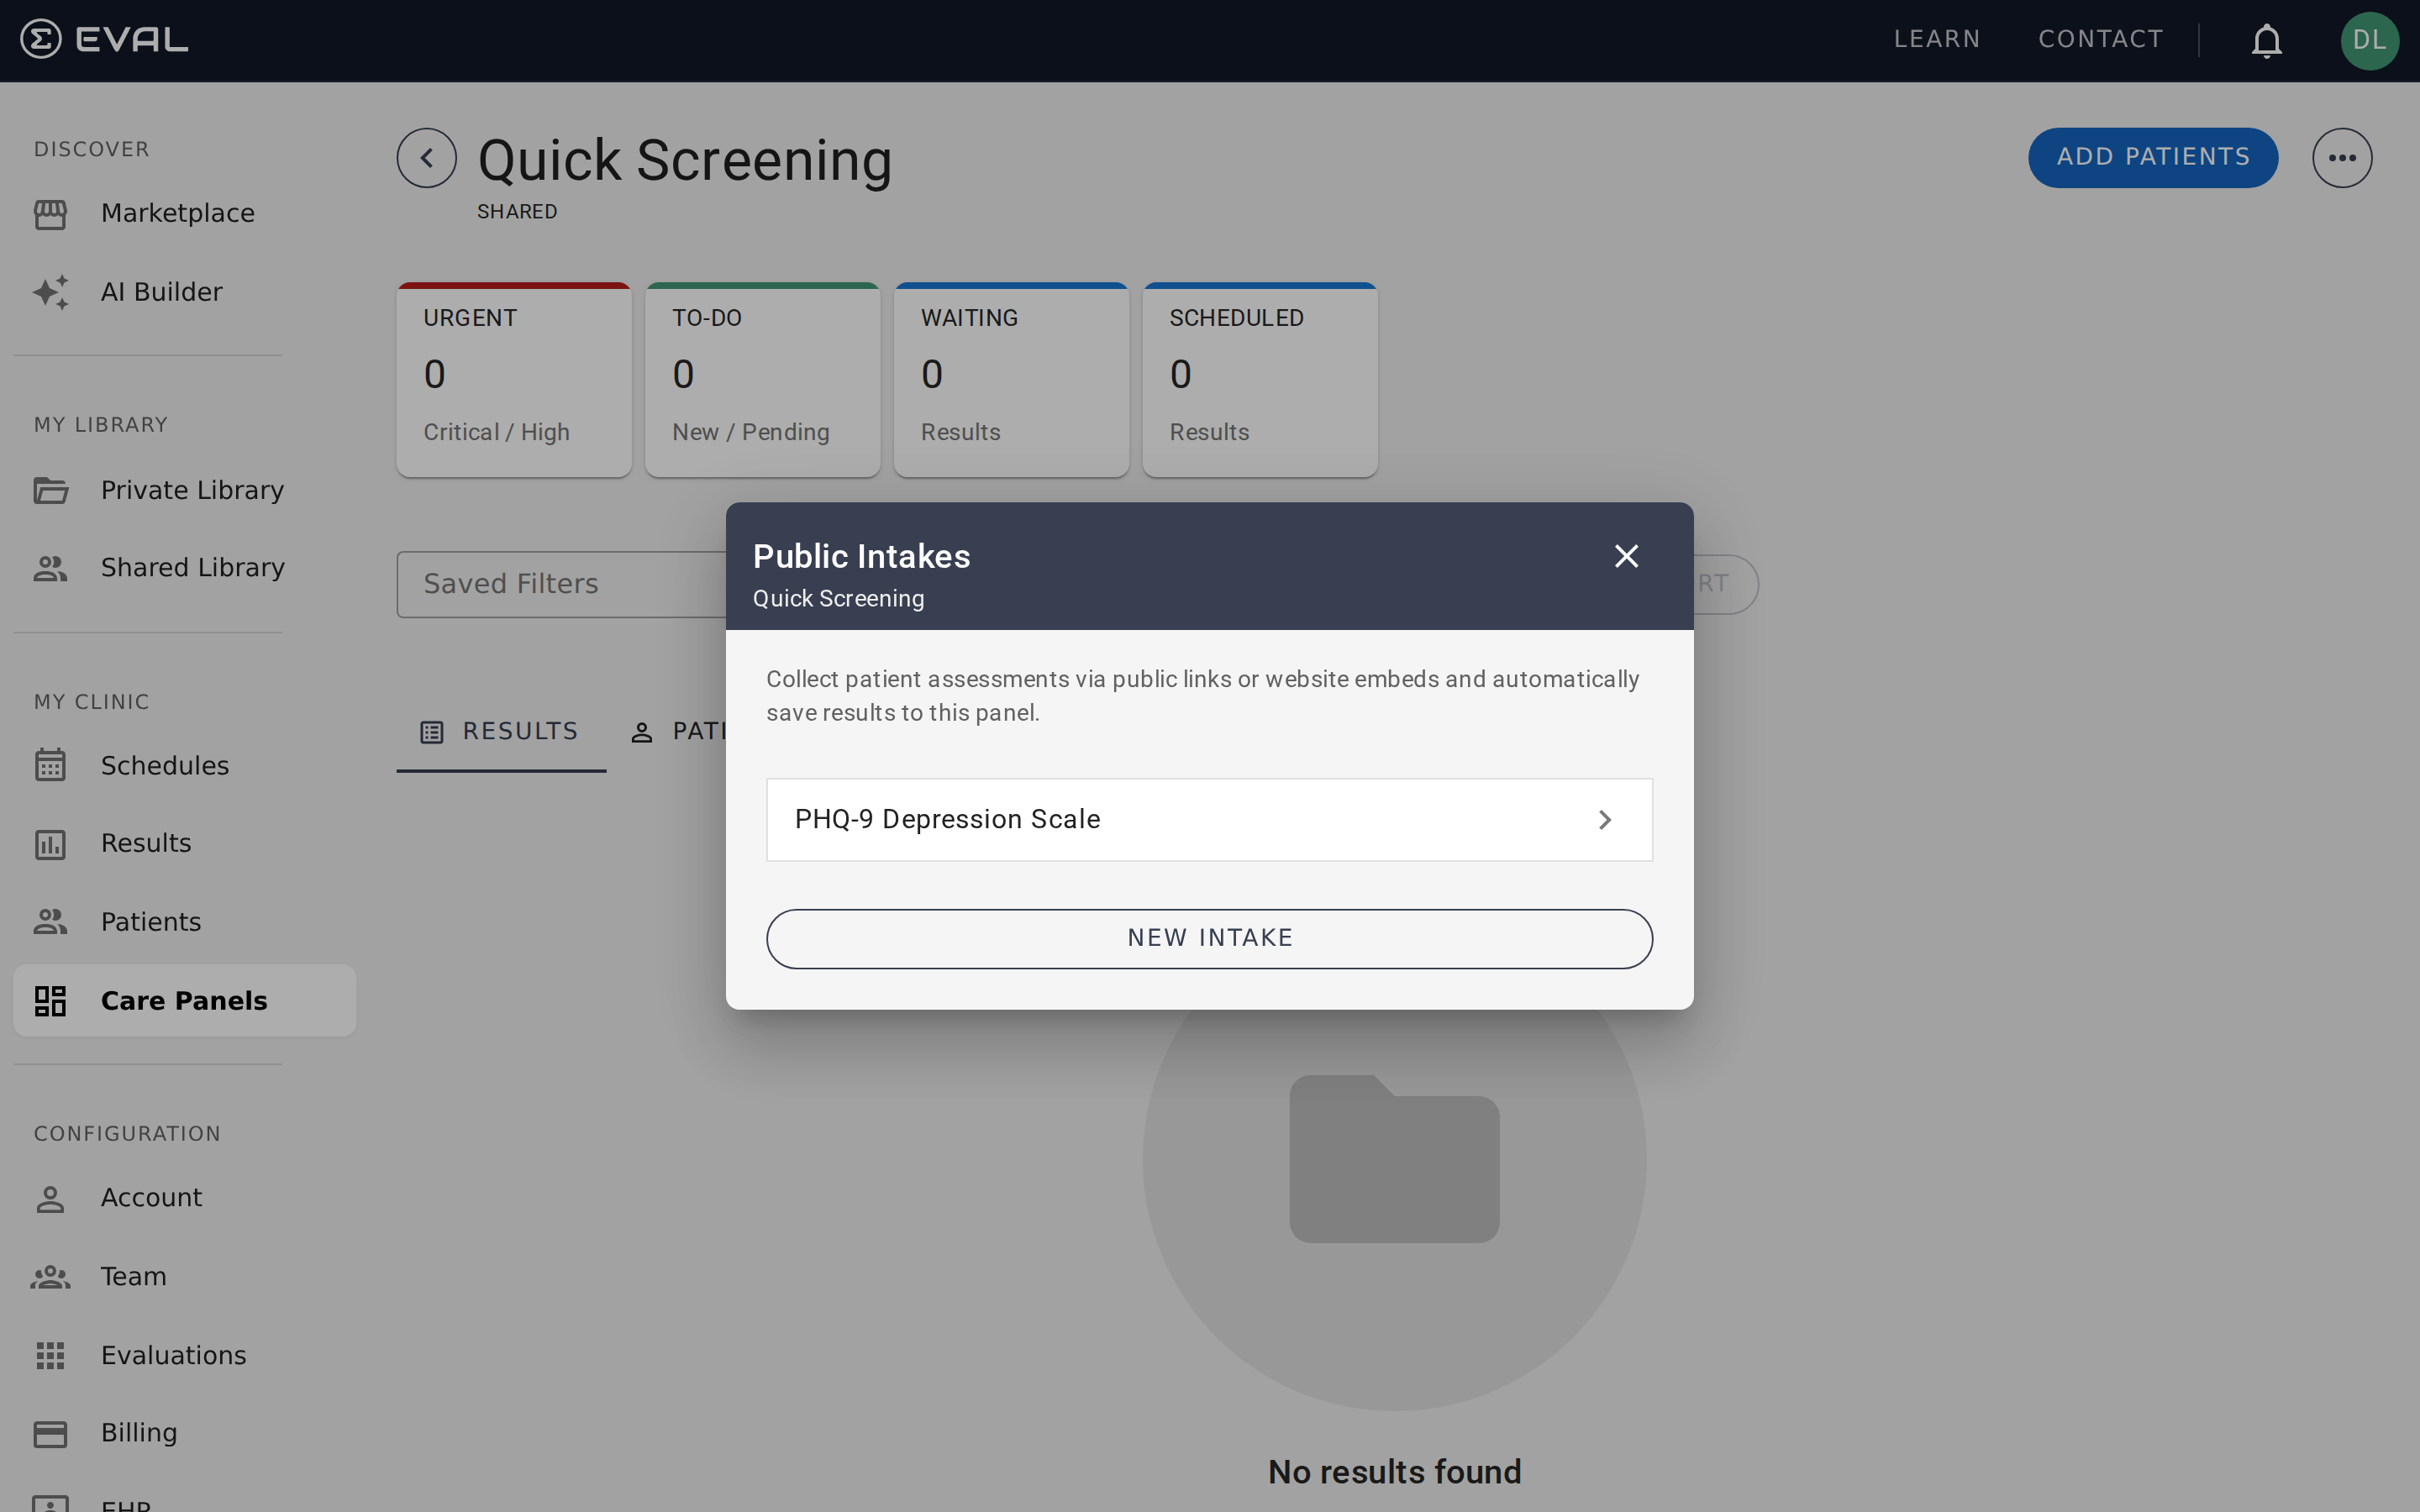
Open the overflow menu in your panel and select Public Intakes. Click New Intake and choose which evaluation you want to collect responses for. Each intake is tied to a single evaluation — if you need to collect responses for multiple evaluations, create a separate intake for each one.
Sharing options
Once you've created an intake, you get four ways to share it:
Public link
A URL that you can send via email, text message, or any messaging platform. The patient clicks the link, completes the evaluation in their browser, and submits. This is the simplest option and works for any situation where you can send someone a link.
QR code
A scannable QR code that links to the same evaluation form. Print it and post it in your waiting room, display it on a check-in kiosk, or include it in printed materials. Patients scan the code with their phone camera and complete the evaluation on their own device.
Button HTML
A snippet of HTML that renders a clickable button on any web page. Use this to add a "Complete Assessment" button to your clinic's website, a patient email newsletter, or an internal portal.
Iframe embed
A snippet of HTML that embeds the full evaluation form directly on your web page. The patient completes the evaluation without leaving your site. This is the most seamless option for organizations that want the evaluation to feel like part of their own website or patient portal.
How intake results appear
When someone submits an evaluation through a public intake, the result appears in your panel's Results tab with an Intake badge. The "Reported by" field shows "Patient" since the respondent submitted it themselves.
If the respondent provides identifying information (name, email, date of birth) through the evaluation's questions, EVAL matches them to an existing patient record or creates a new one. If no identifying information is provided, the result is recorded as anonymous.
How patient matching works
When someone submits an evaluation through a public intake and provides identifying information — typically first name, last name, and date of birth — EVAL checks whether a matching patient record already exists in your account. If a match is found, the result is attached to the existing patient. If no match is found, a new patient record is created and added to the panel.
If the respondent doesn't provide identifying information (for example, the evaluation only collects clinical data without asking for a name), the result is recorded as anonymous. Anonymous results appear in your panel's Results tab but aren't linked to a patient record.
Creating a patient from an intake
When no match is found and you choose to create a new patient from the intake, the new patient form opens pre-filled with the identity fields the intake captured — first name, last name, middle name, date of birth, gender, phone and email entries, and any mailing addresses the respondent provided. Review the fields, adjust anything that needs correction, and save. Insurance details captured on the intake are added to the new patient's Insurance records as a coverage entry on creation.
When you attach the intake to an existing patient instead, the demographic fields on the patient's chart are not overwritten — existing data wins. Insurance details from the intake are still added as a new coverage entry on the existing patient, so nothing you've already recorded is lost.
Deleting an intake
To delete an intake, open the Public Intakes dialog from the overflow menu and delete the intake you no longer need. When you delete an intake:
- The public link and QR code immediately stop working — anyone who tries to access them will see an error.
- Results that were already submitted through the intake are not affected — they remain in your panel.
- There is no way to deactivate an intake without deleting it. If you want to temporarily stop collecting responses, you'll need to delete the intake and create a new one later.
Redirect after completion
You can optionally set a Back to Website URL so that after the patient submits their evaluation, they're redirected to a specific page — your clinic's website, a thank-you page, or a next-steps resource. Configure this in the intake settings.
If no redirect URL is set, the patient sees a default confirmation message after submitting.
Panel roles and permissions
Control panel access with Owner and User roles: invite users, remove access, and transfer ownership across Shared and Private panels.
Notifications and alerts
Configure email notification rules that alert your team when patient results match priority, status, evaluation, or assignment criteria.