Filtering and exporting data
Filtering your panel
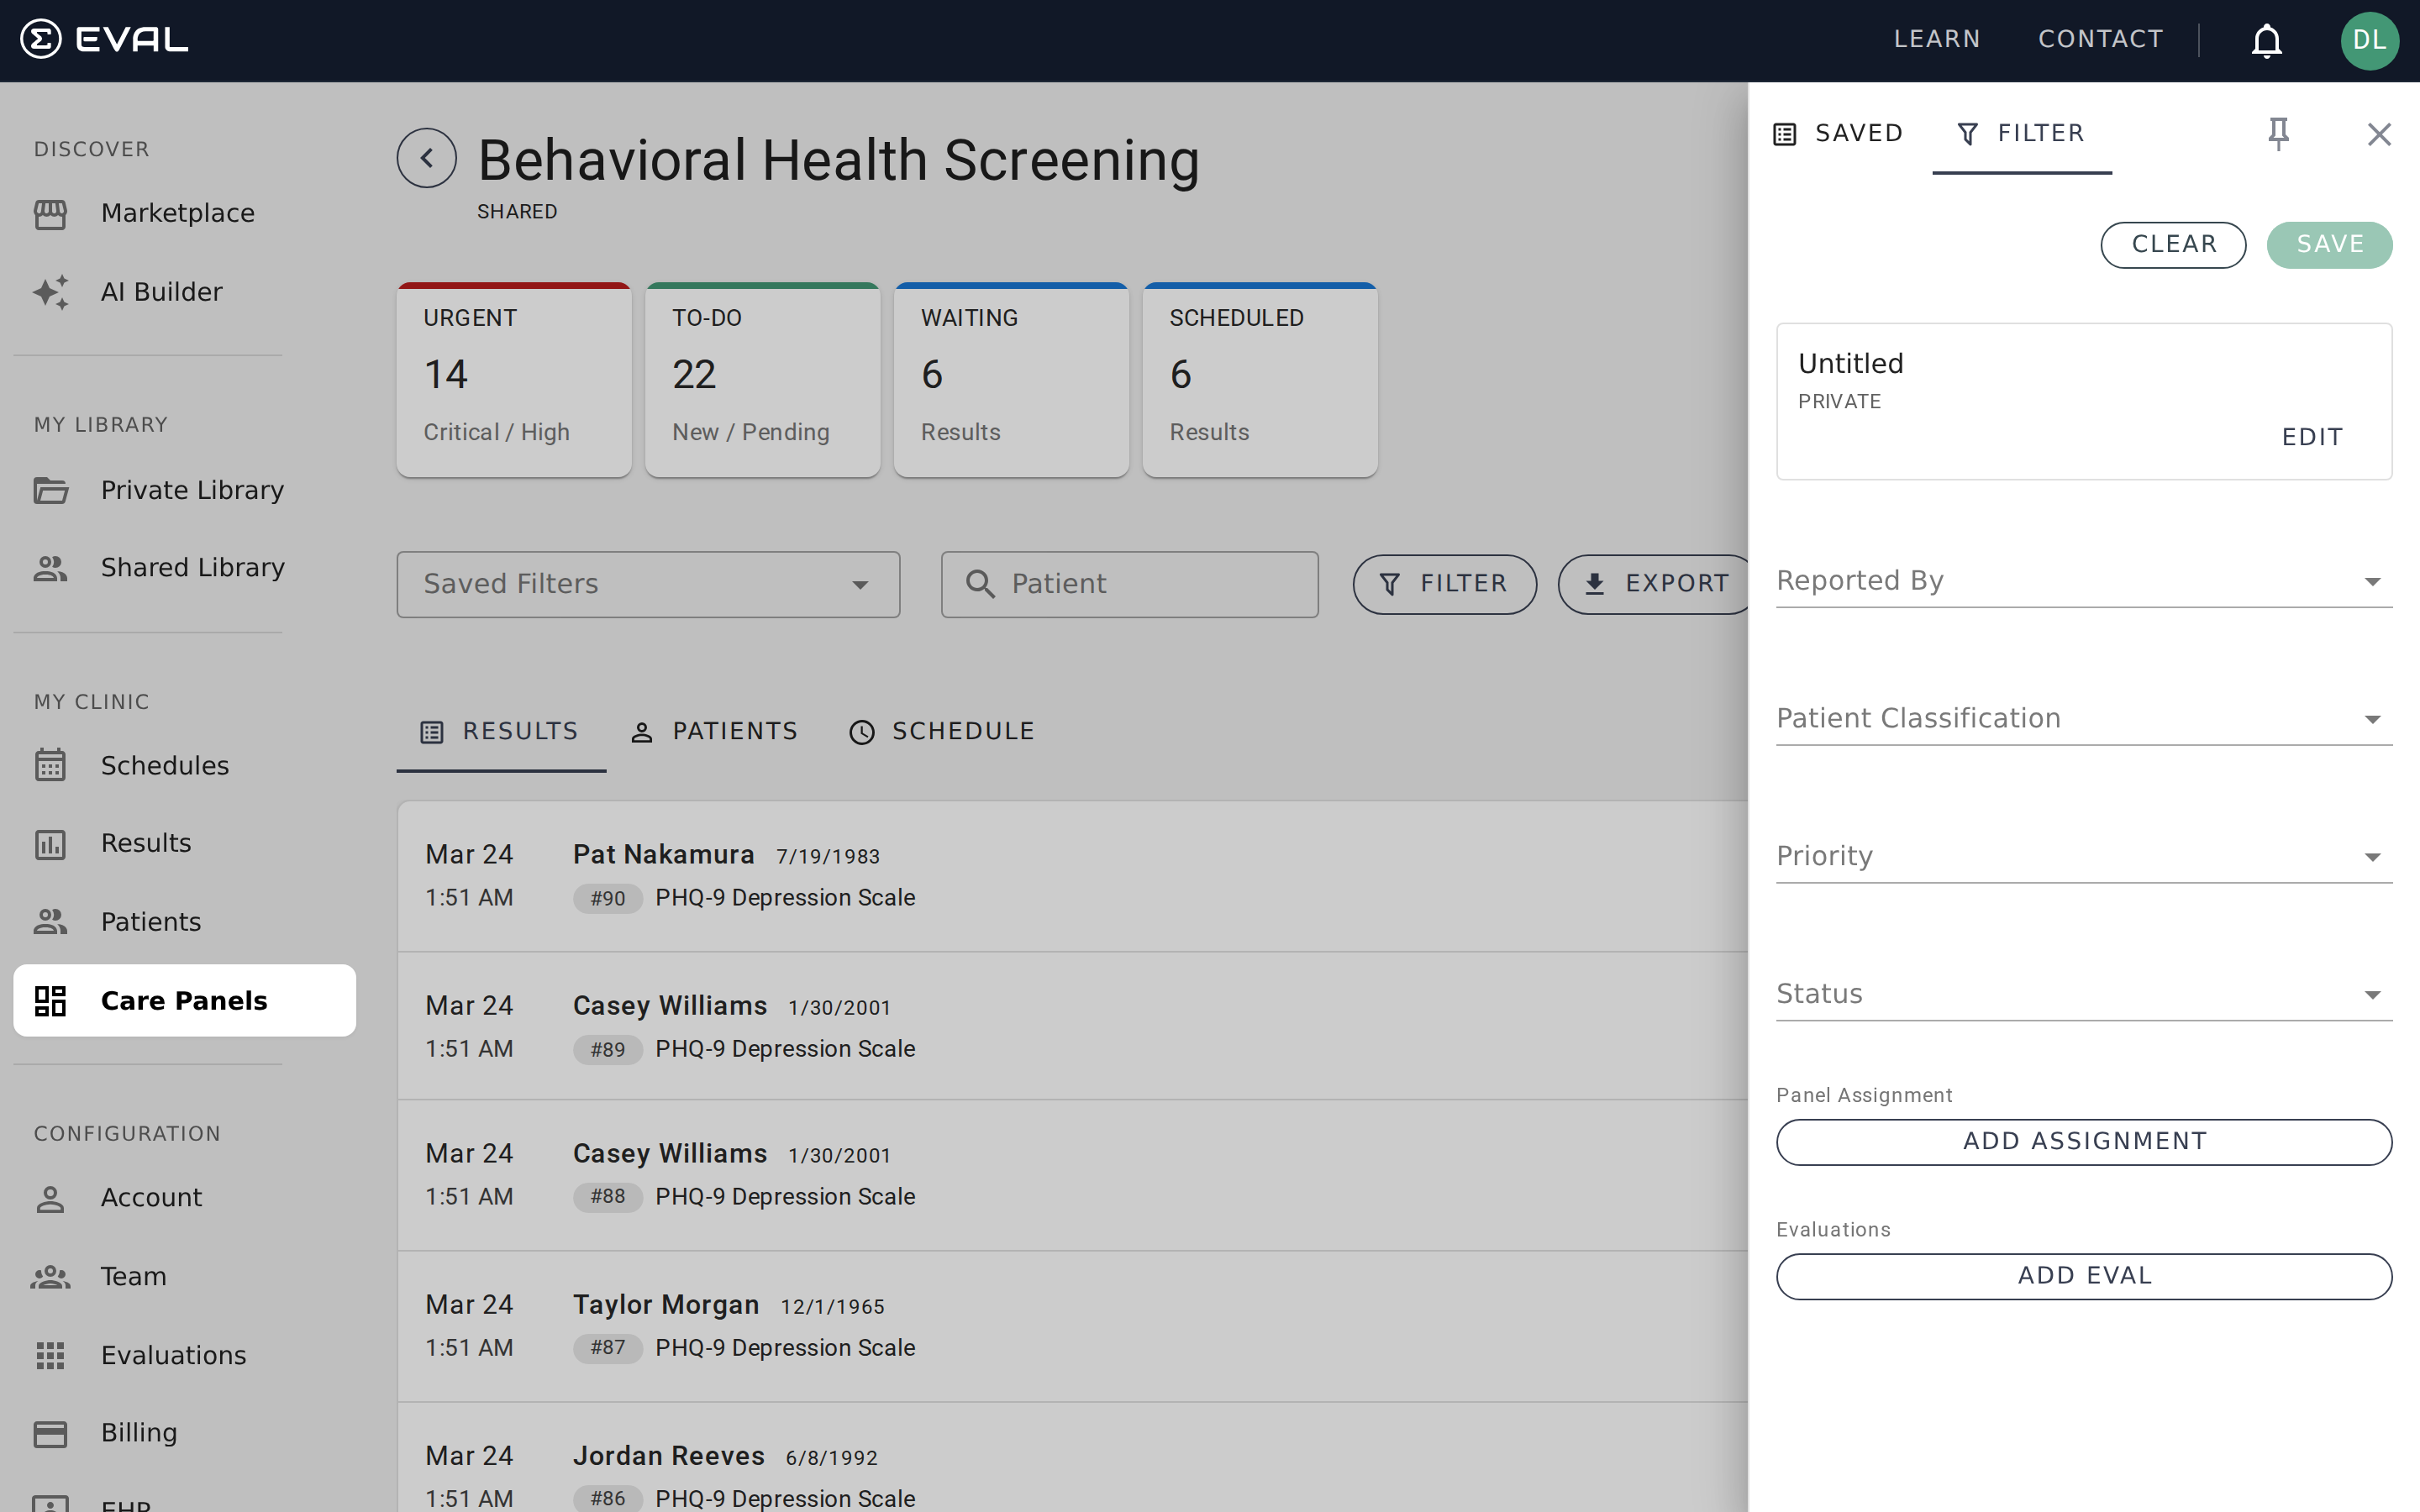
Filters help you focus on the results that need your attention right now. Open the filter drawer by clicking the filter icon in the toolbar, choose your criteria, and the results list updates instantly. When you're done, close the drawer or clear the filters to go back to the full view.
How filter logic works
Filters use a combination of AND and OR logic:
- Within a single filter field — multiple selections combine with OR. If you select both "Critical" and "Urgent" in the Priority filter, you'll see results that are Critical or Urgent.
- Across different filter fields — criteria combine with AND. If you set Priority to "Critical" and Status to "New," you'll see results that are Critical and New.
This means you can build precise views like "show me all Critical or Urgent results that are still New and assigned to Nurse Triage."
Available filters
The filter drawer offers six criteria you can combine:
- Reported by — Who submitted the result: Practitioner (a clinician or staff member) or Patient (the patient submitted it themselves, typically via a scheduled assessment or public intake)
- Patient classification — Whether the patient is a real or simulated patient
- Priority — Critical, Urgent, Moderate, or Low (see Tracking results for definitions)
- Status — New, Pending, Complete, or Invalid (see Tracking results for definitions)
- Panel assignment — Which workflow stage the result is in (see Assignments)
- Evaluations — Which evaluation the result came from
Default evaluations
If your panel has default evaluations configured, those act as a permanent filter on the Results tab. Results from other evaluations are hidden even when no filters are active.
Saved filters
If you find yourself applying the same filter criteria every day, save it for one-click access.
Creating a saved filter
After setting your filter criteria in the drawer, click Save in the toolbar. Give the filter a descriptive name — something your team will understand, like "Urgent - Needs Review" or "Weekly PHQ-9 New Results." Optionally toggle Shared to make the filter visible to everyone who has access to the panel.
Saved filters appear in the dropdown at the top of the panel toolbar. Click any saved filter to apply it instantly.
Editing and deleting
To modify a saved filter, apply it from the dropdown, adjust the criteria in the filter drawer, and click Save again. To delete a saved filter, open it and select the delete option.
Searching within a panel
The search bar in the toolbar lets you quickly find results by patient name. Type a name and the results list narrows to matching patients. Search works alongside active filters — if you have a filter applied, the search narrows within those filtered results.
Pinning the filter drawer
If you're working through a list of results and frequently switching between filter views, click the Pin button to keep the filter drawer open alongside the results list. This lets you adjust criteria without repeatedly opening and closing the drawer — especially useful during a triage session.
Exporting to Excel
When you need your panel data outside EVAL — for reporting, statistical analysis, or compliance — click the Export button in the toolbar. You'll receive a Microsoft Excel (.xlsx) file.
What's included
The export generates one worksheet per evaluation. Each worksheet contains:
- Metadata columns — submission date, patient name, date of birth, email, phone, result priority, status, the evaluation name, and other identifying information
- Question columns — one column per question in the evaluation, with the patient's responses
- Computed result columns — any scoring formulas or computed results, with column headers prefixed by "RESULT:" for easy identification
If your panel has results from multiple evaluations — say PHQ-9 and GAD-7 — the export generates a separate worksheet for each. This keeps columns aligned, since different evaluations have different questions.
Filters and export
The export respects any active filters. If you've filtered to only Critical priority results, the export will only contain those results. This is a powerful way to generate targeted reports.