Managing patients
Your patient roster
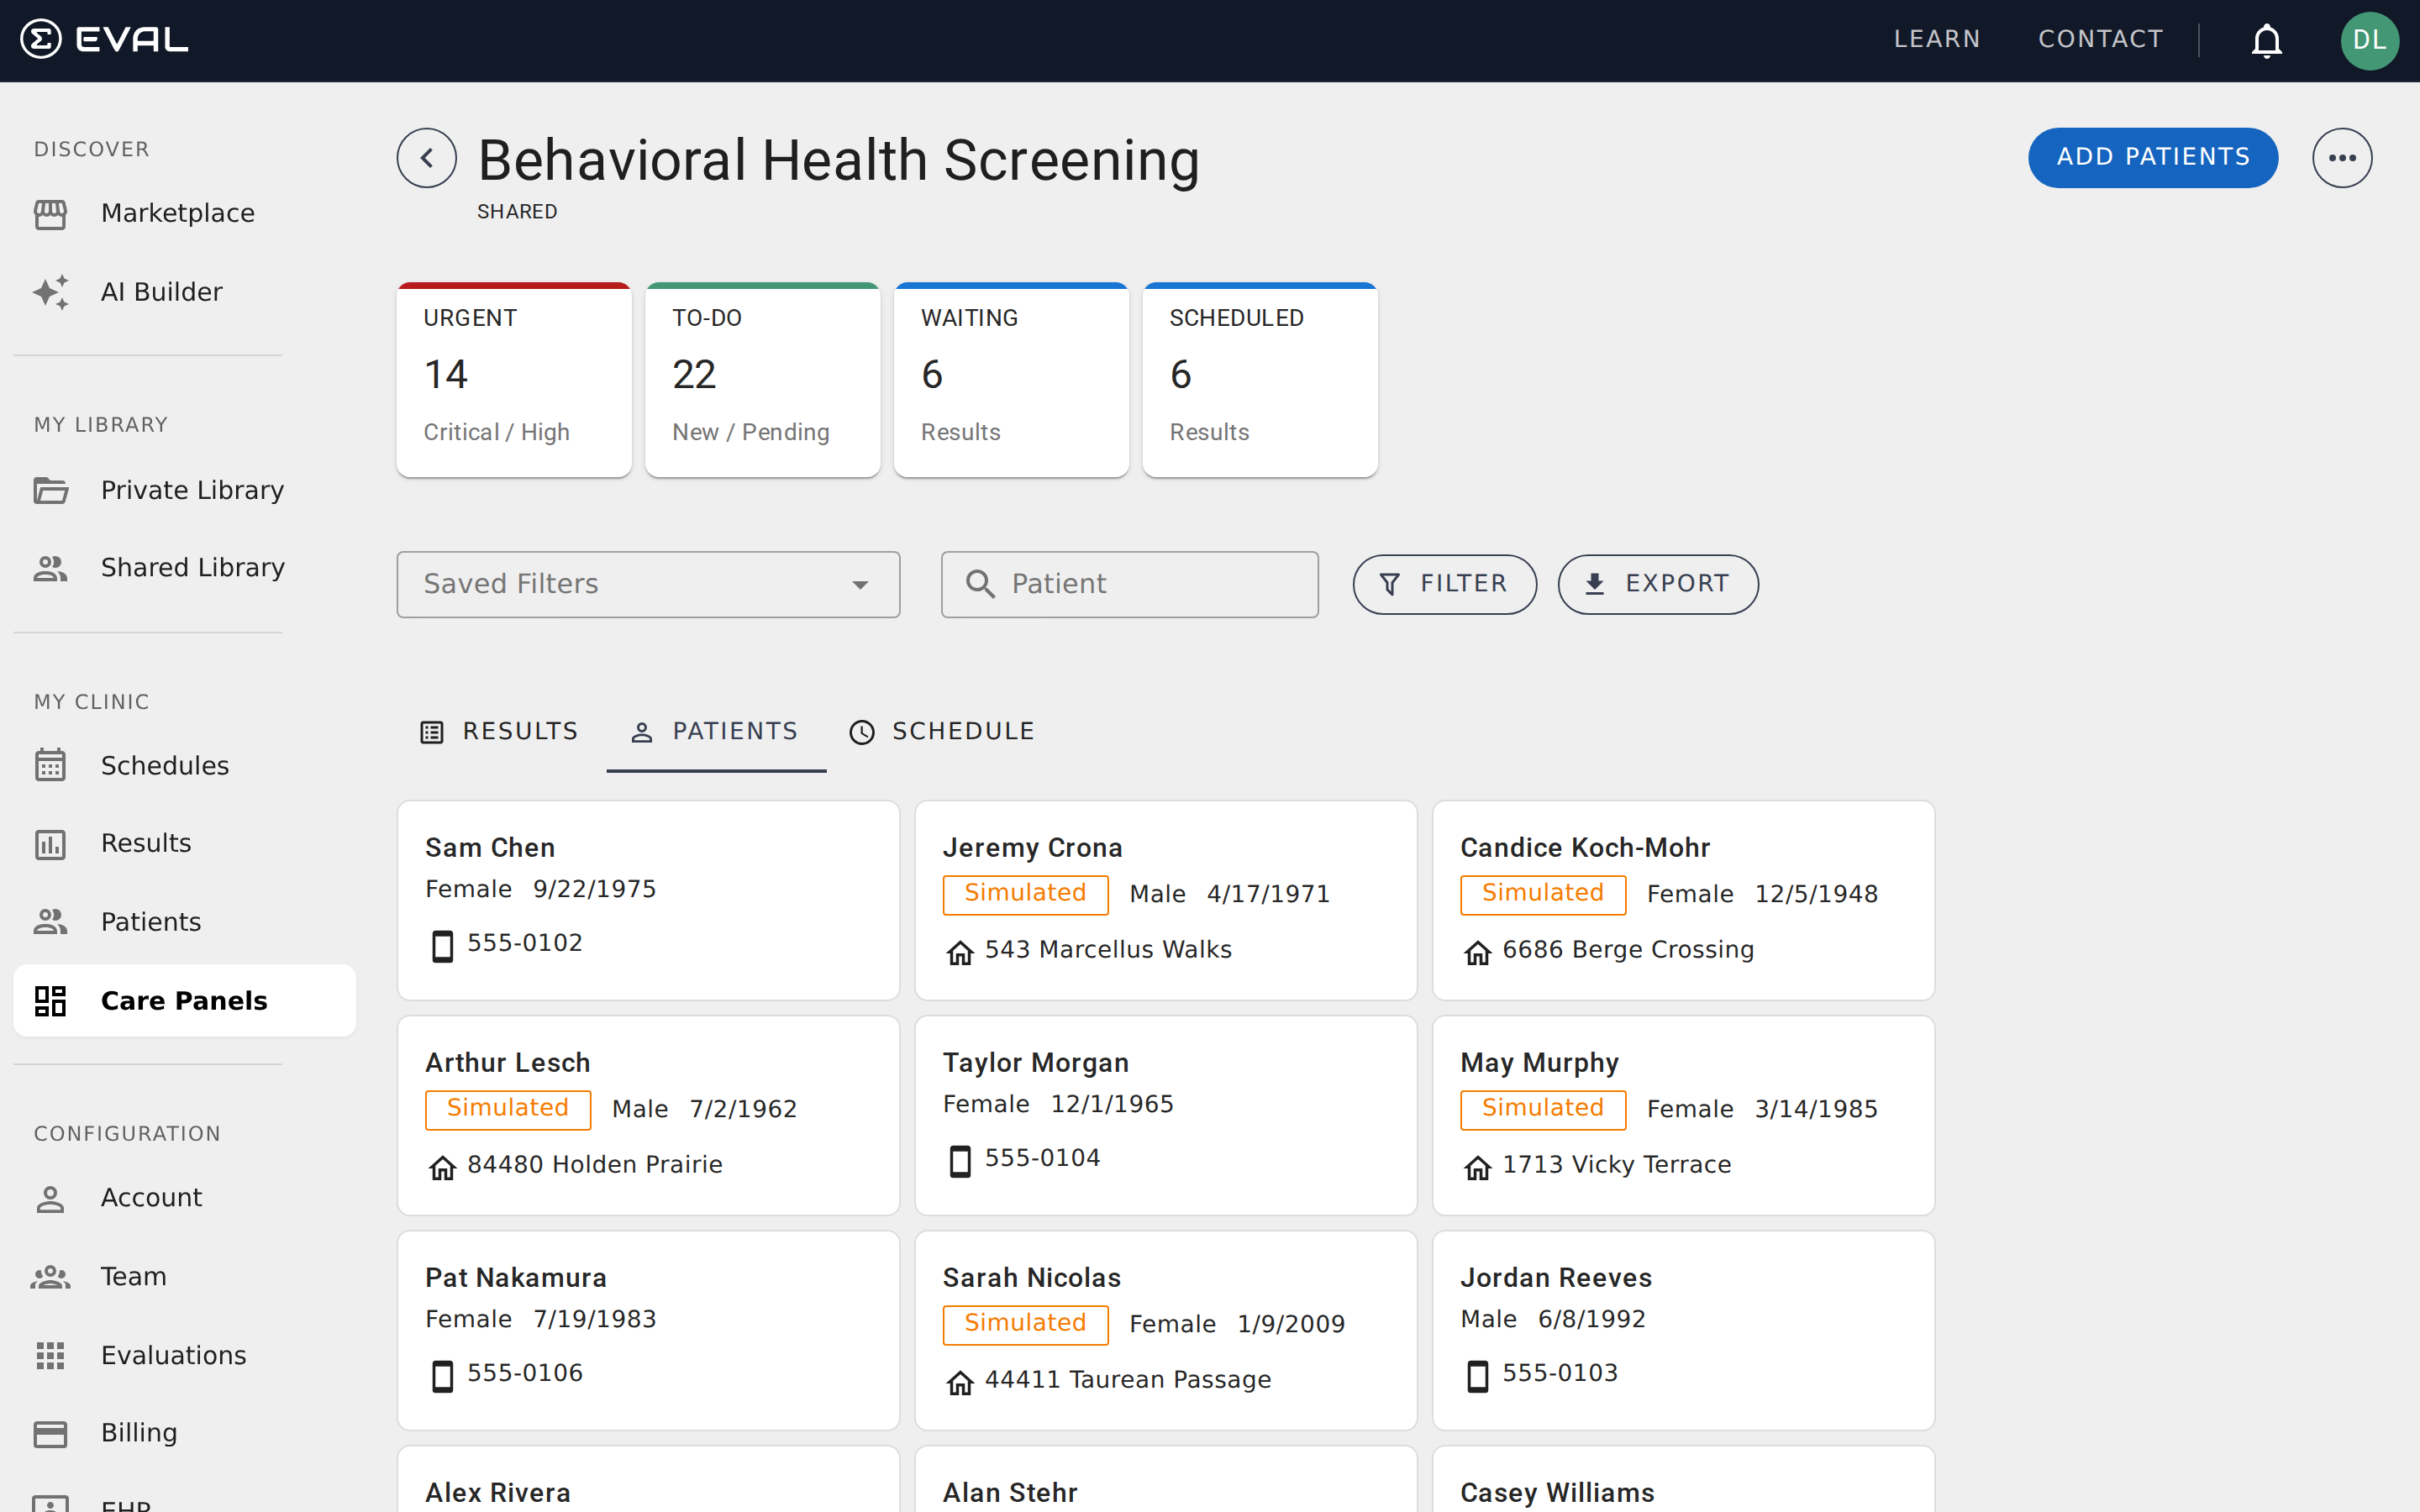
The Patients tab shows every patient assigned to the panel. Each patient appears as a card displaying their name, date of birth, gender, and contact information. Click any patient card to open their full chart, where you can view results, manage schedules, and update their information.
You can search for patients within the panel using the search bar at the top of the tab. Search matches against first name, last name, and date of birth.
Adding existing patients
To add patients who already have records in your EVAL account, click Add Patients in the panel toolbar. A dialog opens where you can search by first or last name. Select one or more patients from the search results, then click Add Selected to add them to the panel.
You can add multiple patients at once by selecting several before clicking Add Selected. This is helpful when setting up a new panel and populating it with an existing caseload.
Creating a new patient
If the patient doesn't exist in your account yet, click the New Patient option in the Add Patients dialog. You'll see a form with the following fields:
- First name and Last name — required
- Middle name — optional
- Birthdate — required
- Gender — select from Male, Female, Other, or Unknown
Fill in the patient's information and click Create. The new patient is automatically added to the panel.
Importing from your EHR
If your organization has a connected EHR system, you can import patient records directly instead of creating them manually. In the Add Patients dialog, select Import from EHR and choose your EHR system.
The import process varies by EHR. Supported systems include Athena, Epic, Cerner, and others — each using its own protocol for patient data exchange. Once imported, the patient record is created in EVAL and added to the panel automatically.
EHR imports save significant time for large patient populations. Rather than creating records individually, you can pull in an entire caseload in one step. The imported records include the identifying information your EHR shares — typically name, date of birth, and contact details — so your patients are ready for scheduling immediately.
For details on connecting and configuring your EHR, see the Integrations section.
Simulated patients
EVAL supports creating simulated patients for training, demos, and workflow testing. Simulated patients work just like real patients — they can receive schedules, have results submitted, and appear in your panel — but they're clearly marked with a "Simulated" badge so your team knows they aren't real.
To create a simulated patient, select the New Simulated Patient option in the Add Patients dialog. The form is the same as for a real patient.
Removing a patient from a panel
To remove a patient from a panel, open their patient card and use the remove option. Removing a patient disconnects them from the panel — they'll no longer appear in the Patients tab or contribute to summary card counts.
When you remove a patient:
- Results are preserved — Any evaluation results already recorded remain in the patient's chart and in your panel's results history.
- Schedules continue — Active schedules are not automatically cancelled. If the patient has upcoming assessments, you'll need to archive or delete those schedules separately.
- The patient record stays in your account — Removing from a panel doesn't delete the patient. You can add them back later or find them in other panels.
A patient can belong to multiple panels simultaneously. Removing them from one panel has no effect on their membership in other panels.
Automatic enrollment via public intakes
Patients can also be added to your panel automatically through public intakes. When someone submits an evaluation via a public intake link, they're added to the panel as a new patient (or matched to an existing patient if their information is already on file).
This is particularly useful for research enrollment and waiting room screening, where you want patients to self-enroll without your team manually adding them.
Patient records across the platform
Patient records in EVAL are shared across the entire platform, not tied to a single panel. When you create or import a patient, that record is available to add to any panel. A patient's chart — including all their results, schedules, and clinical history — follows them across panels.
This means you don't need to re-enter patient information when adding them to a second panel. Search for the patient in the Add Patients dialog and they'll appear with their existing record. All of their results, regardless of which panel generated them, are accessible from their chart.