Patient portal connections
What the Portal tab does
The Portal tab connects a patient's clinician-side chart to the Patient Portal — the patient-facing app where patients and caregivers complete evaluations, review past results, and manage their preferences on their own devices.
Before a patient can use the Portal, someone on your team needs to send them an invitation from this tab. The invitation goes out via email or text message, and the patient creates their own EVAL account by following the link. Once connected, the patient can independently complete scheduled evaluations and view their results — without needing to call the clinic or come in for every assessment.
Sending an invitation
Click + New at the top of the Portal tab to open the invitation dialog. You'll set three things:
- Delivery Method — Choose between Email or Text Message. This determines how the invitation is sent and what contact information you'll provide.
- Email or Mobile Phone — Enter the patient's email address or phone number depending on the delivery method you selected.
- Permissions — Choose the level of access the patient will have:
- Full Access — The patient can read their data, submit evaluation results, and manage their full profile. This is the default and works well for most patients.
- Read Only — The patient can view their scheduled evaluations and past results but has limited ability to modify their profile. Use this for caregivers or authorized representatives who should see the data without full control.
Click Save to send the invitation. EVAL delivers an email or text message with a link for the patient to create their account.
Understanding connection states
Each connection in the list goes through a lifecycle. The status badges and date columns tell you exactly where things stand:
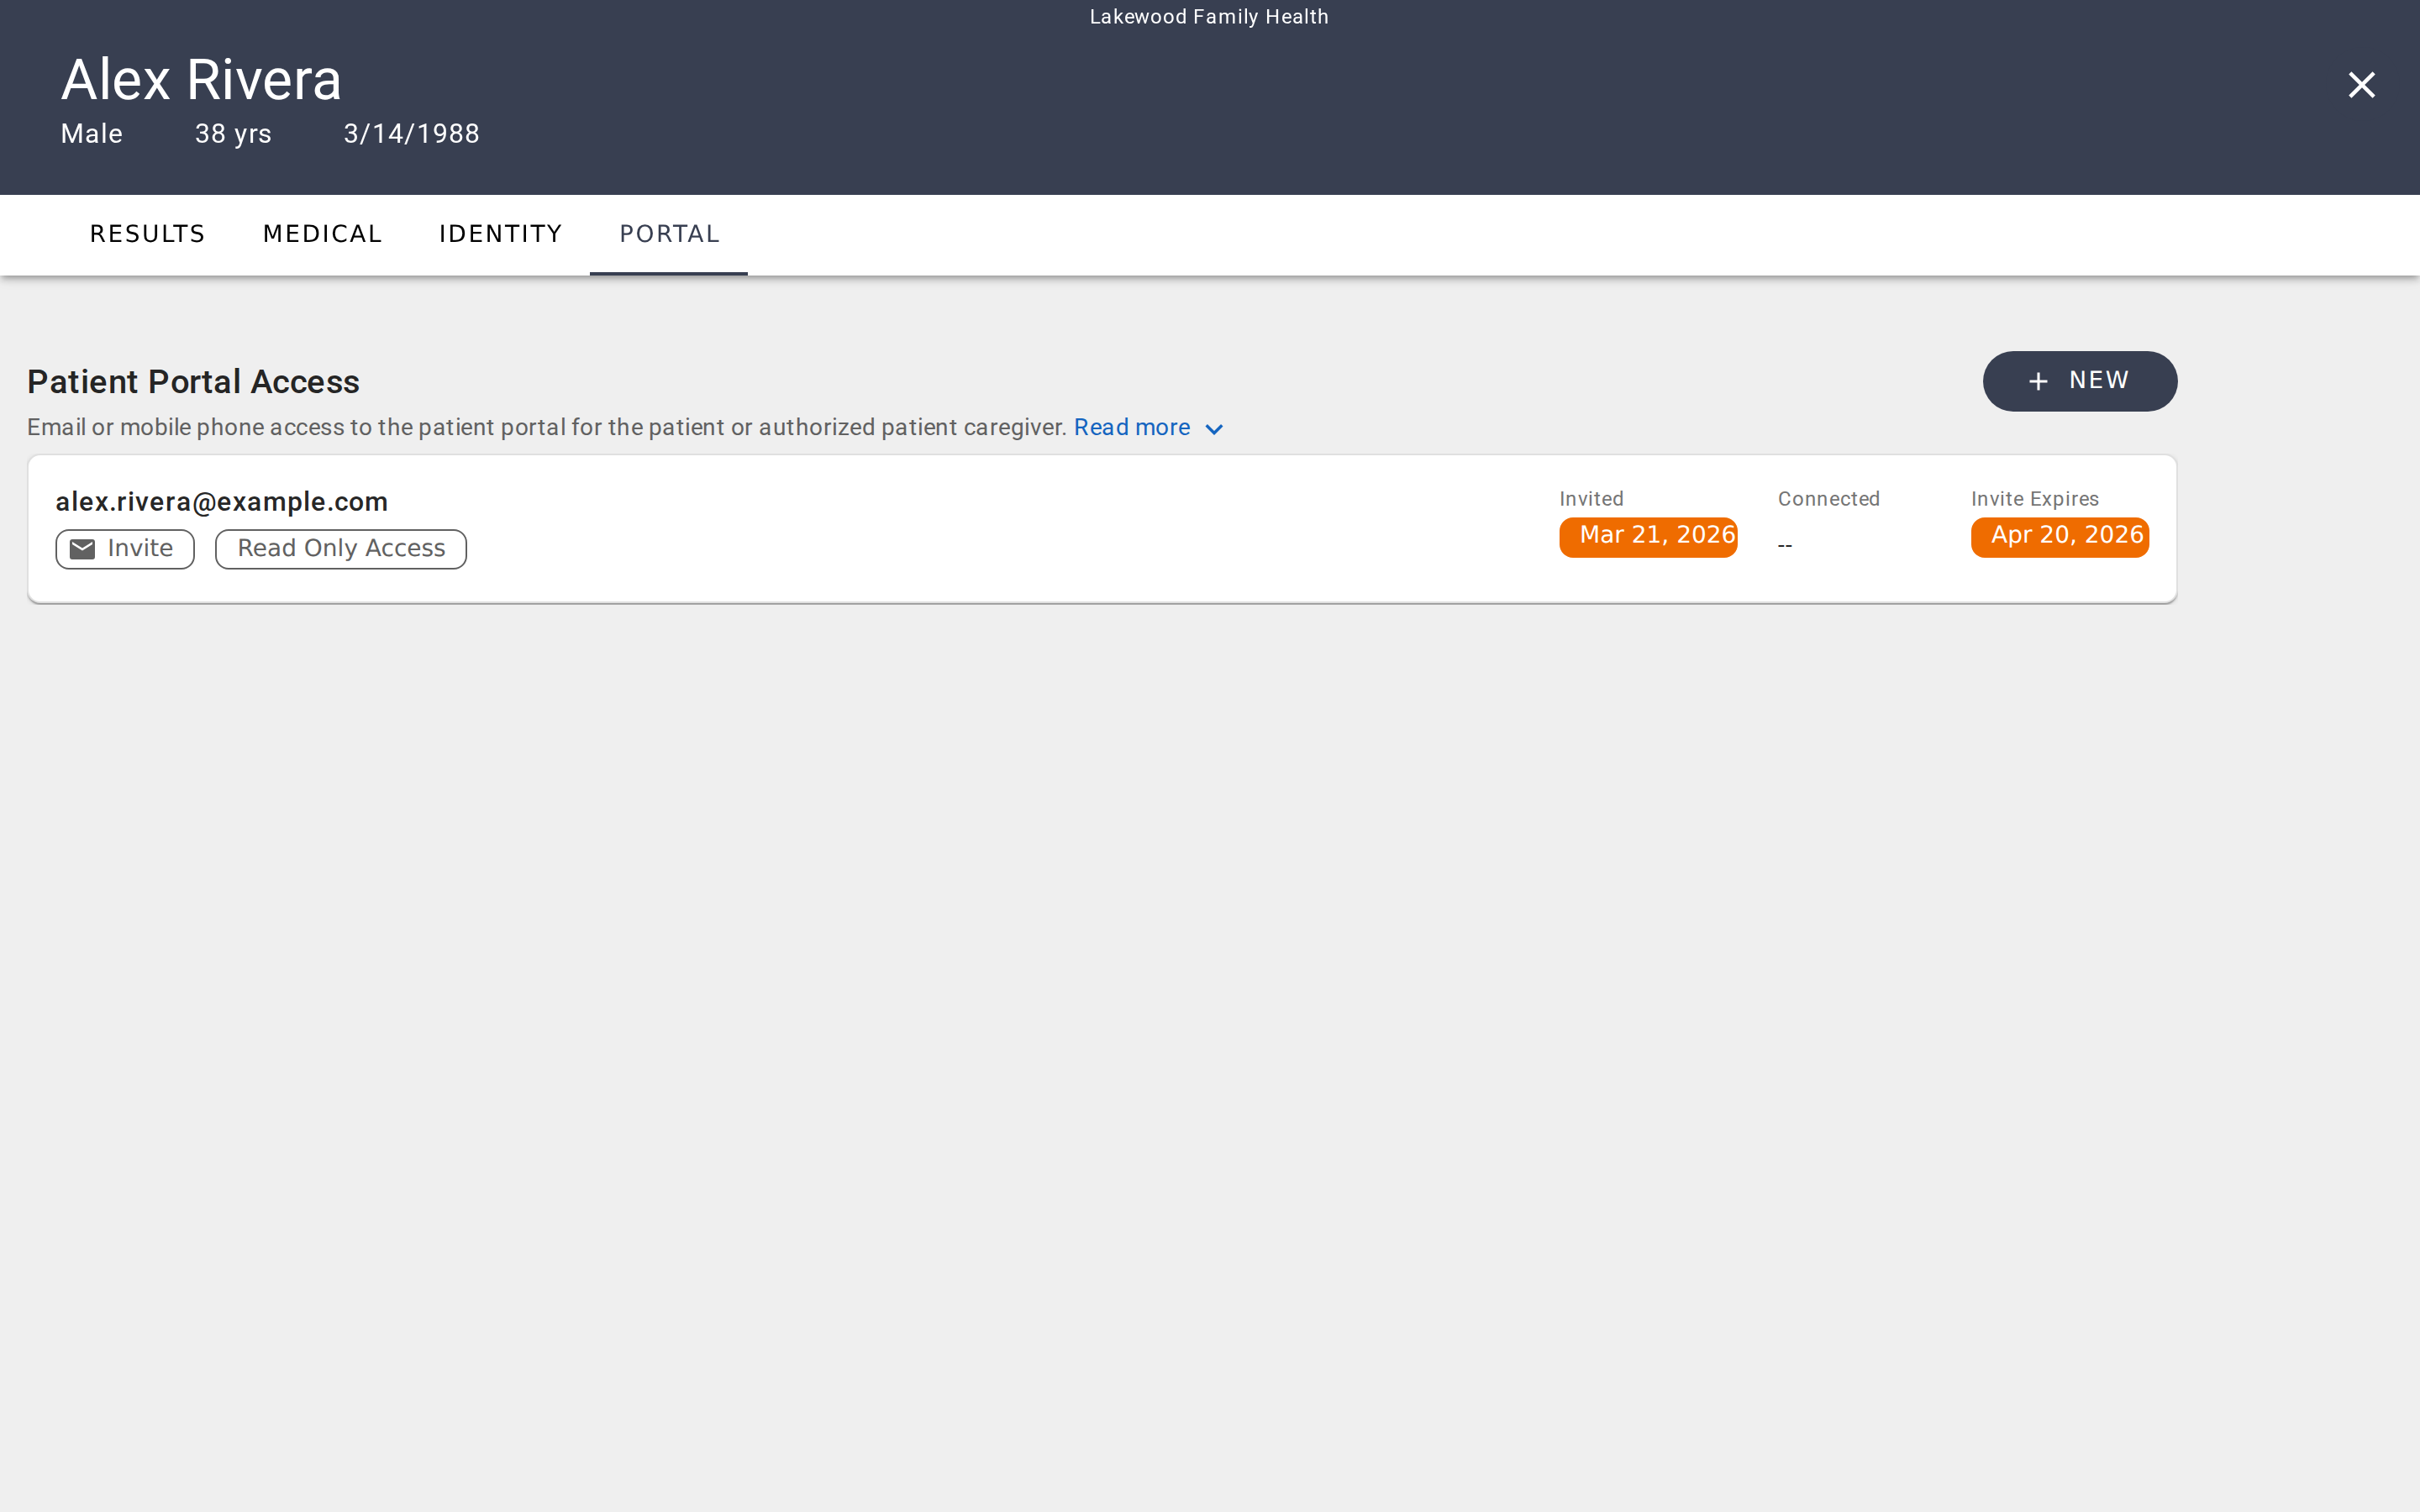
Pending invite. The invitation has been sent but the patient hasn't accepted yet. The row shows the contact information (email or phone), an Invite badge, the permission level, the date the invite was sent, and when it expires. Pending invites have highlighted date badges so you can spot them quickly.
Connected. The patient accepted the invitation and created their account. The row now shows the patient's portal account name instead of just the contact information, along with a Full Access or Read Only Access badge, and both the invited and connected dates.
Expired invite. If the patient doesn't respond before the invitation expires, the dates appear in red. You can resend the invitation from the connection detail dialog.
Disconnected. A connection that was previously active but has been severed. Disconnected connections are hidden by default — click Show Disconnected at the bottom of the list to see them. Disconnection is permanent; to reconnect, you would create a new invitation.
Managing existing connections
Click any connection in the list to open its detail dialog. What you can do depends on the connection's state:
For pending invites, you can change the permission level, resend the invitation (useful if the original expired or was missed), or delete the invitation entirely. Deletion is permanent and requires confirmation.
For active connections, you can change the permission level between Full Access and Read Only, resend the welcome message, or disconnect the patient. Disconnecting severs the link between the patient's portal account and this chart — the patient loses access to this provider's data.
For disconnected connections, the dialog is view-only. No further actions are available on disconnected connections.
When to use each permission level
Full Access is right for most patients. They can complete evaluations, review their results, and manage their own portal preferences. This is the default when creating a new invitation.
Read Only works well for authorized caregivers — a parent managing a child's evaluations, or a family member helping an elderly patient. They can see the patient's scheduled evaluations and past results but have limited administrative control.
You can change permissions at any time by clicking the connection and updating the Permissions dropdown. Changes take effect immediately.
Getting started
Patient identity and demographics
View and manage a patient's profile, classification, addresses, contact information, insurance, and external identifiers on the Identity tab.
Schedules
Monitor all scheduled assessments across your organization with real-time status updates, filtering, and at-a-glance overdue tracking.