Medical information
What the Medical tab shows
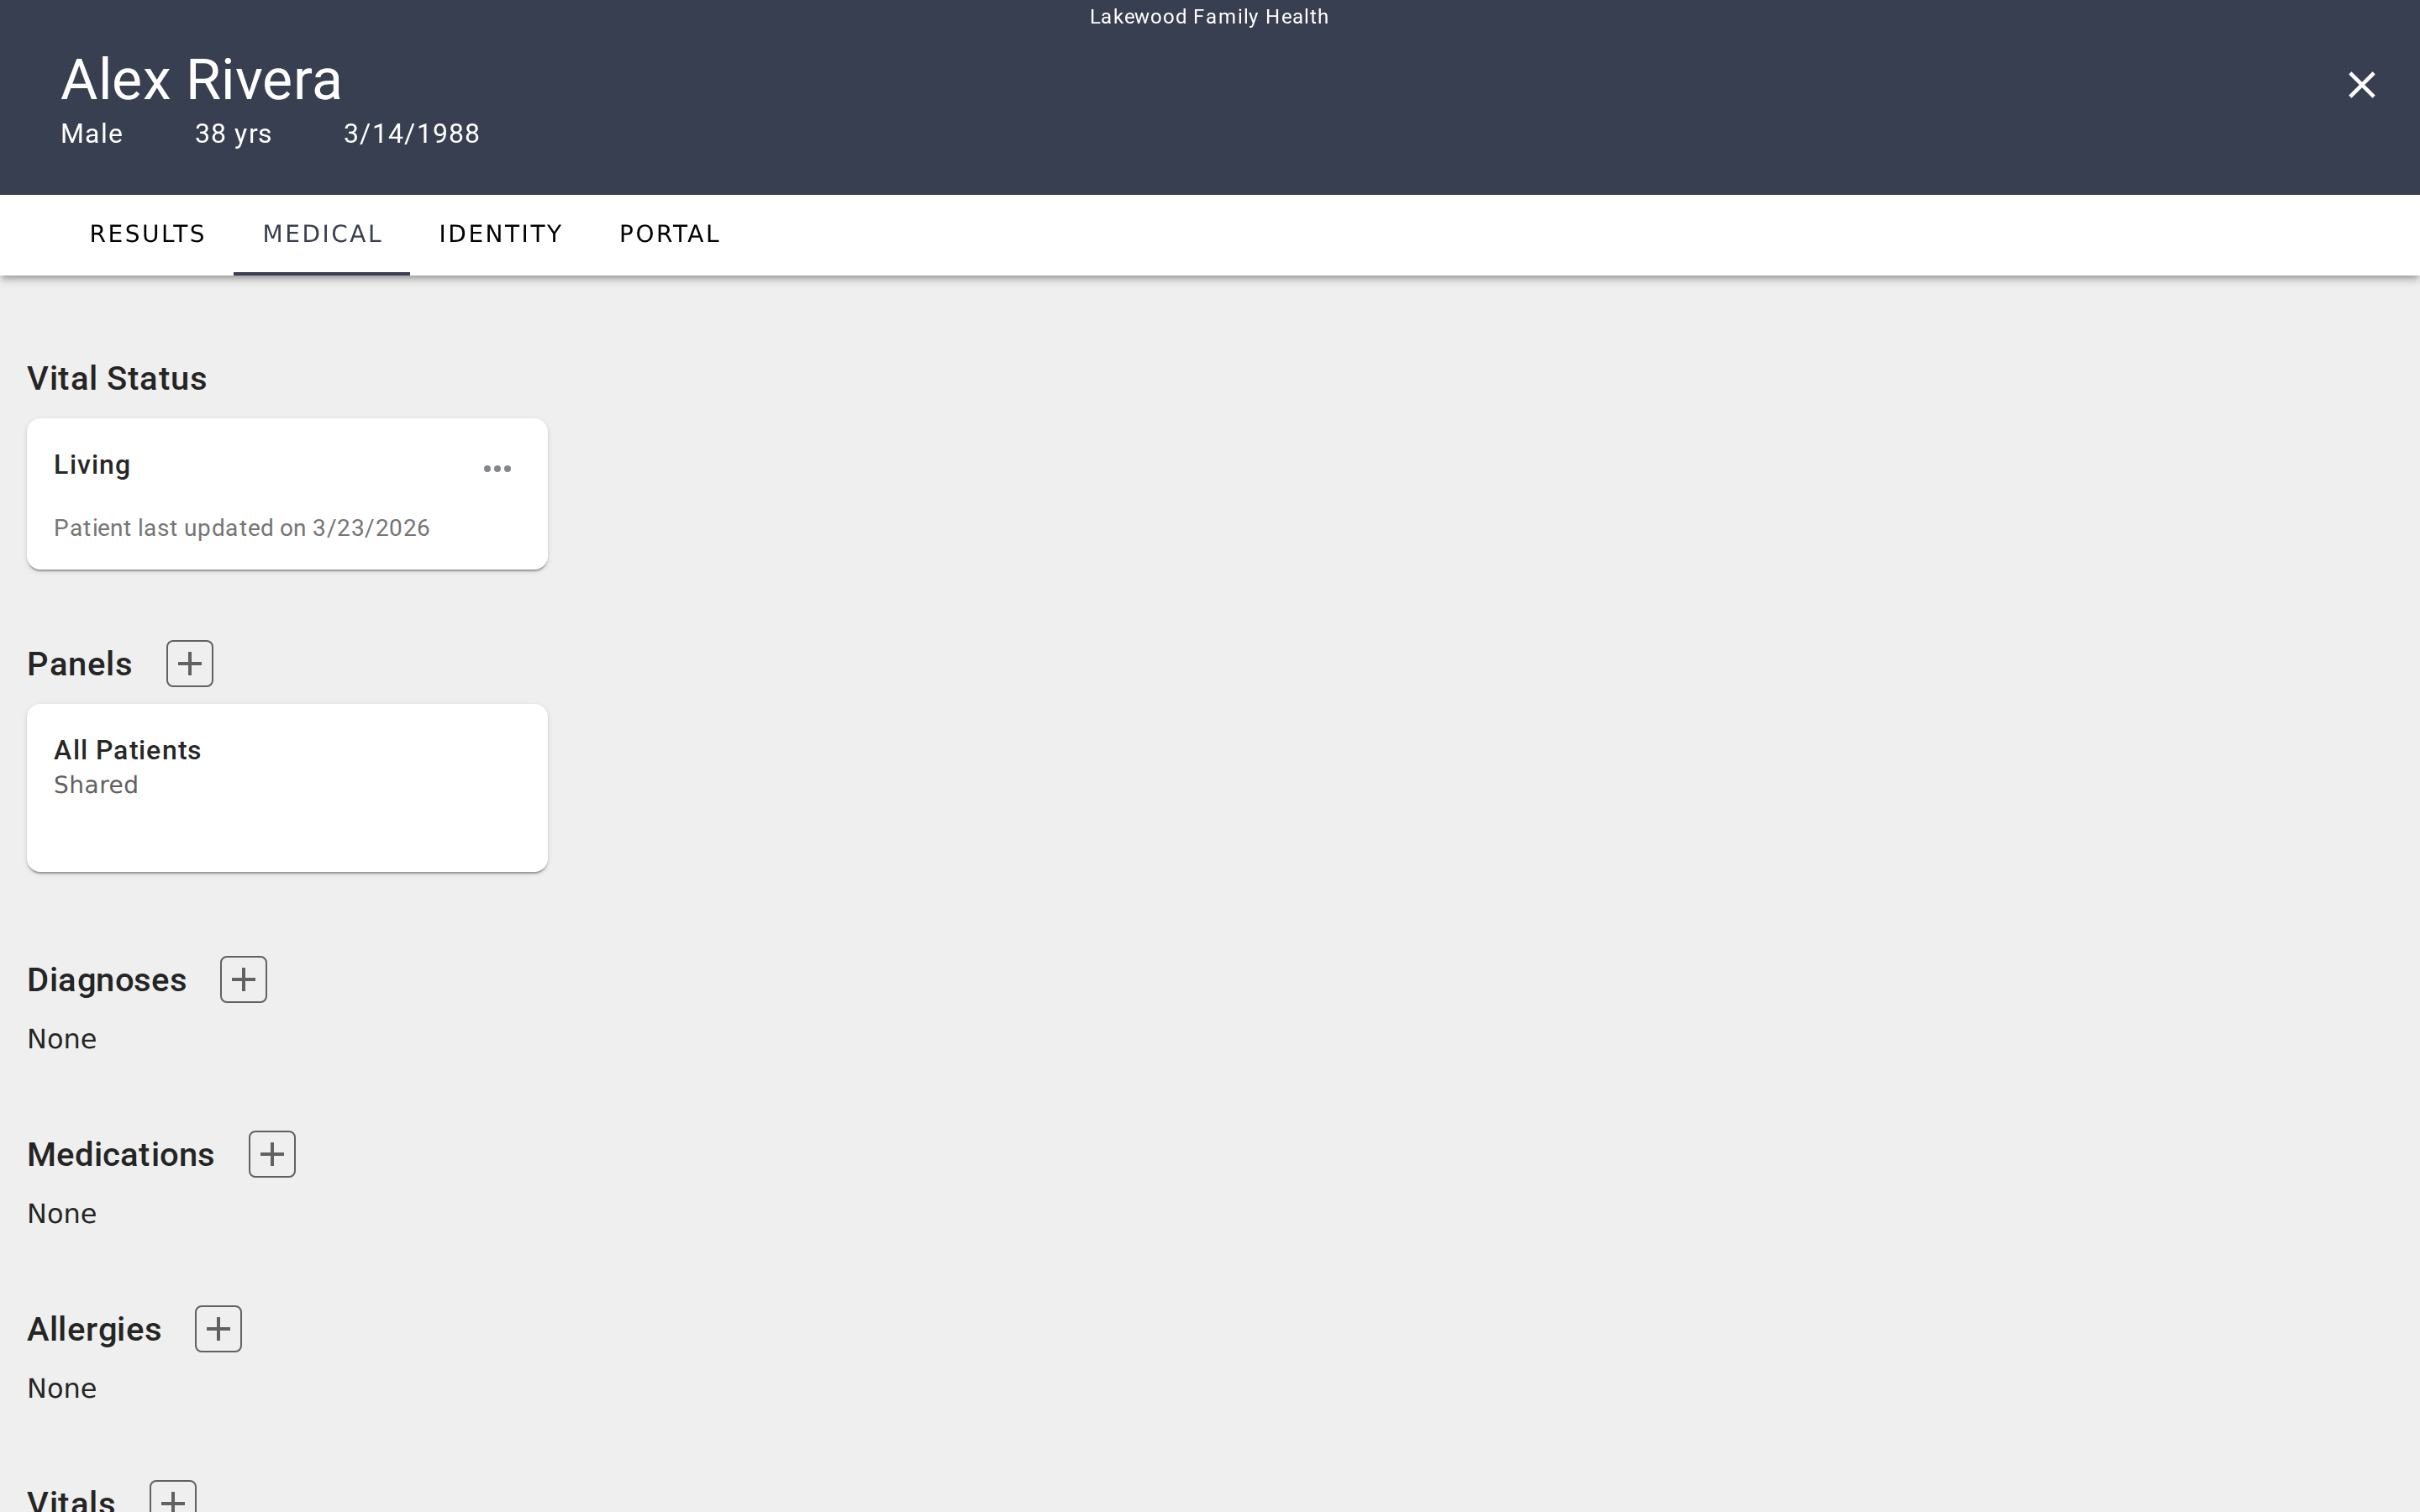
The Medical tab is the clinical data layer of a patient's chart. It collects the information that gives context to evaluation results — diagnoses, medications, allergies, vital signs, lab values, procedures, and the patient's vital status (living or deceased). This is the tab you turn to when you need to understand a patient's clinical picture before interpreting a screening score or planning a follow-up.
The tab organizes data into eight sections, each displayed as a group of cards:
- Vital Status — Whether the patient is living or deceased, with a last-updated timestamp.
- Panels — Which care panels the patient belongs to.
- Diagnoses — Active and historical diagnoses.
- Medications — Current and past medications with dosage and instructions.
- Allergies — Known allergies and sensitivities.
- Vitals — Vital sign measurements grouped by type (e.g., blood pressure, heart rate).
- Labs — Laboratory results grouped by test type.
- Procedures — Medical procedures with status and outcome tracking.
How data gets here
Medical data enters the Medical tab in two ways:
Manual entry. Click the + button on any section to add a record. Each section opens a dialog with fields specific to that data type — for example, medications include dosage and instructions, while diagnoses ask for a status like Active or Resolved. You choose a medical coding system (ICD-10, RXNORM, LOINC, or others depending on the data type) and search for the appropriate code.
EHR synchronization. If your organization has connected EVAL to an electronic health record system, medical data syncs automatically when a patient's chart is opened from the EHR. A banner at the top of the Medical tab shows the connected EHR name, when data was last updated, and a Refresh button to pull the latest records on demand. EHR-sourced records are read-only — you can view them but cannot edit or delete them.
Adding and editing records
If a section has no records yet, it displays an empty state with a prompt to add your first entry. Sections with no data still appear on the page so you always know what types of clinical information you can track.
For manually managed patients (those without an EHR connection), adding a record follows the same pattern across all sections:
- Click the + button next to the section heading.
- A dialog opens with a coding system selector at the top and fields relevant to that data type.
- Choose your coding system, search for the appropriate code, fill in the remaining fields, and click Save.
To edit an existing record, click the ⋯ menu on the card and select Edit. The same dialog opens with the record's current values pre-filled. To remove a record, choose Delete from the same menu.
Coding systems
Each data type supports multiple medical coding vocabularies. When you add a record, tabs in the dialog header let you switch between coding systems:
- Diagnoses — ICD-10 or SNOMED CT
- Medications — RXNORM or SNOMED CT
- Allergies — ICD-10 or SNOMED CT
- Vitals and Labs — LOINC
- Procedures — HCPCS, CPT, SNOMED CT, or ICD-10
Every data type also offers a free-text option for codes not found in the standard vocabularies. Selecting a standard coding system gives you a searchable lookup — type a few characters and EVAL queries the relevant code database to show matching results.
Vital Status
The Vital Status section at the top of the Medical tab is different from the others — it's a single record, not a list. It shows whether the patient is Living or Deceased, along with a last-updated date. Click the ⋯ menu to edit this status. There is no delete option since every patient has a vital status.
Panels
The Panels section shows which care panels the patient belongs to. Each card displays the panel name and whether it's Shared (visible to the whole account) or Private (visible only to you).
Click the + button to search for an existing care panel and add this patient to it. To remove the patient from a panel, click the ⋯ menu on the panel card and select Delete. The default All Patients panel cannot be removed — every patient belongs to it automatically.
Vitals and Labs
Vitals and Labs work differently from the other sections. Instead of individual cards with edit/delete menus, records are grouped by measurement type. Each card shows the measurement name, its code, and a list of readings with values and timestamps.
Click a card to open a detail view showing all readings for that measurement. From there, you can click into an individual reading to edit it or add a new reading to the group. This grouping makes it easy to track a value over time — for example, seeing a patient's blood pressure readings across multiple visits.
For details on what each data type tracks and the fields available when adding records, see Medical data types.
Getting started
Running an evaluation
Administer an assessment in a patient's chart, complete questions, save the result with optional signing, and manage completed results.
Medical data types
Reference for each medical data type — diagnoses, medications, allergies, vitals, labs, and procedures — including fields, statuses, and coding systems.