Scenario testing
Why scenario testing matters
A formula error in a clinical evaluation can produce incorrect scores that affect patient care decisions. Scenario testing lets you catch these errors before they reach patients by defining test cases — specific sets of question answers with known expected results — and running them against your formulas.
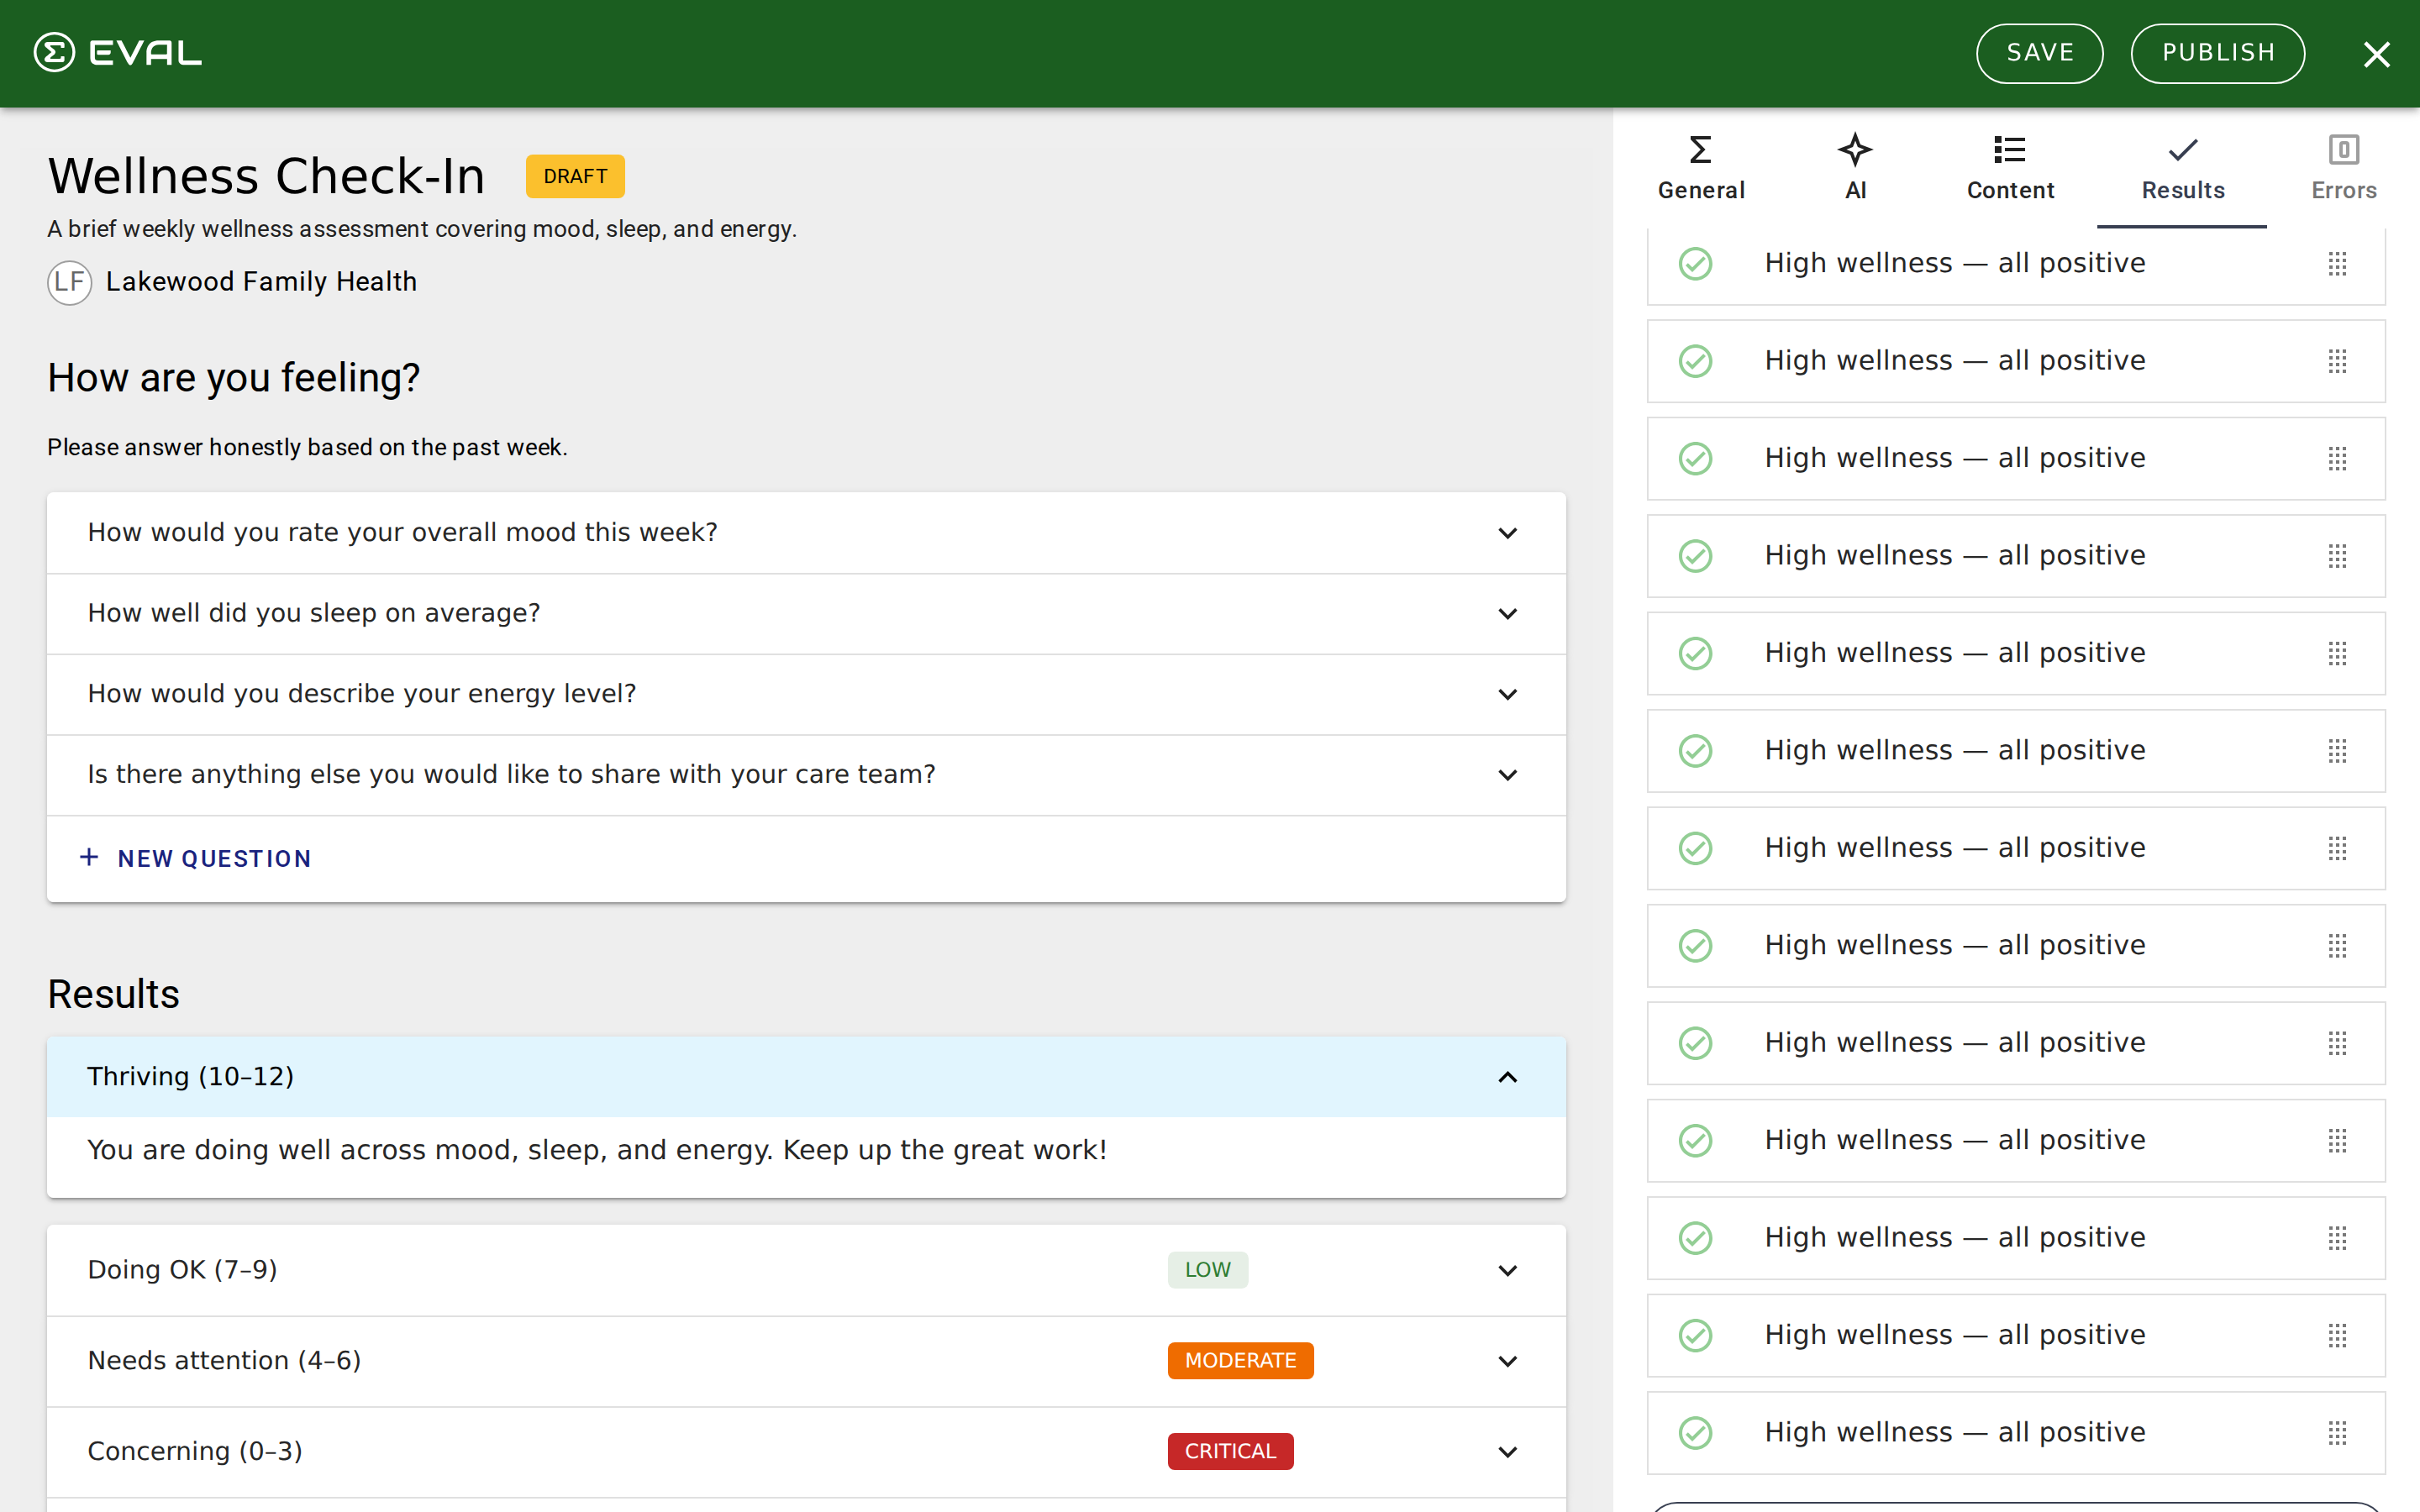
Every result in your evaluation has its own Scenario Tests section. You create tests that simulate a patient completing the evaluation with specific answers, then verify that the computed result matches what you expect. Tests run automatically as you make changes, so you see immediately when a formula edit breaks an existing test case.
Creating a test
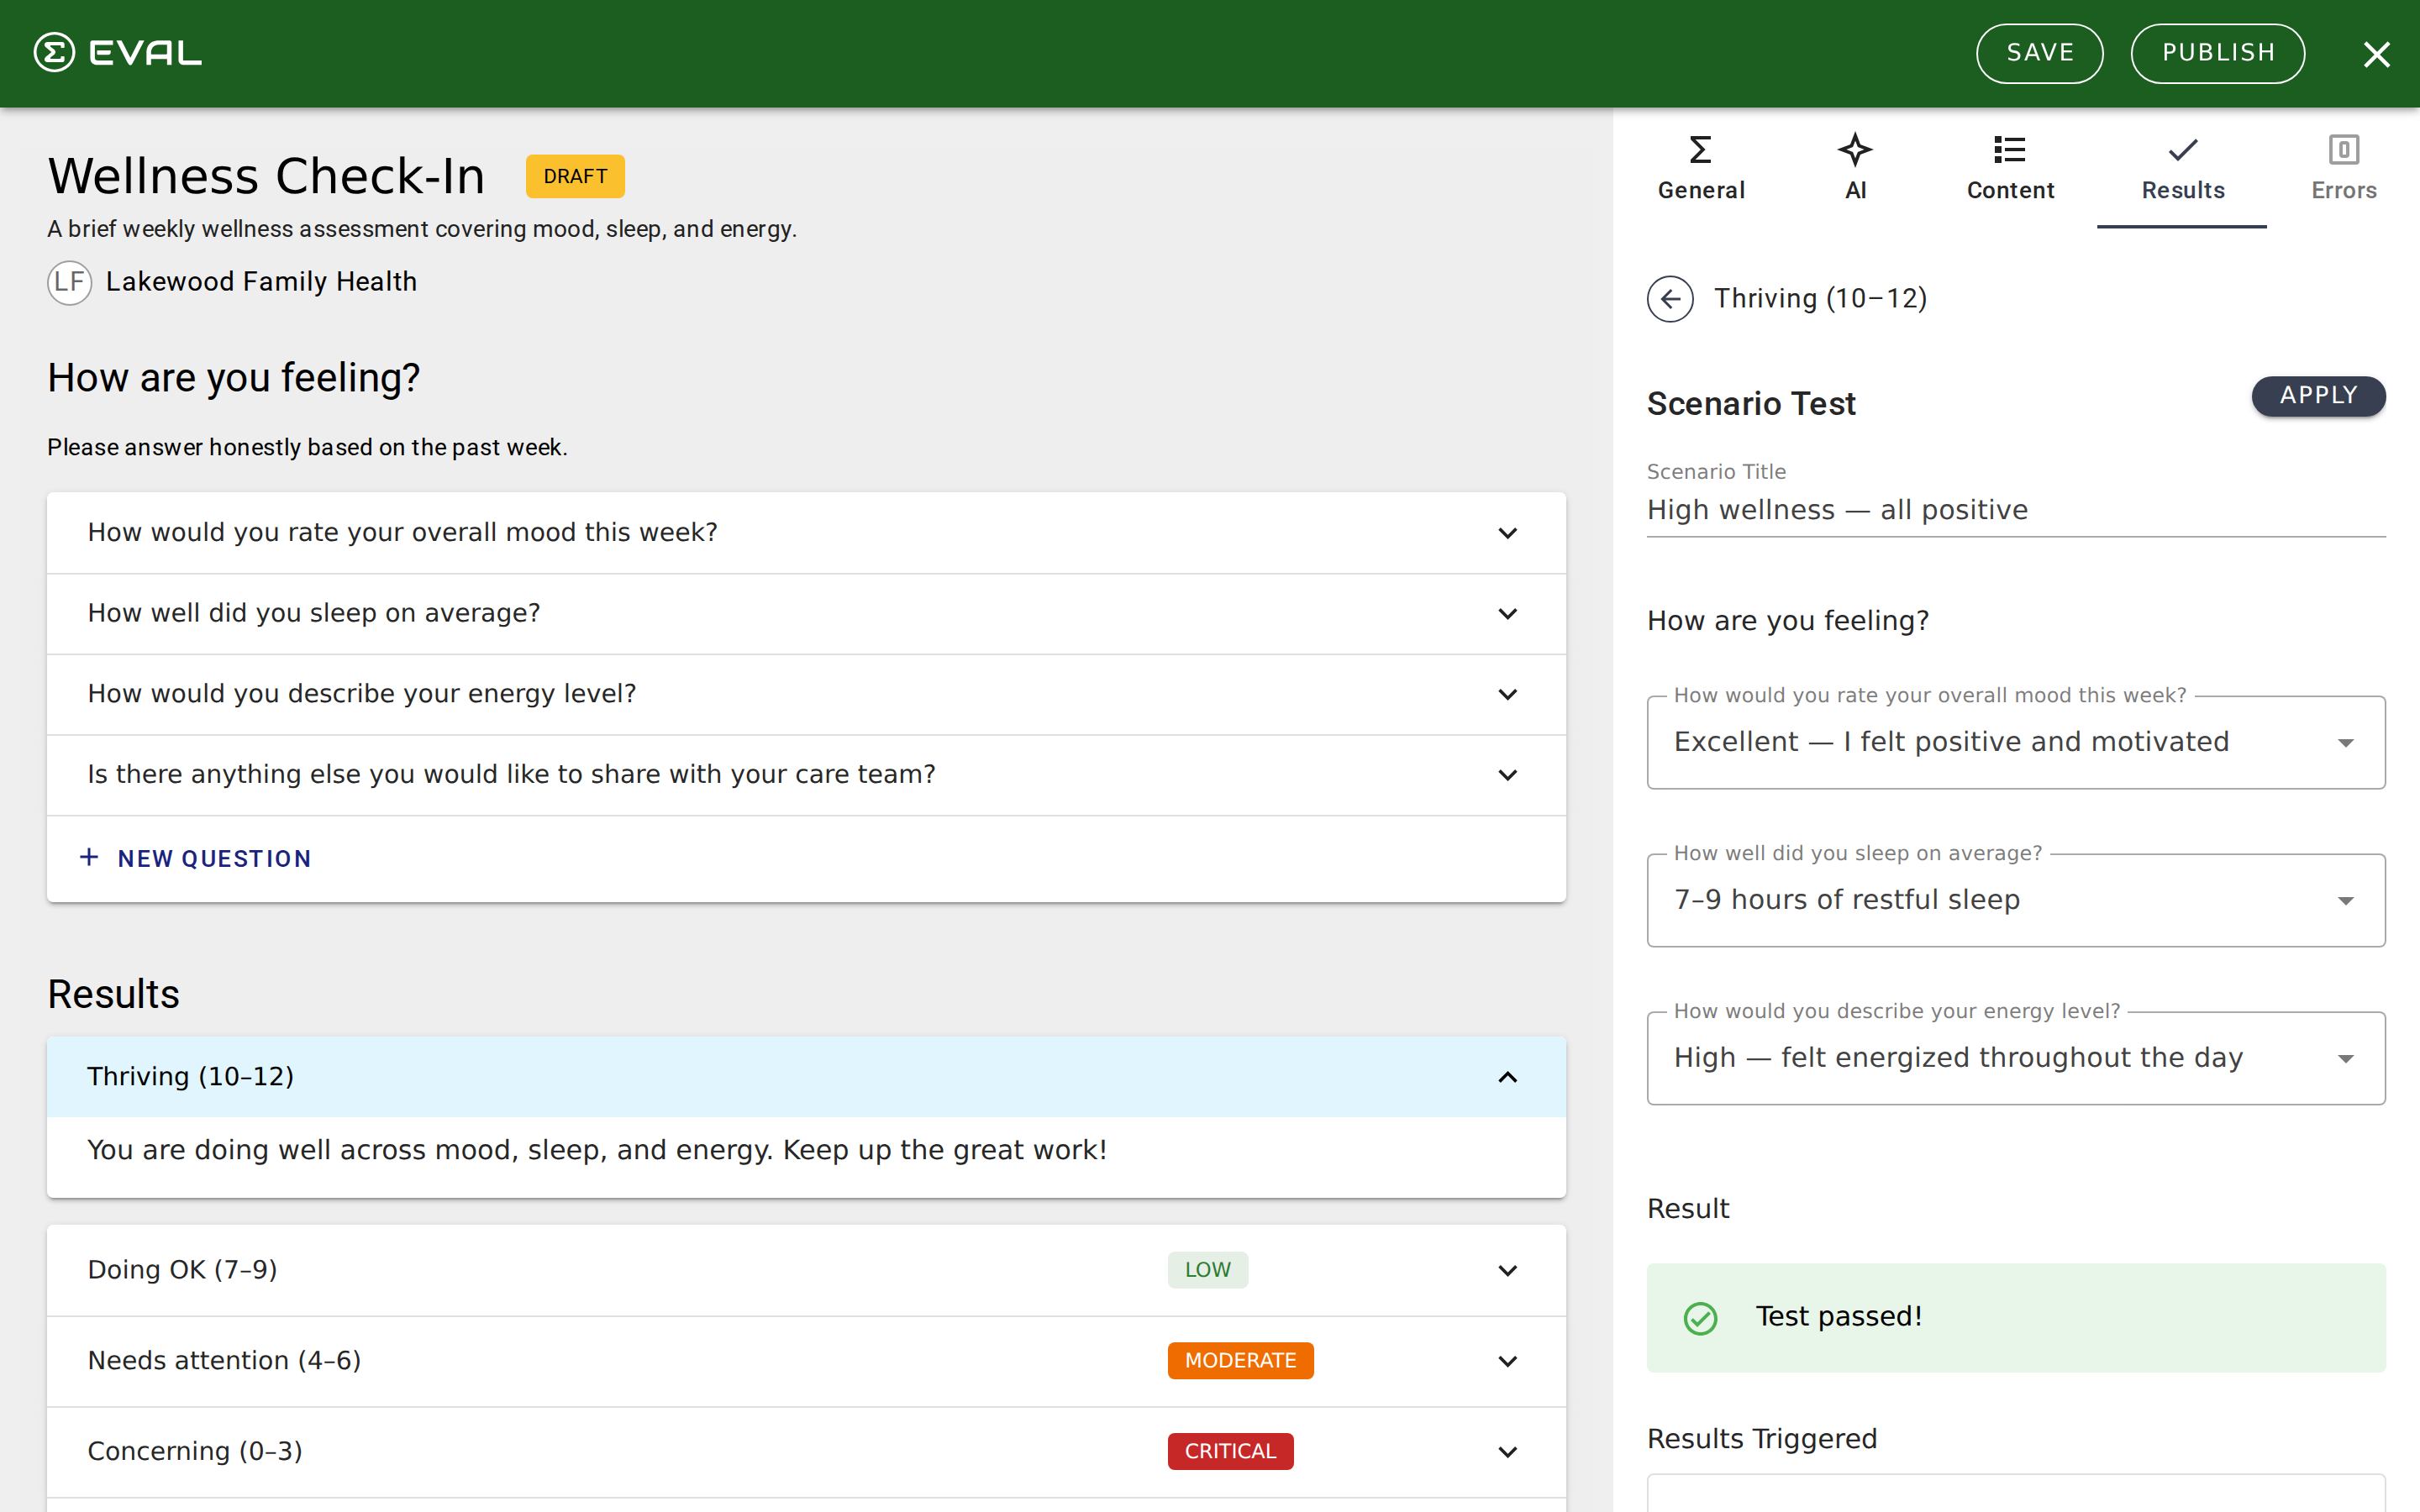
Open any result on the Results tab and find the Scenario Tests section. Click New Test to create a test case.
- Name your scenario. Give the test a descriptive title that explains what you're testing — like "PHQ-9 score of 15 (moderate depression)" or "BMI calculation for 70kg, 1.75m." A clear name helps you understand what broke when a test fails months later.
- Set question answers. The editor shows every question in your evaluation, organized by section. Set the answer values for this scenario: enter numbers, select choices, or leave questions blank to test how your formula handles missing data.
- Set the expected result. For Formula results, enter the value you expect the formula to produce for these inputs. For Information results, the test simply verifies that the result is triggered (shown to the user).
- Check the outcome. The test runs automatically and shows whether it passed or failed. A green indicator means the actual computed value matches your expected value. A red indicator means something is off.
Reading test results
Each test in the list shows a pass or fail indicator alongside its title. The subtitle displays the expected value and, if the test failed, the actual computed value — making it easy to spot discrepancies.
When you open a failed test, the editor highlights what went wrong:
- "Expected does not equal actual" — The formula computed a different value than you expected. Check your formula logic or update the expected value if your formula is correct and the expectation was wrong.
- "Incorrect result" — The result wasn't triggered at all, usually because its visibility rules excluded it for the given answers. Check your visibility rule conditions.
The Results Triggered section at the bottom shows which of your evaluation's results were selected (triggered) for this test scenario. This is especially helpful for debugging visibility rules — you can see exactly which results would appear for a given set of answers.
How tests work behind the scenes
When a scenario test runs, EVAL executes the full evaluation engine — not just the formula for the result you're testing. All sections are processed, all visibility rules are evaluated, and all results are computed. This means your tests validate the entire evaluation flow for that set of answers, not just one isolated formula.
Tests run automatically with a brief delay as you change inputs or edit formulas. All tests for a result re-run whenever the formula, variant, or visibility rules change, so your test suite stays current without manual re-running.
Building a test suite
A well-designed test suite covers the full range of your evaluation's behavior:
Normal cases — Test the most common scenarios your patients will produce. If most patients score between 5 and 15, create tests at several points in that range.
Boundary cases — Test the edges of your score ranges and visibility rule thresholds. If a result should appear when the score exceeds 10, test with scores of 10 (should not appear) and 11 (should appear).
Edge cases — Test extreme and unusual inputs: the minimum possible score, the maximum, a single question answered with all others blank, and any combination that might break your formula logic.
Visibility rules — Create tests that verify your conditional results appear and disappear correctly. If you have five Information results that each appear for a different score range, create at least one test per range.
Managing tests
Tests can be reordered by dragging them in the list. To delete a test, open it and use the Danger Zone at the bottom of the test editor. There's no limit on how many tests you can create per result — add as many as you need to feel confident in your formulas.
Getting started
Formula editor
Write spreadsheet-style scoring formulas in the Builder: reference questions through keywords, build reusable named expressions, and call built-in functions.
Visibility rules
Show or hide sections, questions, choices, and results based on earlier answers, using AND/OR conditions or custom formulas to make evaluations adaptive.