Patient Identity
Identity Tab Overview
After clicking Identity in Charts, the following displays:
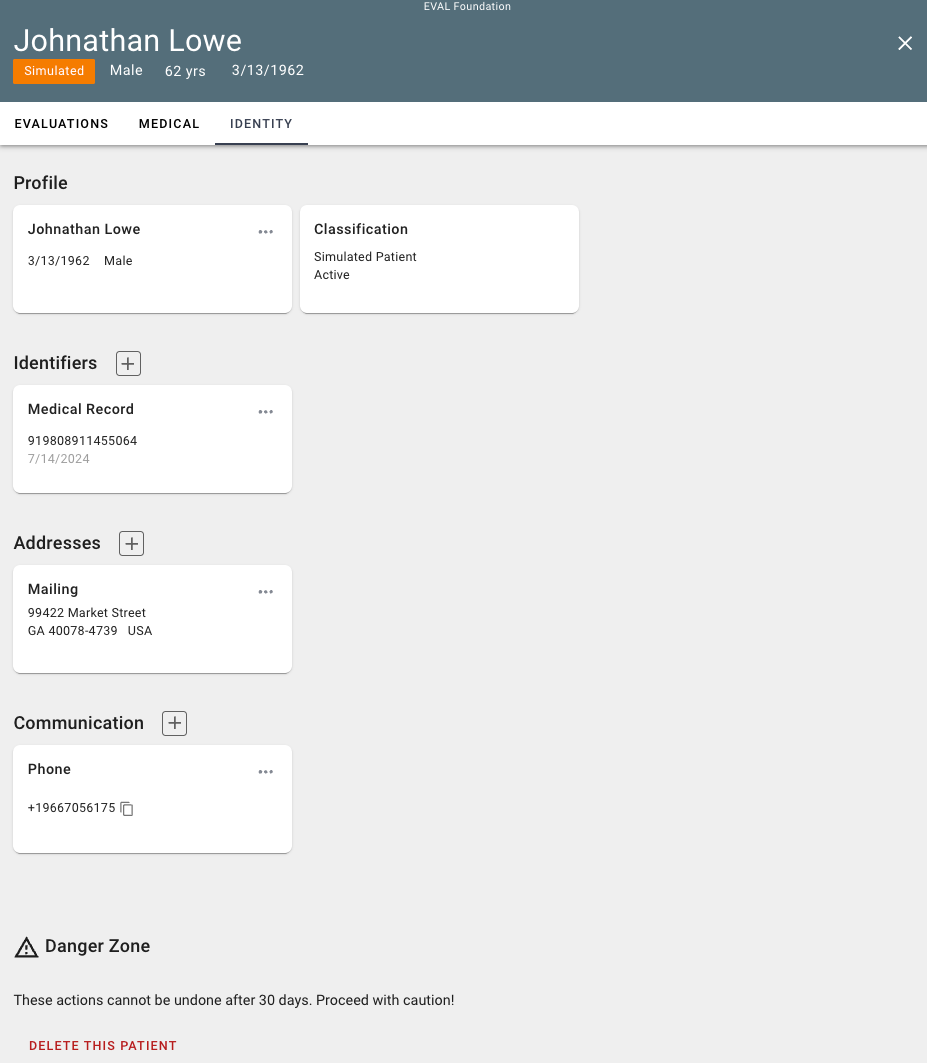
This tab shows patient identifiers. Capturing this data ensures accurate and efficient management of their medical records and communication.
In the simulated patient environment, patient data is auto-generated
Edits are disabled to prevent real identities from being included
Each section of the Identity tab is further described below. When you are in a simulated environment, you will see colored bans, as shown in the following sections, that indicate when updates are disabled. In addition, the Save button will be disabled. When working with real patients and with the appropriate access, you will be able to edit this content.
Viewing & Managing Identity Data
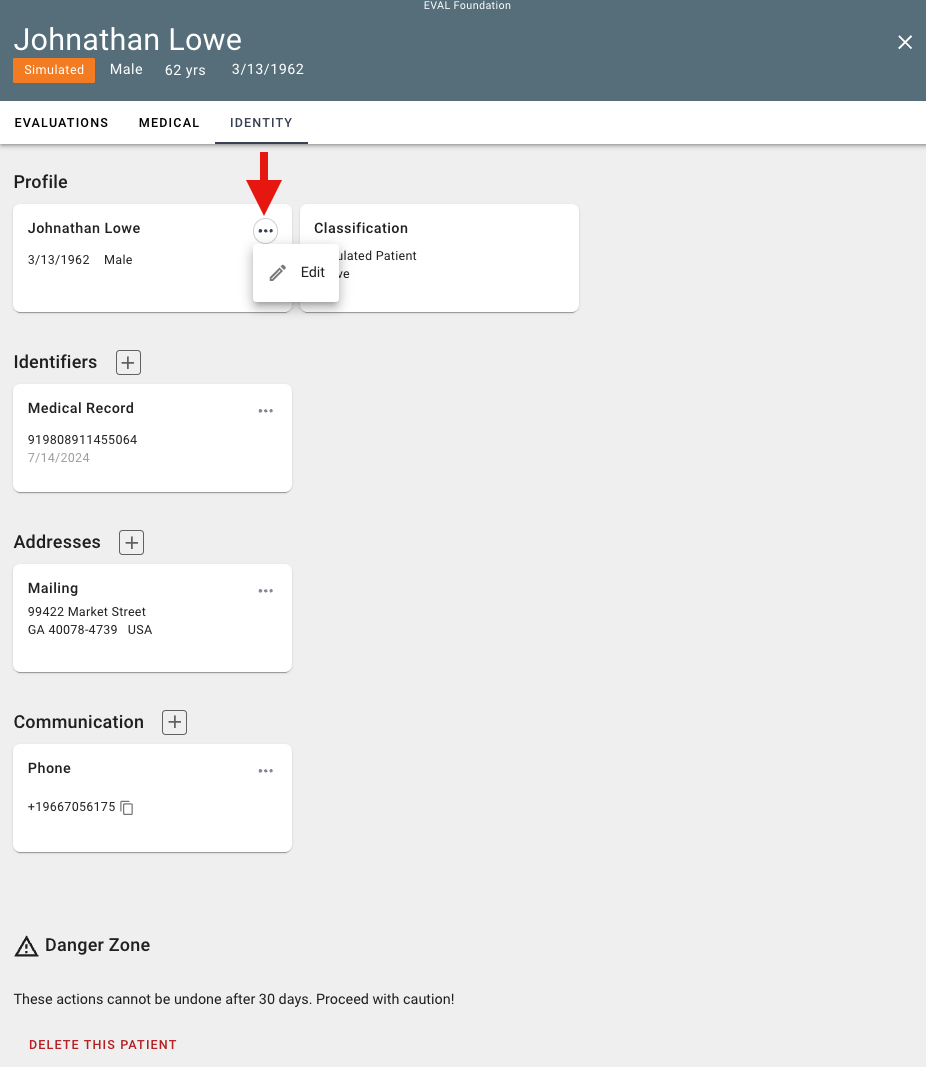
Profile Section
To edit content on the Profile card, select Edit from the 3-dot menu as shown below:
The following popup displays:
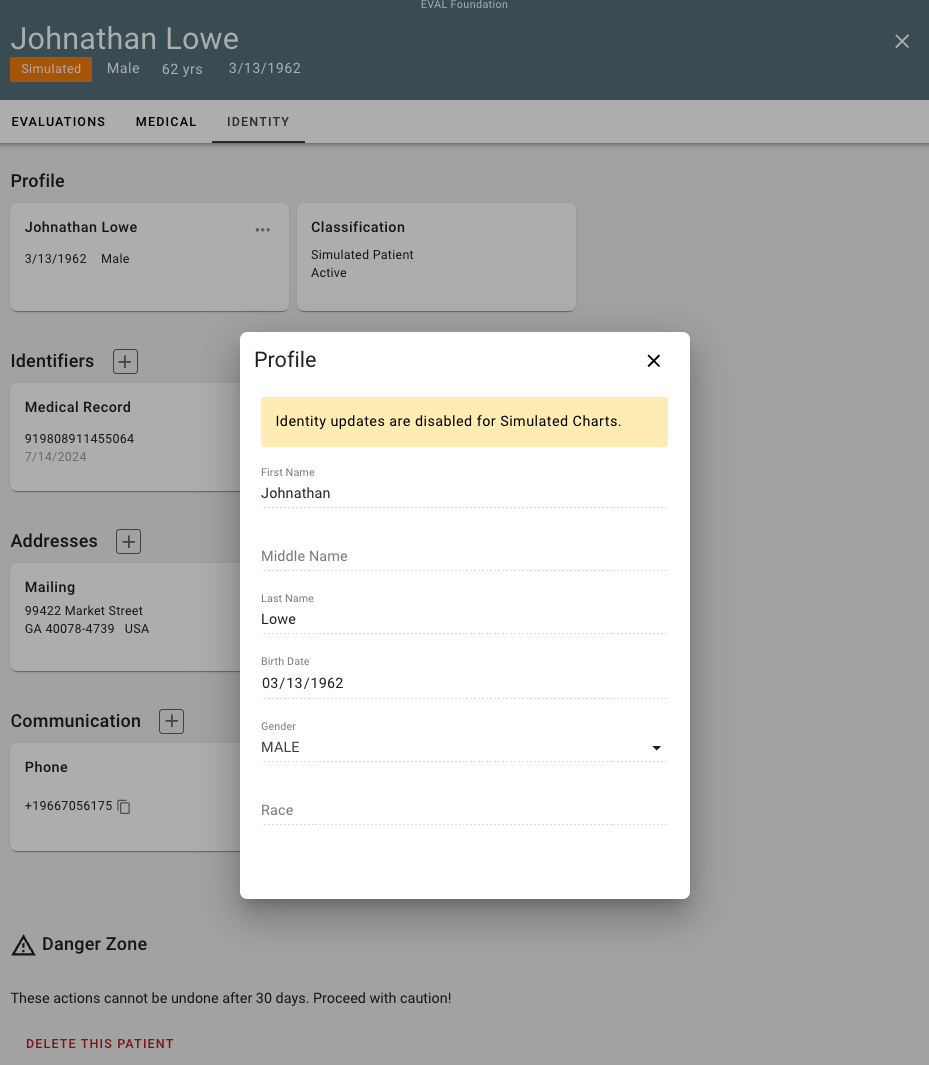
Click the "x" in the upper right to close or, for real patients, edit the content as allowed.
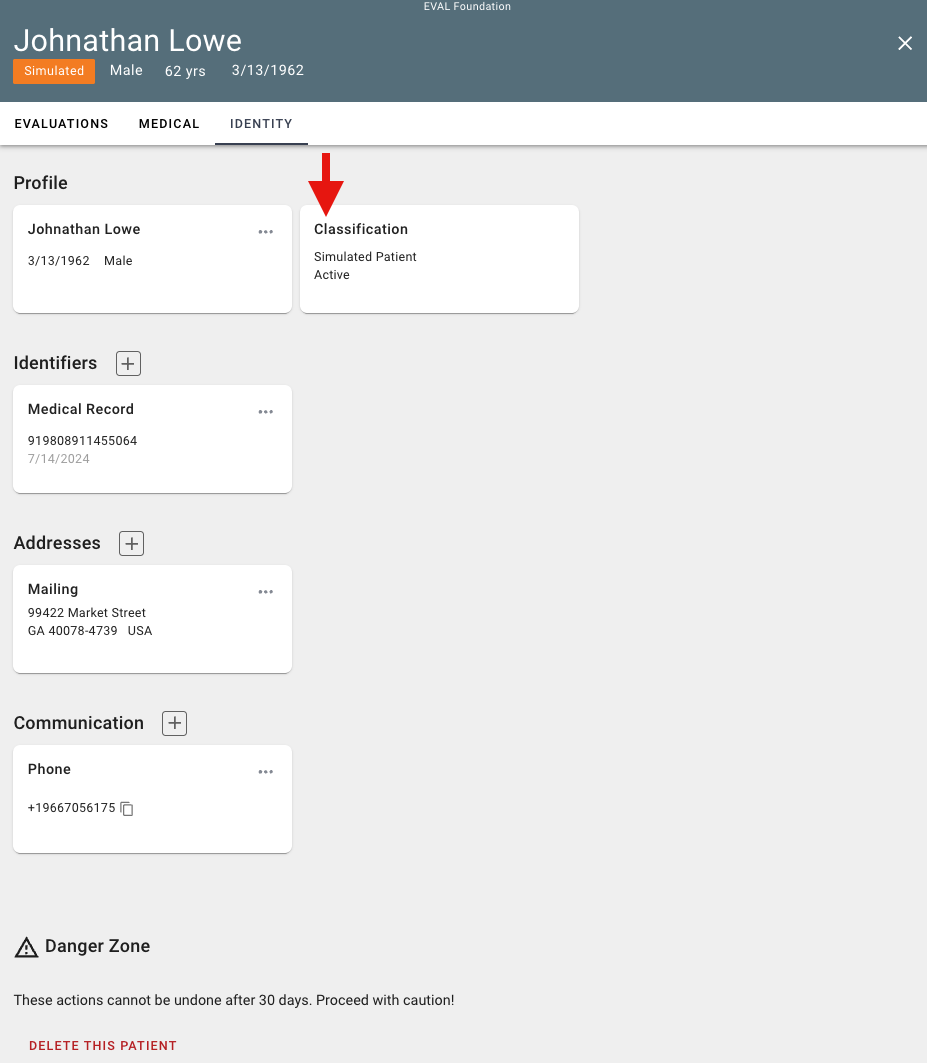
The Classification card is system-generated and view-only.
Identifiers Section
To edit content on the Identifiers card, select Edit from the 3-dot menu, and the following displays:
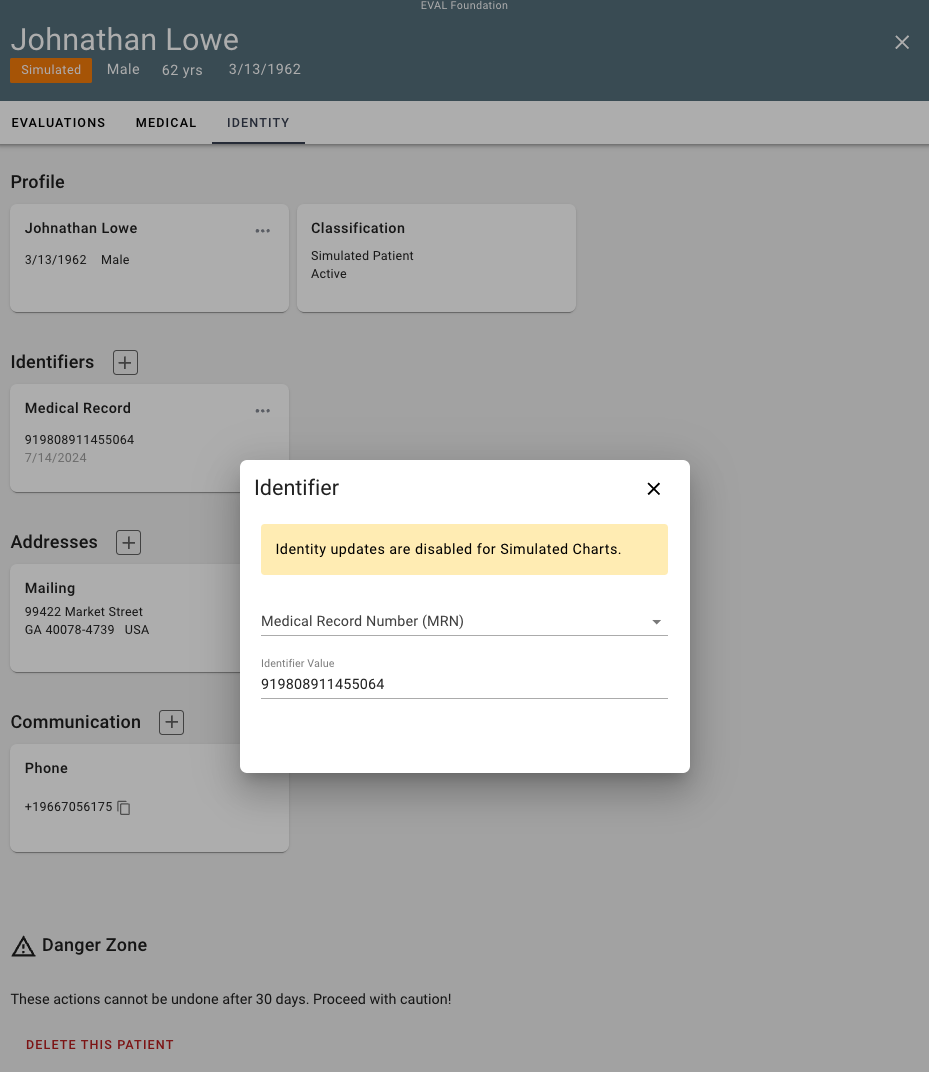
Click the "x" in the upper right to close or, for real patients, edit the content as allowed.
You can add a new identifier by clicking the "+" next to Identifiers text as shown below:
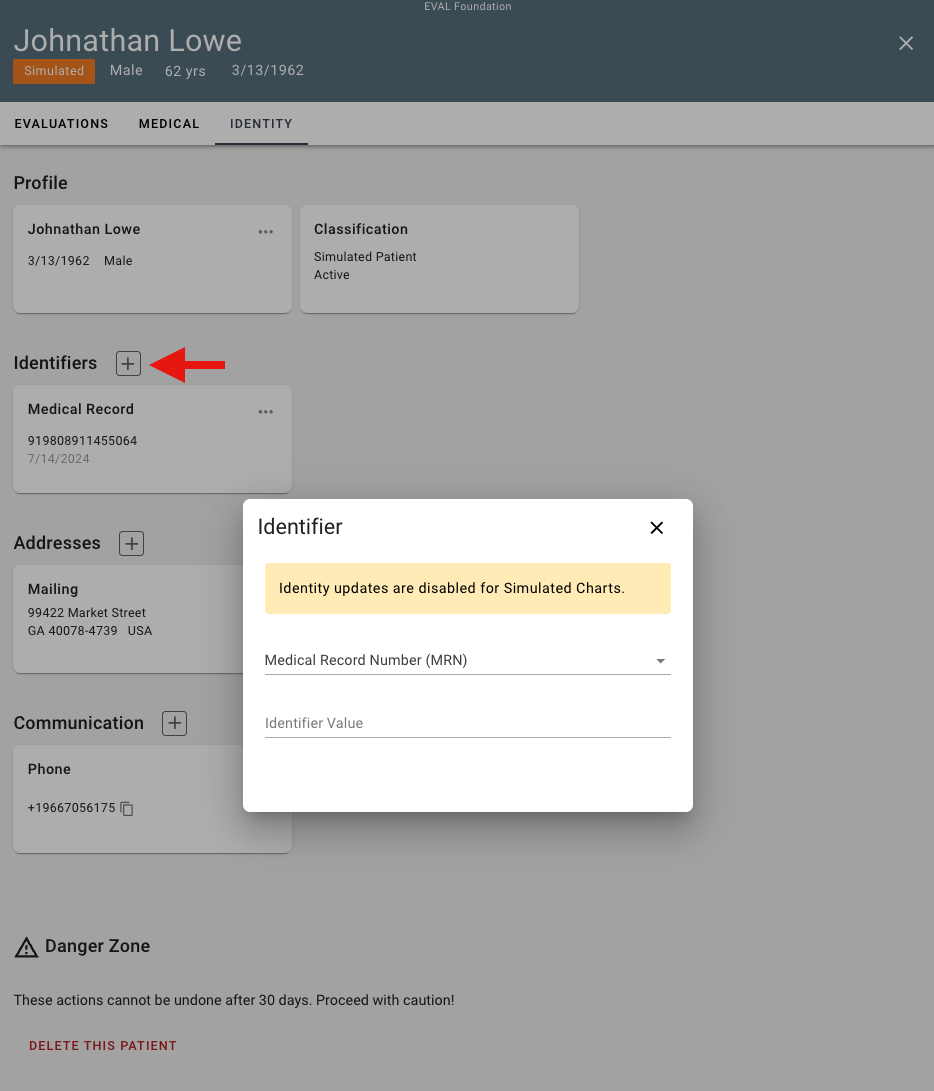
Click the "x" in the upper right to close or, for real patients, add the content as allowed.
Addresses Section
To edit content on the Addresses card, select Edit from the 3-dot menu, and the following displays:
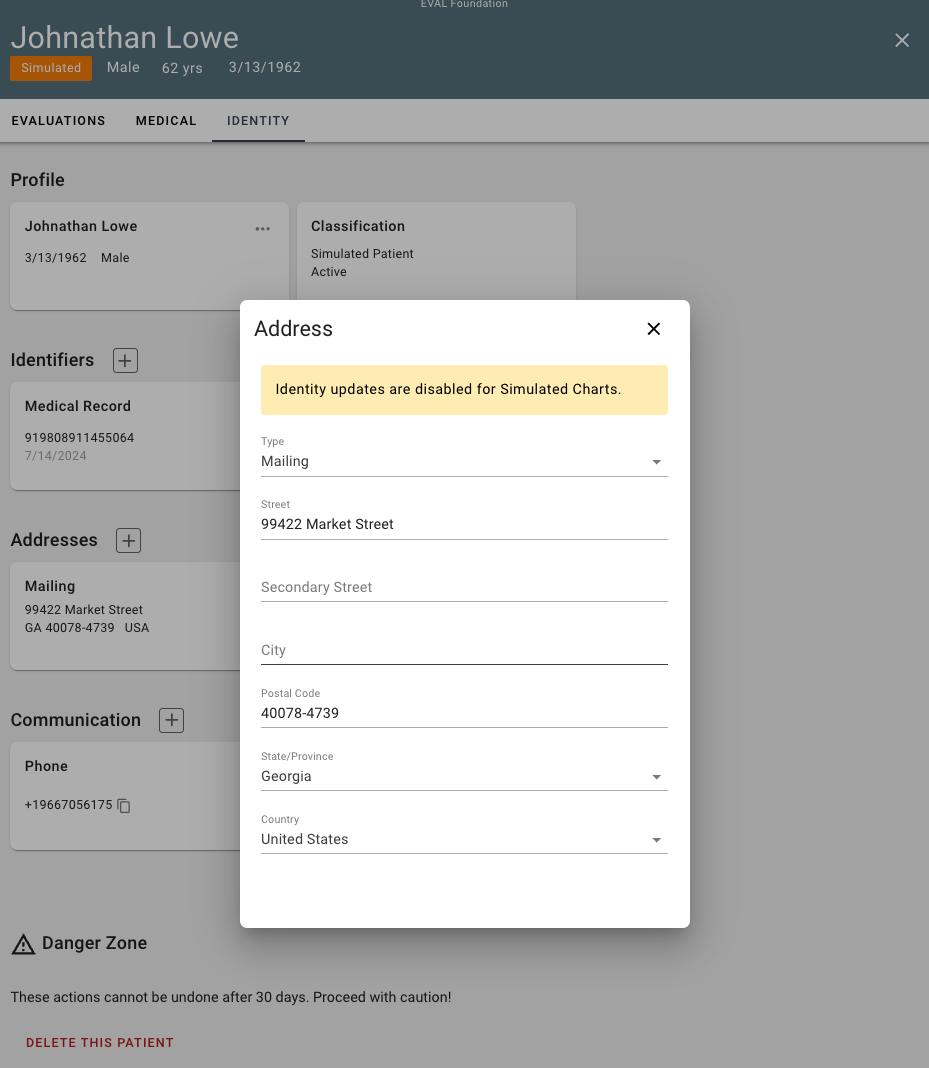
Click the "x" in the upper right to close or, for real patients, edit the content as allowed.
You can add a new address by clicking the "+" next to Addresses text as shown below:
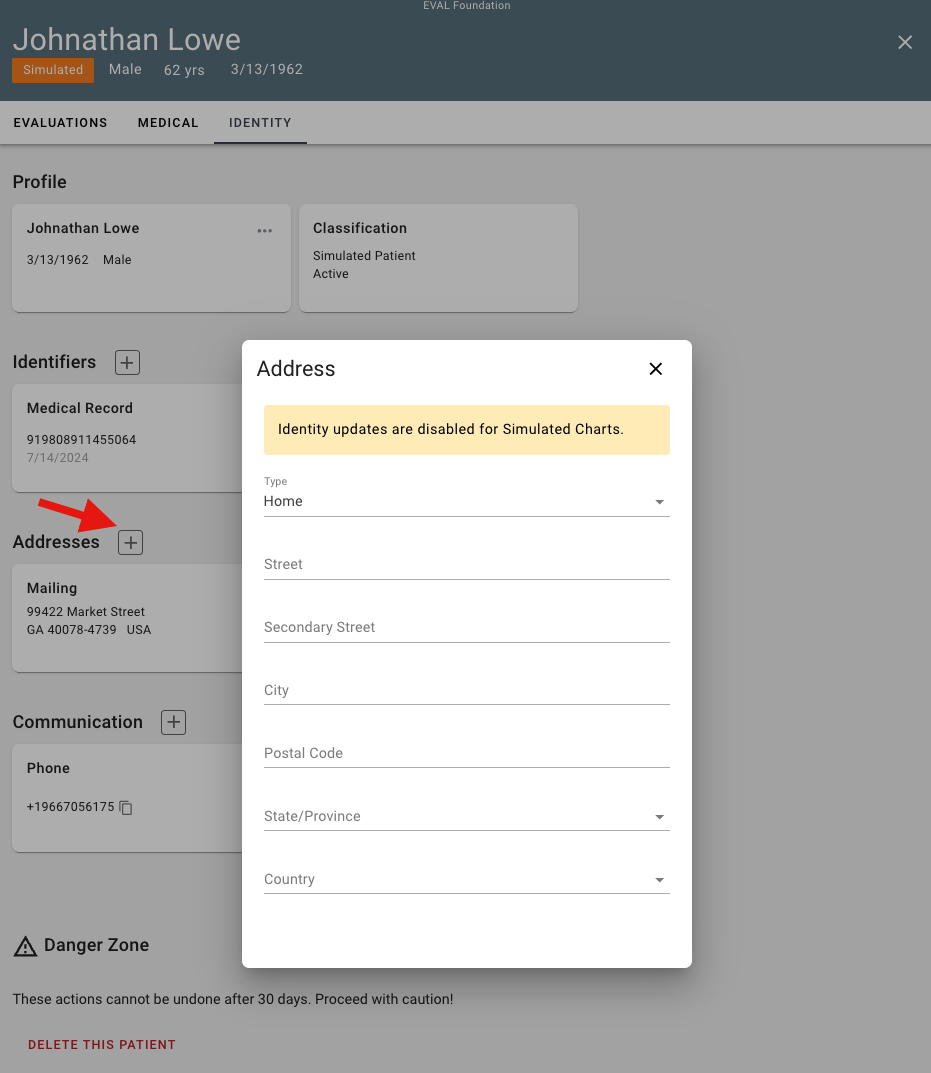
Click the "x" in the upper right to close or, for real patients, add the content as allowed.
Communication Section
To edit content on the Communication card, select Edit from the 3-dot menu, and the following displays:
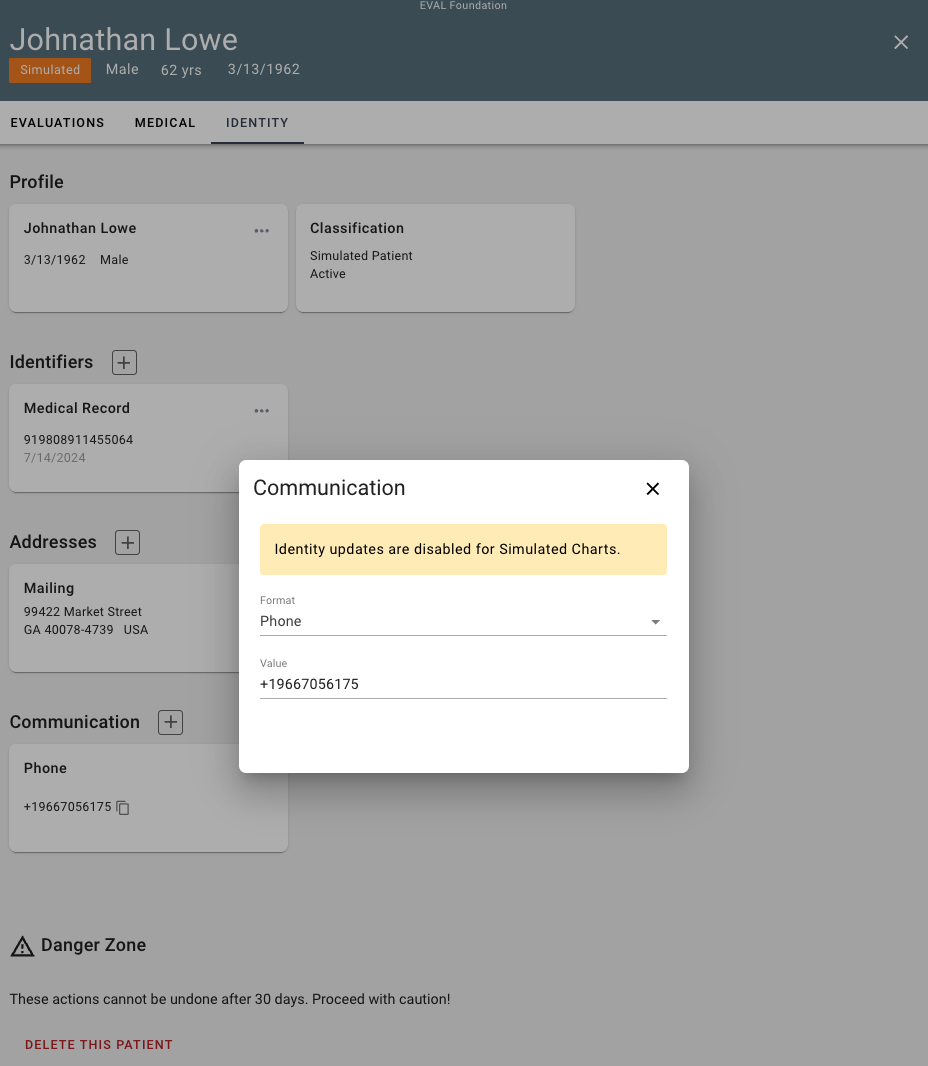
Click the "x" in the upper right to close or, for real patients, edit the content as allowed.
You can add a new communication means by clicking the "+" next to Communication text as shown below:
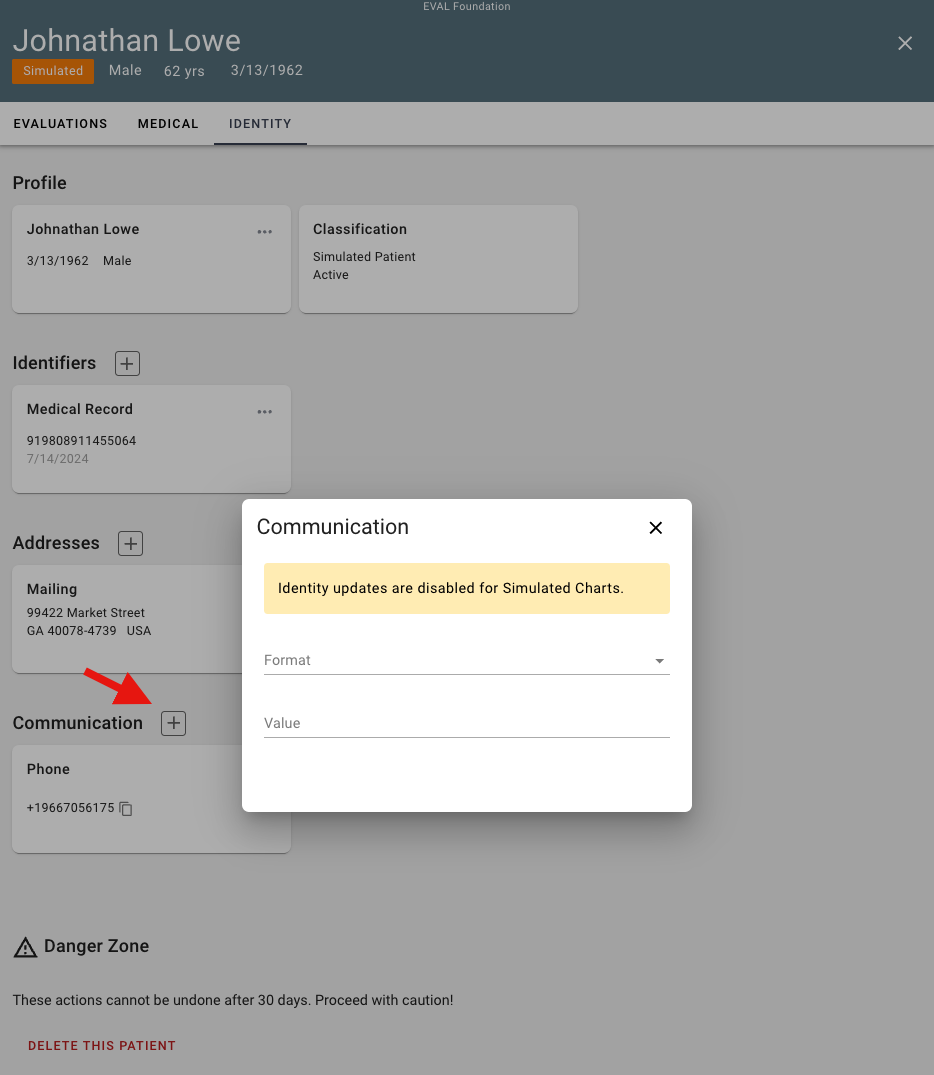
Click the "x" in the upper right to close or, for real patients, add the content as allowed.
Danger Zone Section
To delete a patient record, navigate to the Danger Zone section at the bottom of the Identities tab:
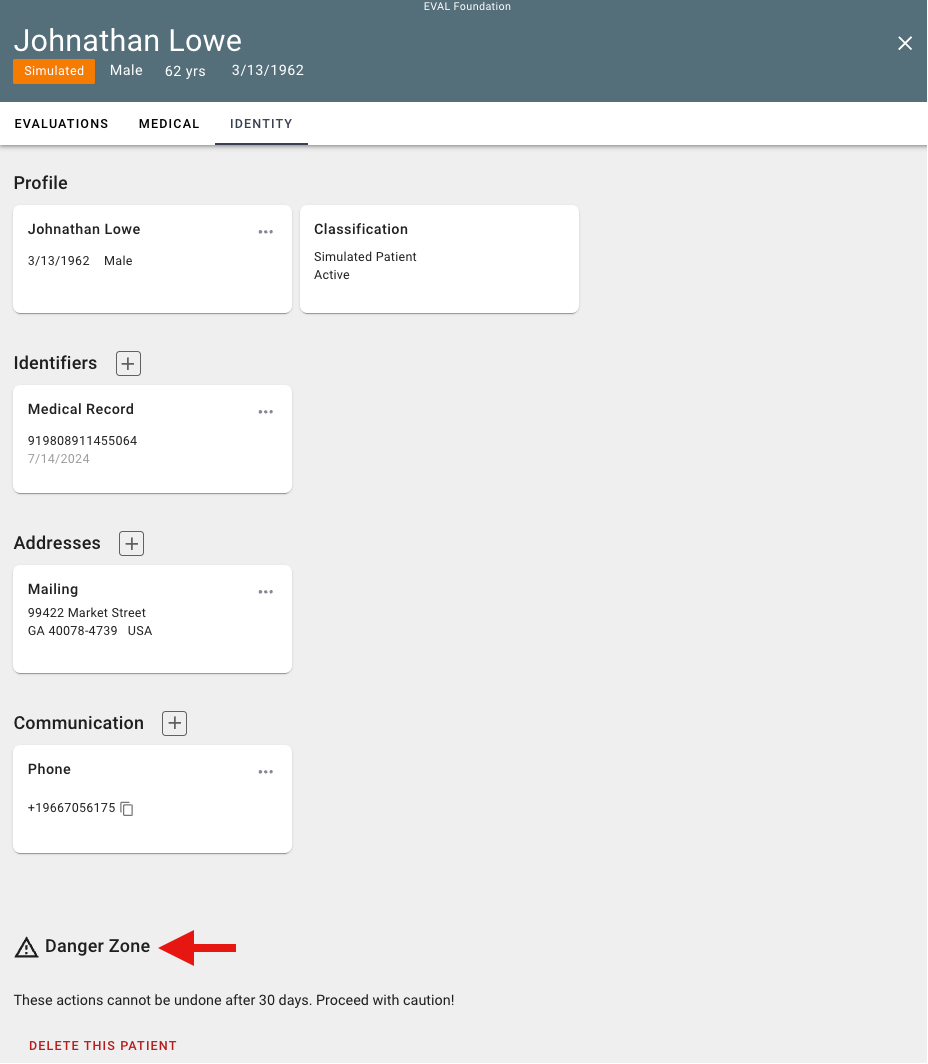
This Danger Zone section warns you that the action cannot be undone.
After clicking Delete this Patient, the following prompt displays:
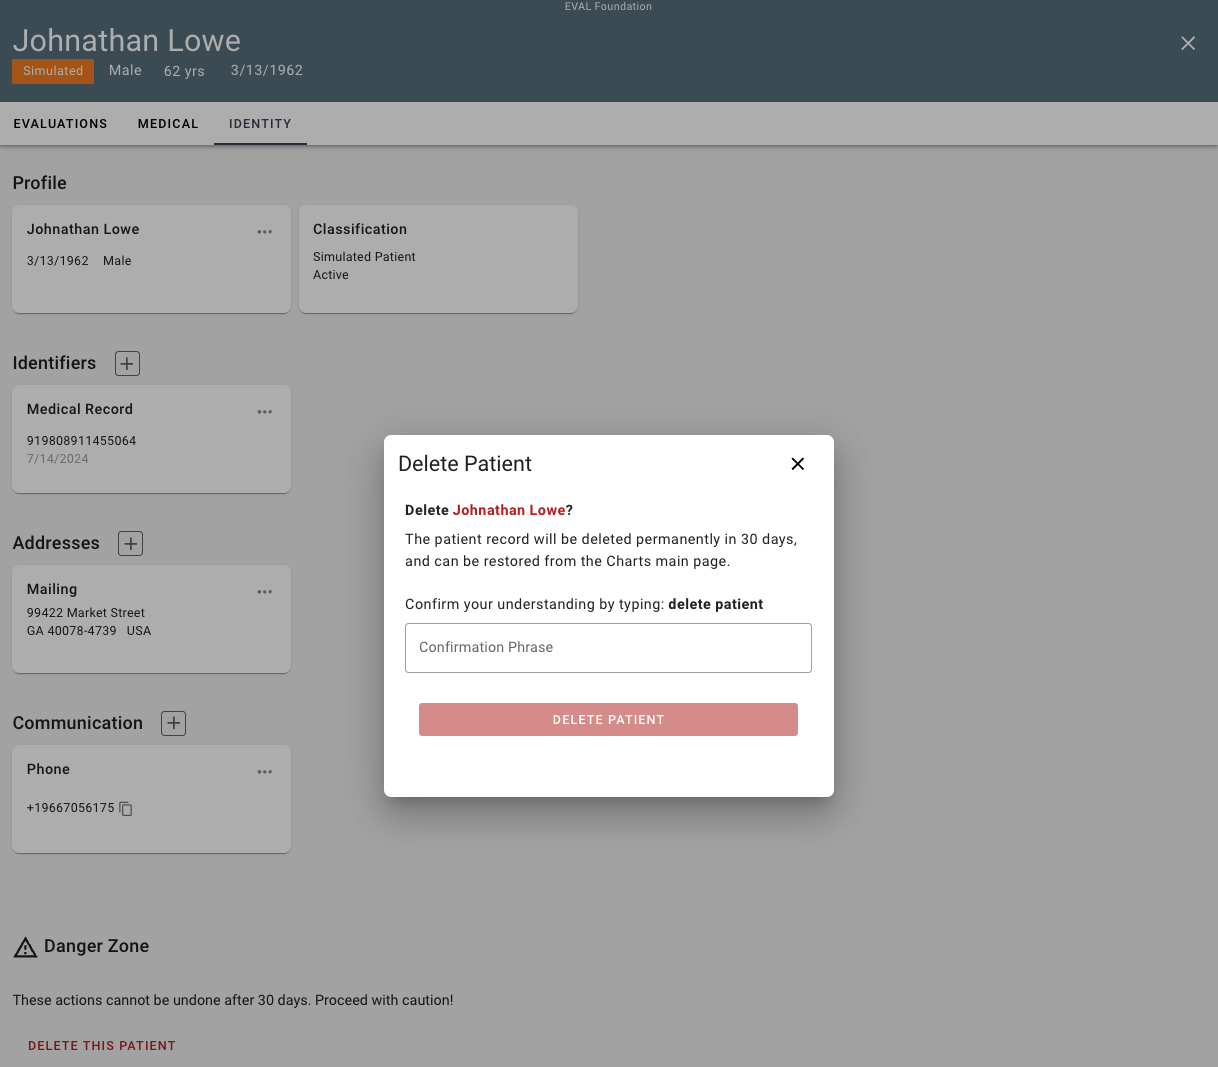
Confirm the deletion by typing in the Confirmation Phrase and clicking Delete Patient
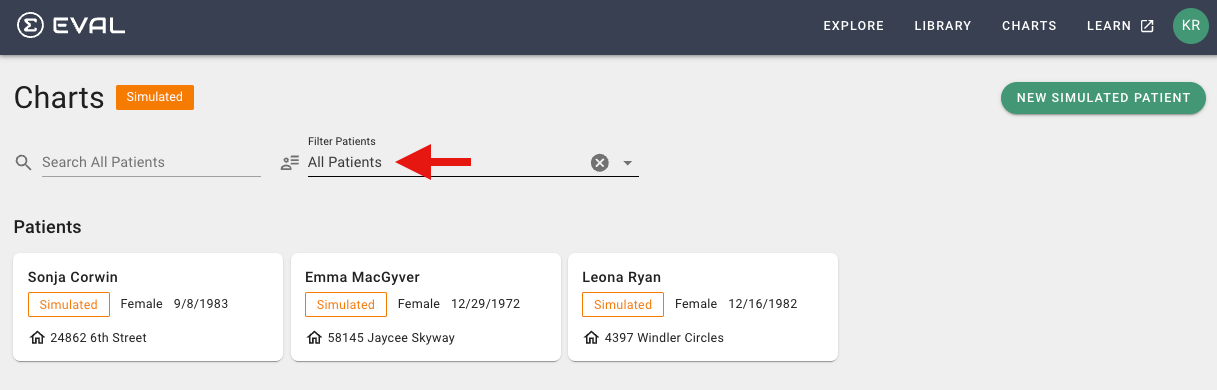
Filtering & Viewing Deleted Patients
As you can see below, our deleted patient Johnathan Lowe that was deleted above is not listed in the All Patients filtered list:
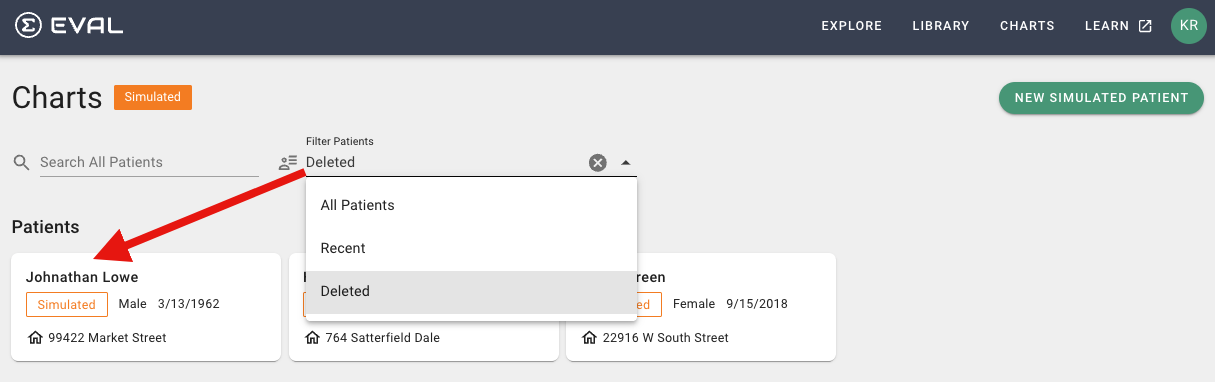
However, you can still access deleted patients through the Deleted filter:
Restoring Deleted Patients
You have two options for restoring patients within 30 days of deletion:
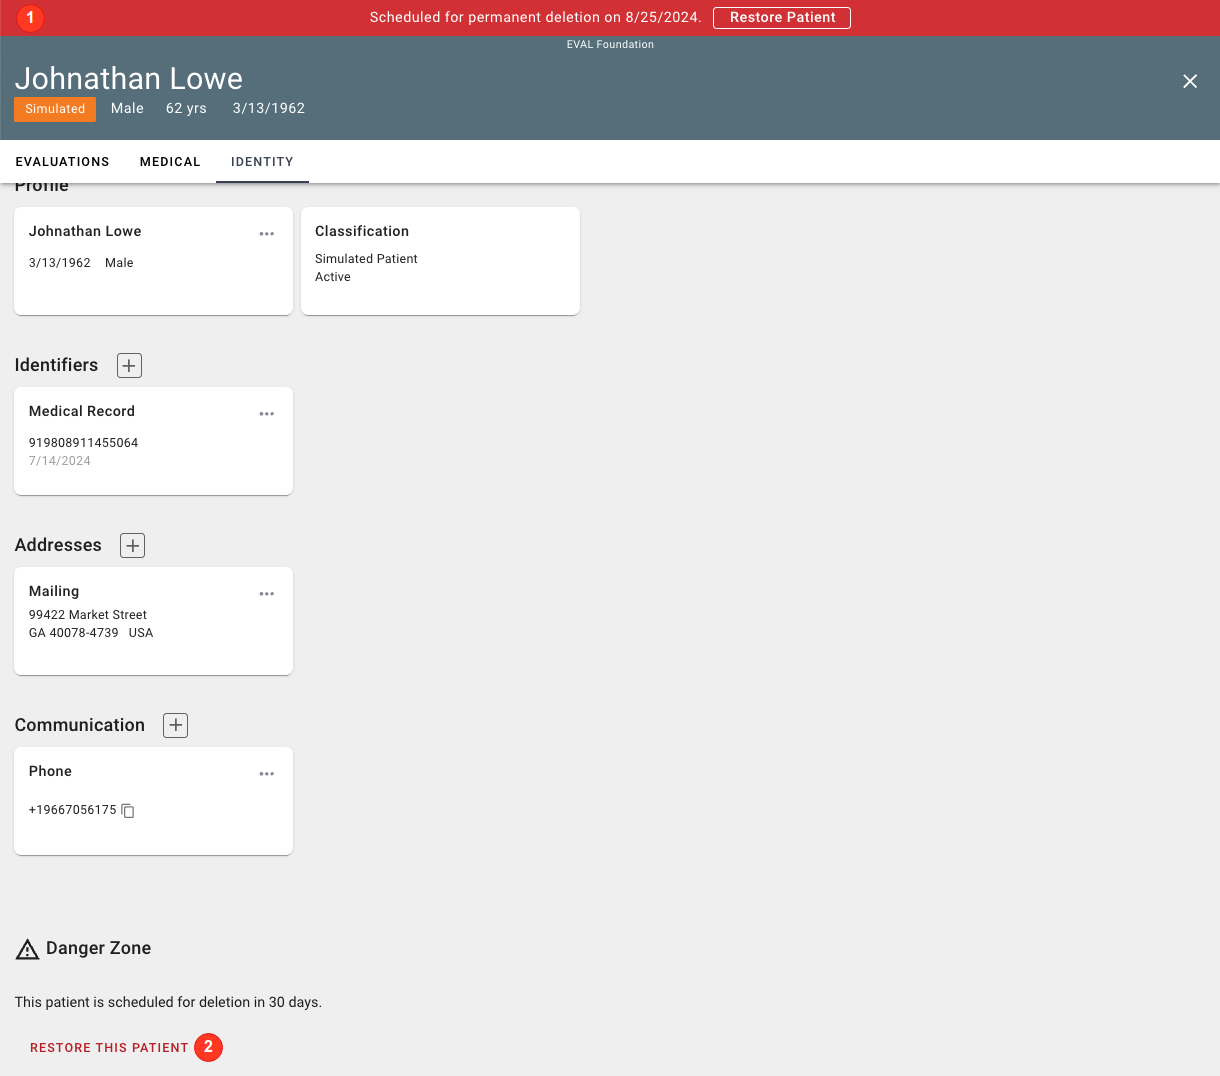
- Click Restore Patient in the red banner along the header
- Click Restore this Patient in the Danger Zone section
After indicating to restore the patient in one of the means identified above, the following prompt displays:
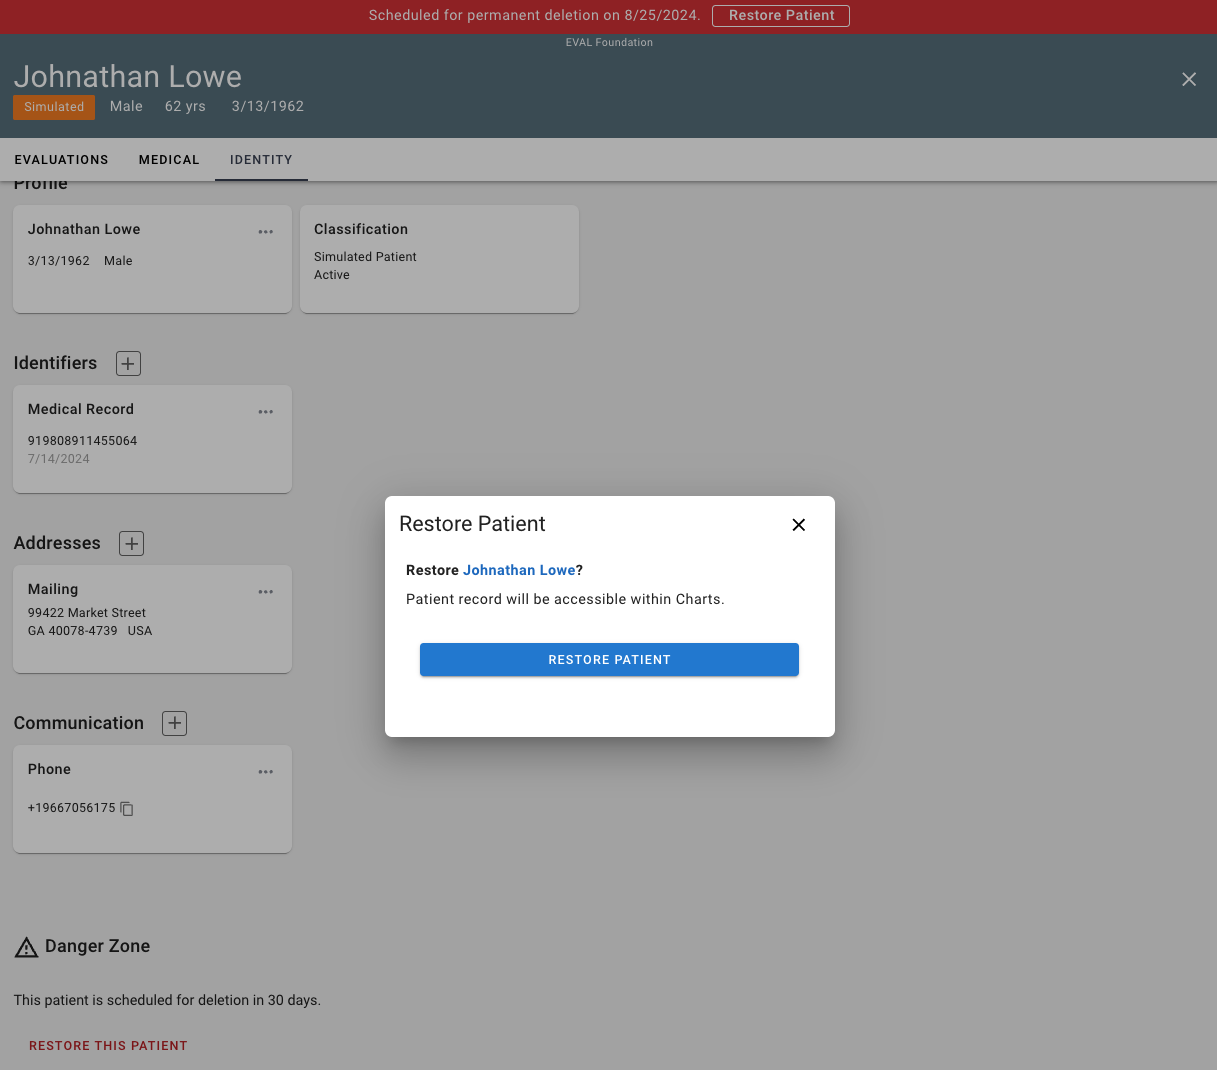
After clicking Restore Patient, the patient will be fully restored and appear once again as active in the patient list.
Updated 3 months ago